20
21
8.3.1 LOADING THE SD CARD
1. Open the rubber cover on the left side of the base unit.
2. Insert the SD card into the slot with the card’s notch pointed toward the
top of the base unit, then close the rubber cover.
REMINDER
• The SD card is not properly aligned if it does not slide smoothly into the
slot. Please check the direction of the card and never use force.
• The file name will automatically be generated when saving images on the
SD card.
• For the filename extension, “.JPG” represents the still image file, and “.AVI”
represents the video file.
• File numbers are assigned sequentially from 0001 to 9999.
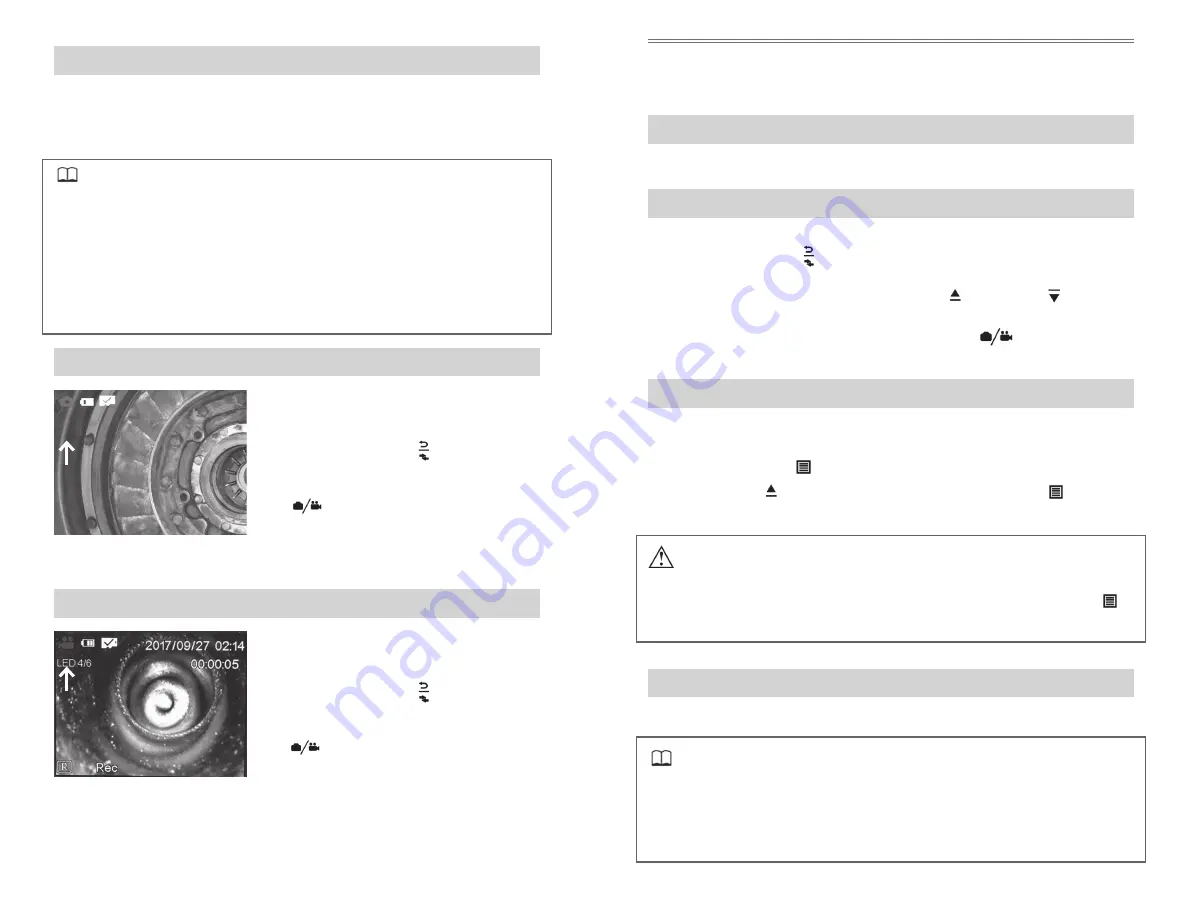
8.4.2 TAKING STILL IMAGES
1. When a real time image is displayed
press the Back/Photo/Video/Image
Playback/Switch key to switch the
mode to camera.
2. Press the Camera/Video trigger button
under the handle grip or in the
lower center of the button to record a
still image.
Fig. 8-4 Camera mode indicator
8.4.3 RECORDING VIDEO
1. When a real time image is displayed
press the Back/Photo/Video/Image
Playback/Switch key to switch the
mode to video.
2. Press the Camera/Video trigger button
under the handle grip or in the
lower center of the button to record a
video. Press it again to stop recording.
Fig. 8-5 Video mode indicator
8.4 IMAGE PLAYBACK
See: Full Screen View
8.4.1 MULTI-IMAGE VIEW (THUMBNAILS)
Not Currently Available on this model
8.4.2 FULL SCREEN VIEW
1. When a real time image is displayed press the Back/Photo/Video/Image
Playback/Switch key
twice from camera mode and once from video
mode to display an image.
2. Once in the full image view, press the Up key or Down key to move to
the next image or video.
3. To play a video back, press the Camera/Video key
when viewing the
video in Full Screen View.
8.4.3 DELETING INDIVIDUAL IMAGES AND VIDEO
1. When reviewing an image in full screen view, navigate to the image or
video you want to remove.
2. Press the Menu key
to bring up the prompt “Delete this file?”.
3. Use the Up key to highlight “Yes” then press the Menu key
again to
confirm the deletion.
NOTE
• Once you delete that image, another “Delete this file?” prompt will appear
on the next image. If you want to keep that image, press the Menu key
when “No” is highlighted and it will remove that prompt.
8.4.4 DELETING ALL IMAGES/VIDEOS
Not available
REMINDER
• Although the option to delete all images/videos is not available, all Images
and Video can be viewed, organized and deleted by removing the SD card
(8.4.1) from the VJ-3 Borescope and using the supplied SD card reader with
your computer.


