2
Note:
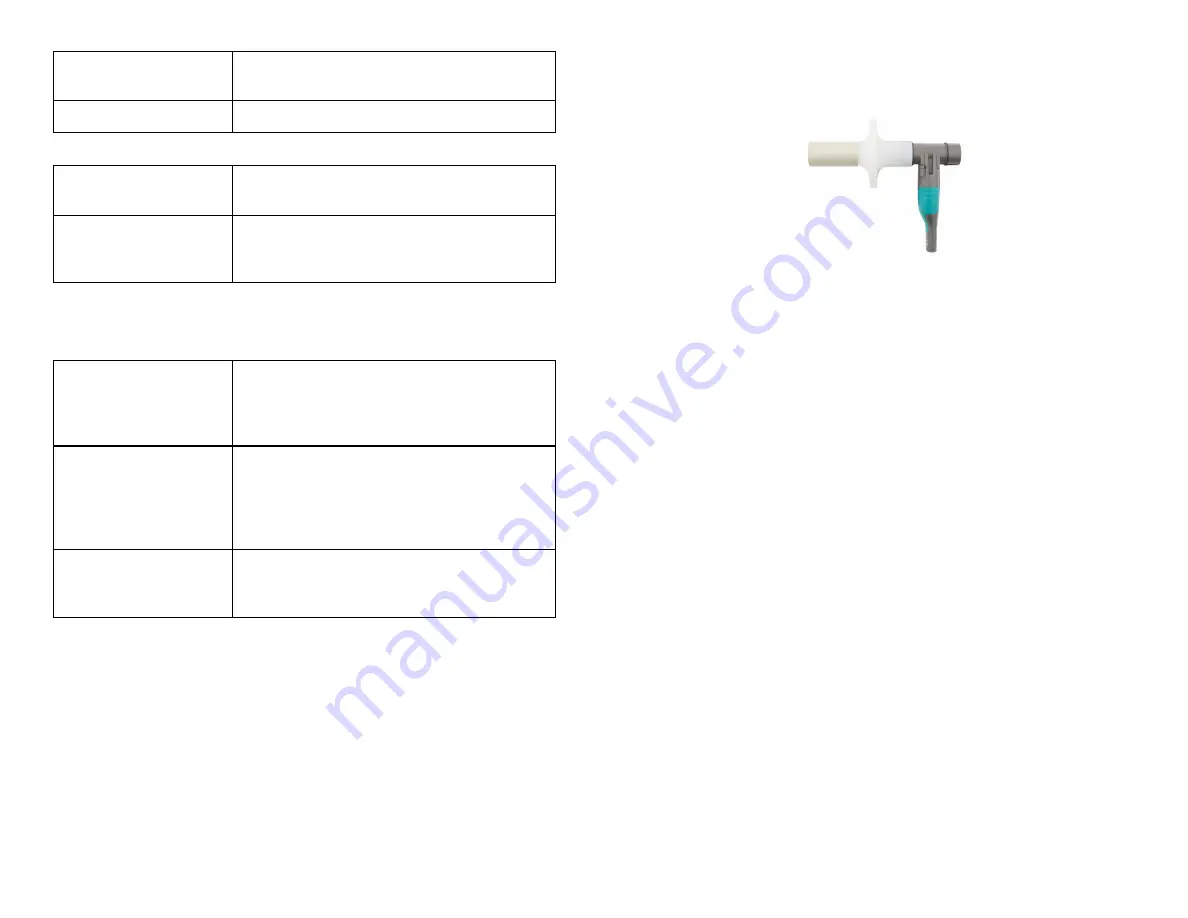
Every person must use their own bacterial filter and mouthpiece—do not
share these.
1. Use a nose clip to ensure that the subject is only breathing through their
mouth.
2. Connect a disposable bacterial filter and a disposable mouthpiece to the
Flow Head of the sensor on the side labeled "Inlet."
3. Hold the Go Direct Spirometer vertically and still during use.
Channels
Go Direct Spirometer has six measurement channels:
l
Flow Rate
l
Volume
l
Adjusted Volume
l
Cycle Volume
l
Respiration Rate
l
Differential Pressure
Flow Rate
This channel reports the flow rate (L/s) of air moving through the flow head.
During the ventilation cycle, inhalation will produce negative flow rates while
exhalation produces positive flow rates. This channel is active by default when
the sensor is connected.
Volume
This channel reports the volume of air (L) passing through the flow head.
During the ventilation cycle, inhalation will increase volume while exhalation
decreases volume. This channel is active by default when the sensor is
connected.
Adjusted Volume
This channel reports the volume or air (L) passing through the flow head. The
volume is returned to zero after each ventilation cycle. Use this channel to
minimize baseline drift. This channel is not active by default when the sensor is
connected.
Cycle Volume
This channel reports the peak volume (L) of each ventilation cycle. Use this
channel for long experiments and to minimize baseline drift. This channel is not
active by default when the sensor is connected.
Charging
Blue LED on steady while sensor is connected to
the Micro USB Cable or Charging Station.
Fully charged
Blue LED is off when charging is complete.
Powering the Sensor
Turning on the sensor
Press button once. Red LED indicator flashes
when unit is on.
Putting the sensor in sleep
mode
Press and hold button for more than three
seconds to put into sleep mode. Red LED
indicator stops flashing when sleeping.
Connecting the Sensor
See the following link for up-to-date connection information:
Connected and charging
Blue and Green LED solid when sensor is con-
nected to Graphical Analysis via USB and unit
is charging. (Green LED is obscured by the blue
one.)
Connected
Green LED solid when sensor is connected to
Graphical Analysis via USB and the unit is fully
charged. Green LED flashing when sensor is con-
nected to Graphical Analysis via Bluetooth wire-
less technology.
Charging via USB,
connected via Bluetooth
wireless technology
Blue LED is solid and green LED is flashing, but
the green flashing LED looks white because it is
overwhelmed by the blue.
Identifying the Sensor
When two or more sensors are connected, the sensors can be identified by
tapping or clicking Identify in Sensor Information.
Using the Product
Connect the probe following the steps in the Getting Started section of this user
manual.
Go Direct Spirometer can be used for inspiratory and expiratory experiments.
Use a mouthpiece and a disposable bacterial filter with the Go Direct
Spirometer for all experiments. According to the manufacturer’s specs, the
MicroGard
®
filters out more than 99% of bacterial and viral aerosols.


