1
power adapter or to a powered USB
hub. The Bluetooth LED will blink.
Note:
Do not plug the USB into a
computer USB port to run with
Bluetooth wireless technology.
4. Launch Spectral Analysis.
5. Click or tap Connect a Spectrometer.
Select your Go Direct
Fluorescence/UV-VIS
Spectrophotometer from the list of
Discovered Wireless Devices. Your
spectrometer's ID is located near the
barcode on the label. The Bluetooth
LED on the sensor will now glow
blue (no longer flashing).
6. Click or tap Done to enter data-
collection mode. You are now ready
to continue your experiment.
l
Mobile Device: Spectral Analysis
3. The software will identify the
spectrometer and enter data-
collection mode. You are now
ready to continue your experiment.
Note:
This sensor does not work with
the original LabQuest. It works via
USB with LabQuest 2 or LabQuest 3.
Powering the Spectrometer
Turning on the
spectrometer
Connect to AC power. Turn the power switch on. Green LED
indicator next to Power icon is solid when unit is ready to use.
If indicator light turns red, disconnect all power, wait one full
minute, and attempt again.
Turning off
the
spectrometer
Turn the power switch to the off position. The lamp will turn
off and the fan will continue to run to cool the electronics for
several more minutes. Wait until this is complete before dis-
connecting AC power.
Connecting the Spectrometer
See the following link for up-to-date connection information:
www.vernier.com/start/gdx-spec-fuv
Connecting via Bluetooth
Ready to connect
Connect to AC power. Turn the power switch on.
To power the Bluetooth radio, connect the spec-
trometer to the USB power adapter or to a
powered USB hub. Blue LED next to Bluetooth
icon flashes when sensor is ready to connect.
Connected
Blue LED next to Bluetooth icon is solid when
sensor is connected via Bluetooth wireless tech-
nology.
Go Direct
®
Fluorescence/UV-
VIS Spectrophotometer
(Order Code GDX-SPEC-FUV)
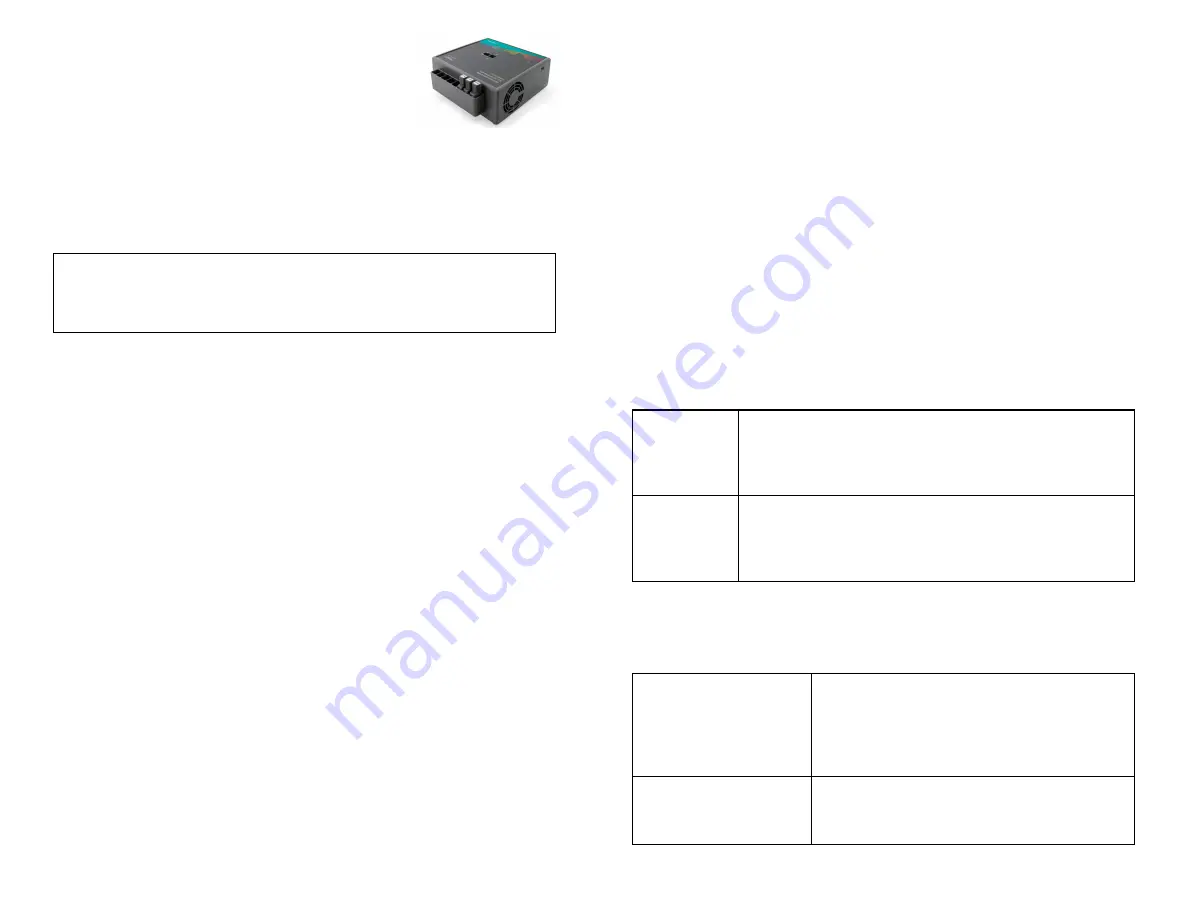
Go Direct Fluorescence/UV-VIS Spectrophotometer is a small, lightweight
ultraviolet and visible light spectrofluorometer. It is a combined fluorometer with
a UV-VIS absorbance spectrometer. Exchangeable LEDs ensure you get the exact
excitation wavelength needed.
Note:
Vernier products are designed for educational use. Our products are not
designed nor are they recommended for any industrial, medical, or commercial
process such as life support, patient diagnosis, control of a manufacturing
process, or industrial testing of any kind.
What's Included
l
Go Direct Fluorescence/UV-VIS Spectrophotometer
l
AC Power Supply
l
Fluorescence quartz cuvette
l
Mini USB cable
l
USB Power Adapter
l
LED cartridges (3): 375 nm, 450 nm, 525 nm
Compatible Software and Interfaces
See
www.vernier.com/manuals/gdx-spec-fuv
for a list of interfaces and software
compatible with Go Direct Fluorescence/UV-VIS Spectrophotometer.
Getting Started
Please see the following link for platform-specific connection information:
www.vernier.com/start/gdx-spec-fuv
Bluetooth Connection
USB Connection
1. Install Vernier Spectral Analysis
®
on
your computer, Chromebook™, or
mobile device. See
www.vernier.com/spectral-analysis
for Spectral Analysis availability.
2. Connect the AC Power Supply to the
spectrophotometer. This supplies
power to the lamp. Turn the power
switch to the ON position. Wait for
the lamp indicator LED to remain
green.
3. To power the Bluetooth
®
radio,
connect the spectrometer to the USB
1. Connect the AC Power Supply to
the spectrophotometer. Turn the
power switch to the ON position.
Wait for the lamp indicator LED to
remain green. Connect the
spectrometer to the USB port.
2. Launch the software. Options
include
l
Computer: Spectral Analysis or
Logger
Pro
3
l
Chromebook: Spectral Analysis
l
LabQuest 2 or 3: LabQuest App


