- 23 -
CUSTOMIZING THE FUNCTION SETTINGS
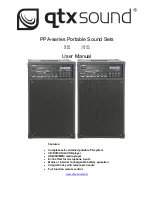
View Mode
1. Press the SETUP button in stop mode.
2. Press the or button to select VIDEO.
3. Press the button. Use the or button to select View Mode.
4. Press the button. Use the or button to select the option (Fill,
Original, Auto Fit or Pan Scan), then press the ENTER button.
5. Press the EXIT button to return to the normal screen.
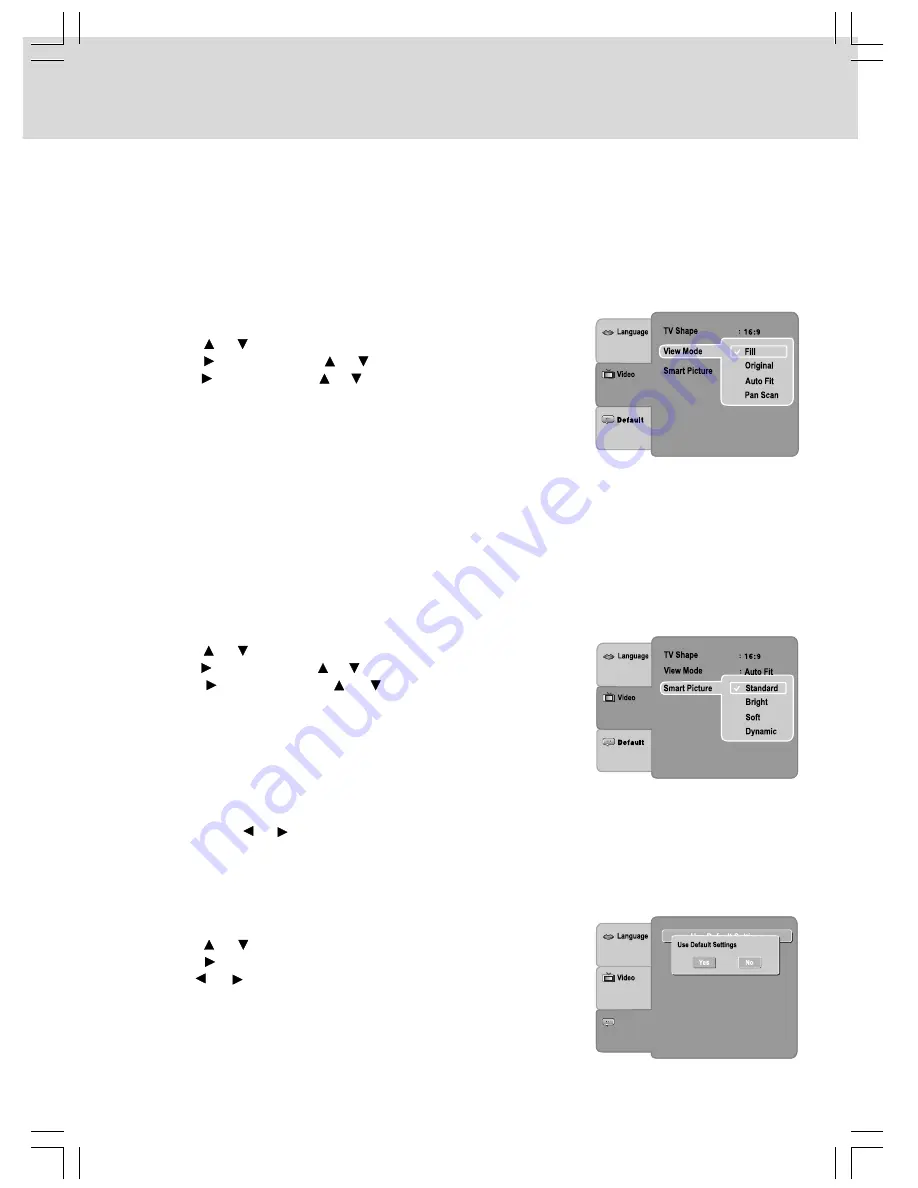
Smart Picture
1. Press the SETUP button in stop mode.
2. Press the or button to select VIDEO.
3. Press the button. Use the or button to select Smart Picture.
4. Press the button. Use the or button to select the option
(Standard, Bright, Soft or Dynamic), then press the ENTER button.
5. Press the EXIT button to return to the normal screen.
Standard: Picture is set to normal brightness.
Bright:
Picture is brighter.
Soft:
Softer image effect.
Dynamic: It includes 4 items (Brightness, Contrast, Tint and Color).
Use the or button to make adjustments.
Default
Use Default Settings
1. Press the SETUP button in stop mode.
2. Press the or button to select DEFAULT.
3. Press the button, then press the ENTER button.
4. Use the or button to select “YES”, then press the ENTER
button. The original setting will be restored. The unit will exit setting
menu automatically and reload the disc in the disc tray.
Note: It will take 3-5 seconds to reset the DVD player to the factory
default.
Notes:
•
The displayable picture size is preset on the DVD. Therefore, the playback picture of some DVDs may
not conform to the picture size you select.
•
When you play DVDs recorded in the 4:3 picture size only, the playback picture always appears in the
4:3 picture size regardless of the TV Shape setting.
•
Select 16:9 to conform the LCD screen on the unit. Always be sure that your TV Shape conforms to the
actual TV in use if you connect the unit to a TV.
Fill:
Fill the screen with decoded image.
Original: Display image as it’s original size.
Auto Fit: Automatically fit the decoded image on screen without distortion. Black bars will be present on
top/bottom or left/right of screen.
Pan Scan: Select when a standard 4:3 TV is connected. Displays pictures cropped to fill your TV screen.
Sides of the picture are cut off.
Note: Depending on the DVDs, you may not be able to view the mode as selected.
Default