Service - 18
SERVICE
SERVICE
Cleaning and General Maintenance
For best results, and to maintain the finish of the
mower, clean or wash the mower to remove accu-
mulated clippings, leaves, and dirt when the job is
finished. Refer to the “Deck Flip-up procedure” in the
service section to access the underside of the deck.
If washing the deck, do not spray directly into bear-
ings or seals. After washing, it is important to run the
mower so that water does not reside on seals of bear-
ings for the drive system. When washing is complete,
return the deck to the operating position and activate
the PTO for 30 seconds to remove any standing water.
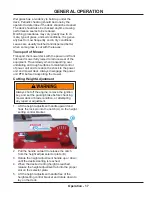
Deck Flip-Up Procedure (Service Position)
1. Park the power unit and mower deck on a
smooth, level surface.
2. Raise the power unit front hitch to its highest
position.
3. Set the parking brake, shut off the engine, and
remove the ignition key.
4. Adjust the mower deck height to the lowest cut-
ting height position.
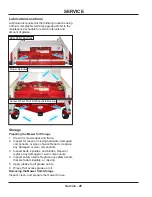
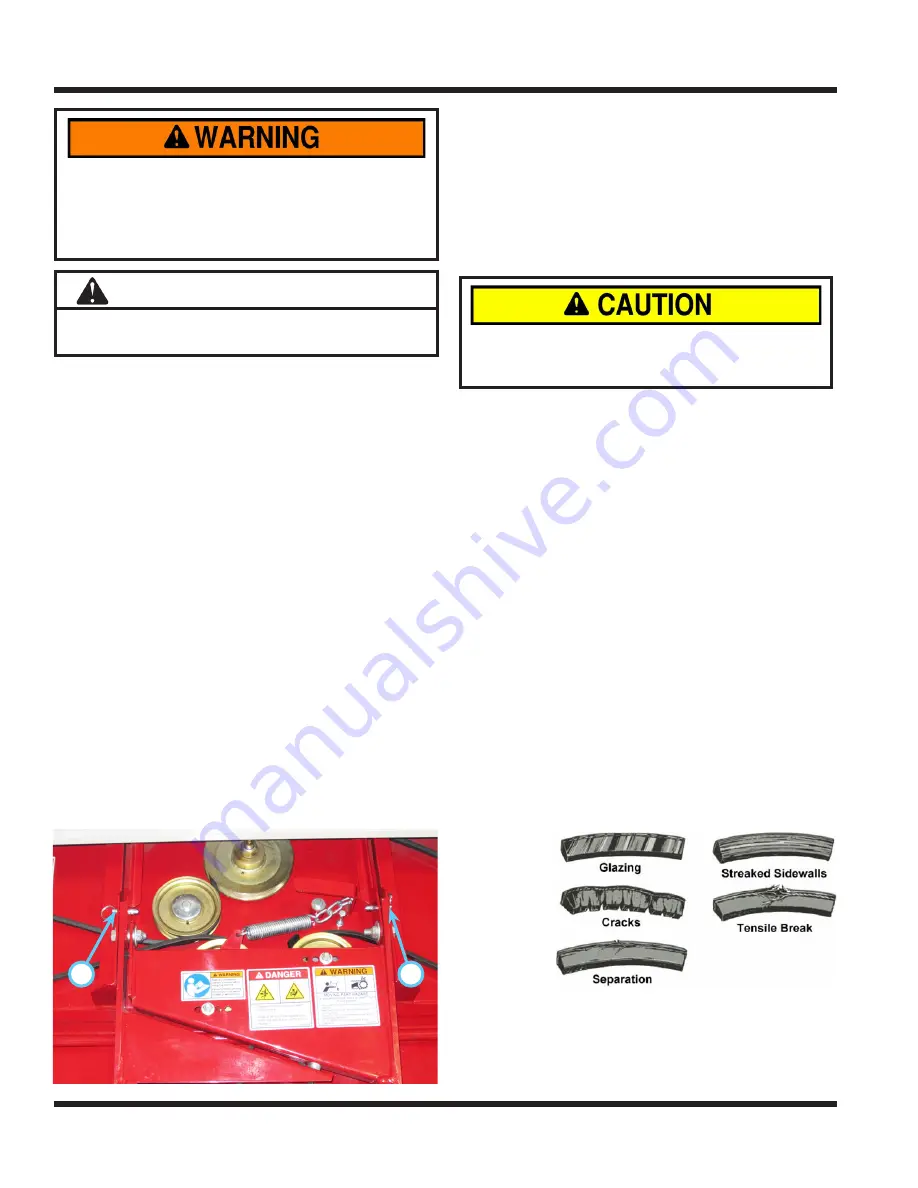
5. Lift the mower deck shield and remove the 2) ball
pins (A) that lock the hitch arms from pivoting.
A
A
6. Lift the mower deck up to a near vertical position
and reinstall the ball pins to lock the deck in the
upright position.
7. To return the deck to the operating position,
remove the 2) ball pins and lower the deck to
the ground. Reinstall the ball pins and lower the
mower deck shield into place.
Mower Blade Removal & Installation
1.
Mower blades may be sharp. Always wear
safety glasses, leather gloves, and a long
sleeve shirt when working with mower blades.
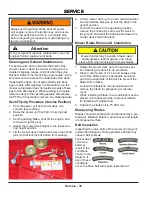
Rotate the mower deck up to the service posi-
tion following the deck flip-up procedure.
2.
Place a short piece of 2 x 4 wood between the
end of the blade and an appropriate structural
part of the underside of the deck to prevent the
blade from rotating.
3. Loosen the blade bolt counterclockwise and
remove the blade for sharpening or replace-
ment.
4. When installing a blade, the wood block must be
placed on the opposite side to prevent rotation
for tightening the blade bolt.
5. Tighten the blade bolt to 75-80 ft. lbs.
Sharpening Blades
Blades should be sharpened and balanced by a pro-
fessional. Maintain balance, same bevel, and length
of sharpened surface.
Belt Inspection
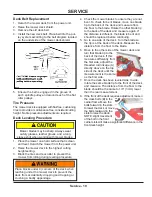
Inspecting the drive belts of the mower
can prevent
sudden belt failure by finding problems before they
cause a belt to break.
Typical wear
on a drive
belt may
result in the
conditions
shown in the
diagram. If
any of these
conditions
occur, the drive belt will require replacement.
Always set the parking brake, shut off power
unit engine, remove the ignition key, and ensure
all moving parts have come to a complete stop
before inspecting components or attempting any
repair or adjustment.
Attention
If any component requires replacement, use only
original Ventrac replacement parts.
Содержание LM600
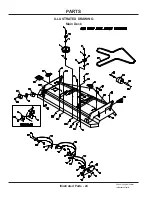
Страница 24: ...Illustrated Parts 24 Use only original Ventrac replacement parts ILLUSTRATED DRAWING Main Deck PARTS ...
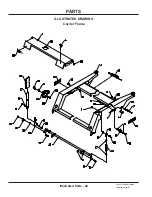
Страница 26: ...PARTS Illustrated Parts 26 Use only original Ventrac replacement parts ILLUSTRATED DRAWING Carrier Frame ...
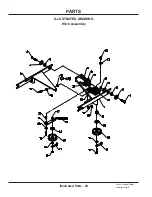
Страница 30: ...PARTS Illustrated Parts 30 Use only original Ventrac replacement parts ILLUSTRATED DRAWING Hitch Assembly ...
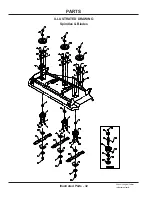
Страница 32: ...PARTS Illustrated Parts 32 Use only original Ventrac replacement parts ILLUSTRATED DRAWING Spindles Blades ...

