URAGANO
ASSEMBLY AND INSTALLATION
MANUAL OF CEILING FAN
B40492E
ALL-
ENGLISH
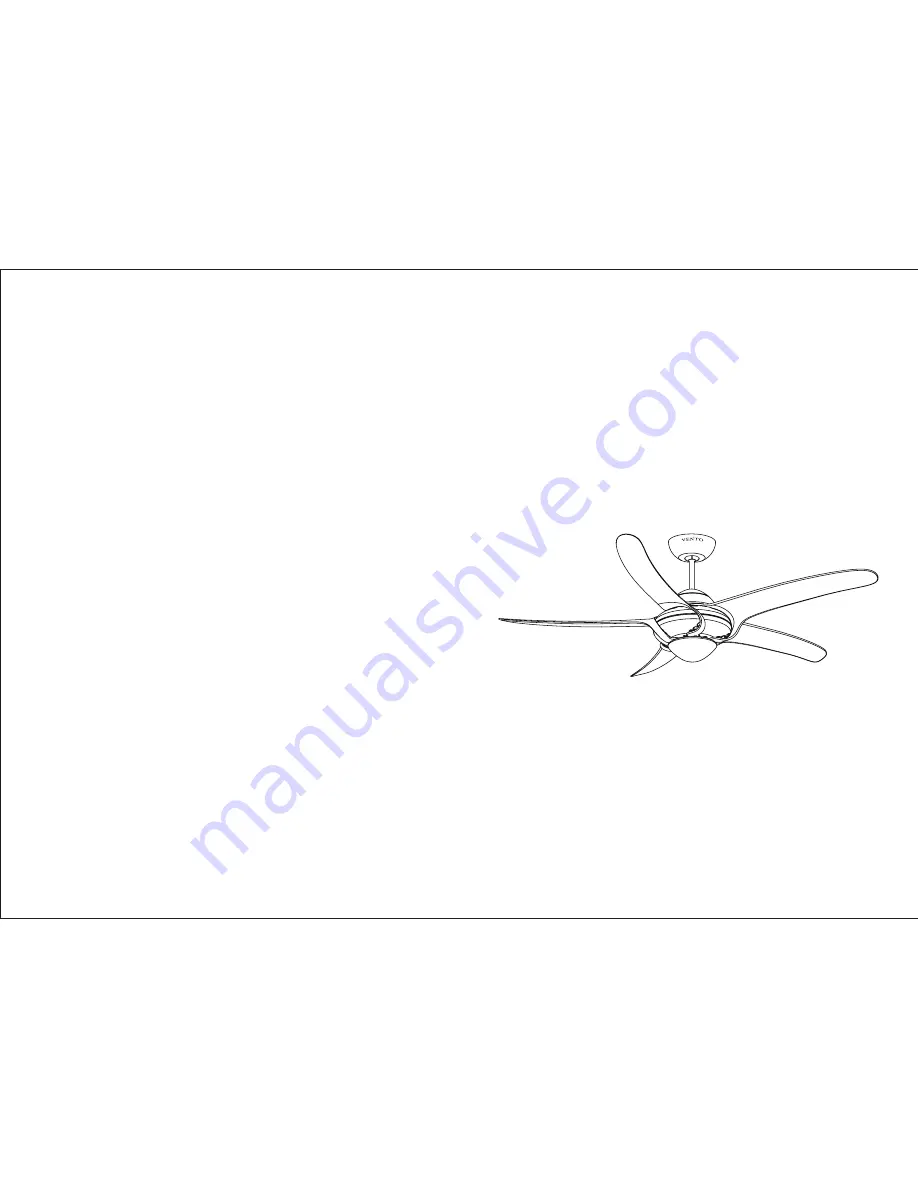
Страница 1: ...URAGANO ASSEMBLY AND INSTALLATION MANUAL OF CEILING FAN B40492E ALL ENGLISH ...
Страница 2: ......
Страница 3: ...d or accessories not designated for using with this product could result in personal injury or property damage 1 2 3 4 5 6 7 8 9 10 I IMPORTANT SAFETY INSTRUCTIONS 1 Numbered tape placement Switch 1 2 Switch 3 4 Switch 4 2 Switch 3 1 5 1 3 4 2 5 1 3 4 2 5 1 3 4 2 5 1 3 4 2 5 1 3 4 2 PROBLEM A FAN WILL NOT START REMEDIES 1 2 3 4 Check fuse or circuit breaker and replace if necessary Check that reve...
Страница 4: ... if all parts and accessories are present 1 Tools Philips Screwdriver Slotted Screwdriver Adjustable wrench Cutter Ladder Install the power cord in accordance with the cord A B C D E F NOTE THE TRANSMITTER IS DESIGNED FOR USE WITH EITHER WALL BRACKET FOR TRANSMITTER d OR THE TRANSMITTER COVER b NOTE PLACE THE PARTS FROM J SHOWN ABOVE IN A SMALL CONTAINER TO PREVENT PARTS FROM GETTING LOST IF ANY P...
Страница 5: ...ATION NOTE a Incorrect wire connection may damage this fan and receiver b Do not attempt to shorten the receiver s antenna wire 1 2 3 4 5 A typical ceiling fan remote control is wired as shown in this wiring diagram Fig 1 Make sure that the wire of brown blue orange is connected Wires connecting the receiver and the ceiling fan have its sticker indication The receiver wires to the fan motor are Bl...
Страница 6: ...Once the setting has been made slide down the back cover of transmitter to the arrow direction Install a 9 Volt battery Now the remote control receiver module is ready for installation up at the ceiling fan of mounting bracket Select different combinations of dip switches to prevent mis operation due to other remote control fans RECEIVER ANTENNA 9V BATTERY 1 2 3 4 ON DIP DIP SWITCH Follow the arro...
Страница 7: ...9 10 to reinstall the receiver HI MED LOW OFF Set fan to high speed Set fan to medium speed Set fan to low speed Turn off the ceiling fan NOTE THE TRANSMITTER IS DESIGNED FOR USE WITH EITHER WALL BRACKET FOR TRANSMITTER d OR THE TRANSMITTER COVER b LOW OFF HI MED Put the transmitter into transmitter cover Wall bracket for transmitter If desired install onto the wall with screws LOW OFF HI MED a Wh...
Страница 8: ... switch to the left is downward airflow and switch to the right is upward airflow The illustration for user reference only the actual airflow depends on on site situation NOTE Set the reversible switch when the fan stops completely 10 SUMMER MODE The reversible switch is in the left position to make the airflow will be directed downwards for cooling in summer 8 Insert the receiver into the mountin...