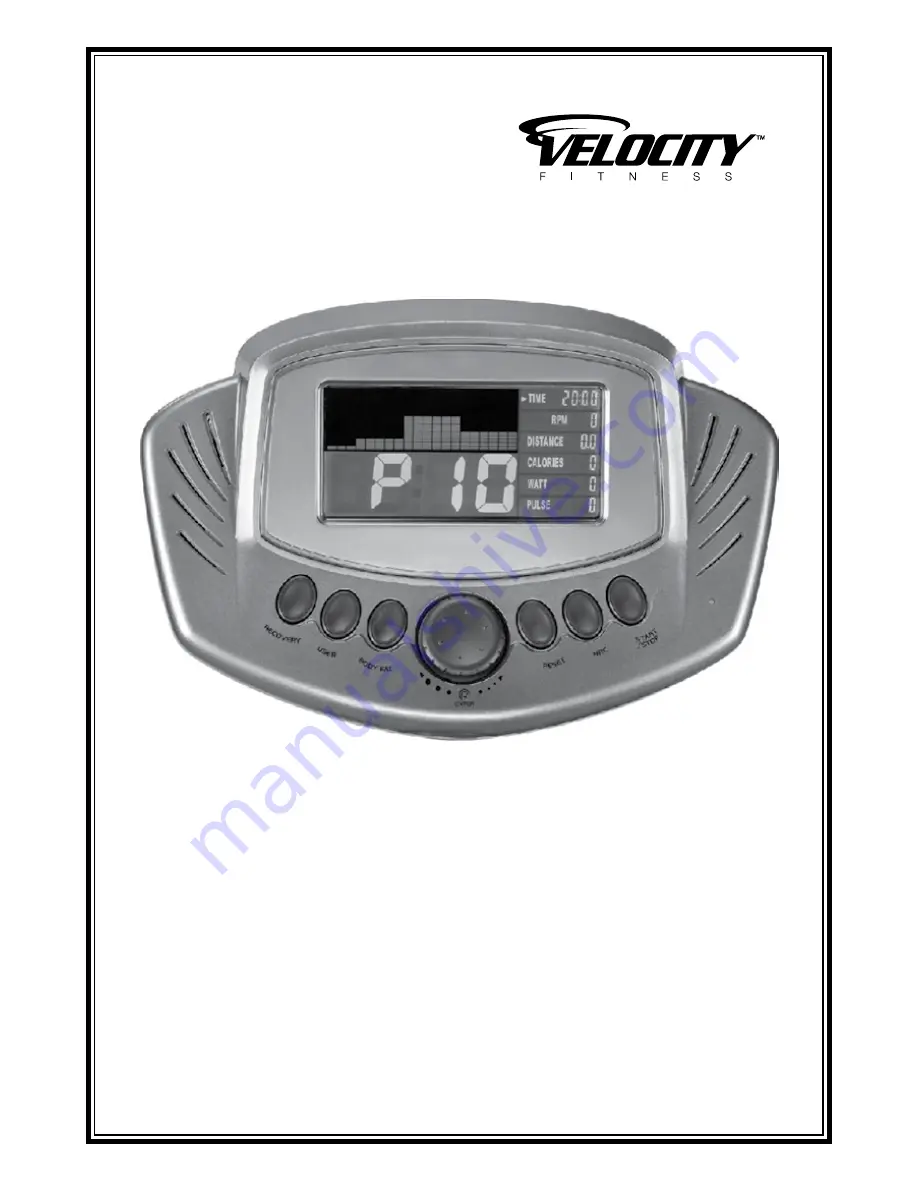
Monitor Instructions
for Models:
CHB-R6
CHB-UV6
Power supply: output DC 9v/ 1000mA transformer adaptor
Страница 1: ...Monitor Instructions for Models CHB R6 CHB UV6 Power supply output DC 9v 1000mA transformer adaptor...
Страница 2: ...ions 16 18 Program Profile 19 WARNING Heart rate monitor system is not a medical device and should not be used as one Over exercise may result in serious injury of death If you feel faint stop exercis...
Страница 3: ...g mode rotate button to increase or decrease the resistance level of each Interval 4 In the working status rotate button to increase or decrease level of resistance C START STOP 1 Quick Start function...
Страница 4: ...n reflects your heart pulse recovery ability and helps to improve it through exercise For a proper reading the user must perform immediately after the workout To begin press the recovery button and ho...
Страница 5: ...segment indicates 1 minute If you set the target time you wish to exercise each segment would contain the time length of target time divided by 20 C TIME window Shows exercise time Count up When you...
Страница 6: ...and the maximum value is 999 cal Count down In the setting mode rotate UP or DOWN button to set the desired calorie burned Press start to begin A beep will indicate that you have reached your target N...
Страница 7: ...al device and should not be used as one Over exercise may result in serious injury of death If you feel faint stop exercising immediately The readings displayed are for reference only and are not mean...
Страница 8: ...then press ENTER to confirm c CALORIES window will flash Rotate UP or DOWN to select your desired exercise calories then press ENTER to confirm d TIME window will flash Rotate UP or DOWN to select yo...
Страница 9: ...up the values to maximum automatically If no value is set for TIME the monitor will count down from 20 00 2 Once the program is finished or any value countdown to zero the monitor will beep and then s...
Страница 10: ...arget heart rate The default heart rates are 100 The value range is between 80 220 Rotate the UP or DOWN button to input your target heart rate then press ENTER to confirm c DISTANCE window will flash...
Страница 11: ...actual heart rate is 30 B P M above the target the tension will decrease 2 levels until level 1 and warning drawing will show up If the monitor does not receive your heart rate signal Monitor will det...
Страница 12: ...then press ENTER to confirm c CALORIES window will flash Rotate the UP or DOWN to select your desired exercise calories then press ENTER to confirm d TIME window will flash Rotate the UP or DOWN to s...
Страница 13: ...TER to go to the next setting function You do not need to set up all functions before your exercise Note 1 If no value is set for DISTANCE and CALORIES the monitor will count up the values to maximum...
Страница 14: ...reases while the speed is too fast As a result the calculated watt value will close to the value set by user a Rotate the UP DOWN button to choose WATT Then press ENTER button to confirm b DISTANCE wi...
Страница 15: ...to skip the setting function simply press ENTER to go to the next setting function You do not need to set up all the functions before you exercise Note 1 If no value is set for DISTANCE and CALORIES t...
Страница 16: ...elect body fat program the matrix shows or icon then rotate the UP or DOWN to select your gender then press ENTER to confirm b The matrix shows AGE rotate the UP or DOWN button to select your age then...
Страница 17: ...y the sensor cannot detect heart rate if this occurs please reset the monitor and try again f The test lasts for 10 seconds and will display the users estimated body fat ratio FAT FAT Body Fat Ratio R...
Страница 18: ...TRUCTIONS 1 Each monitor comes with a removal tool 2 The battery compartment can be accessed from the top of the monitor see the circle 3 Insert the removal tool into the hole at the bottom see the ci...
Страница 19: ...17 BATTERY REPLACEMENT INSTRUCTIONS 5 Battery compartment see the circle 6 Remove the battery cover by turning it counterclockwise 7 Replace the battery with the anode side up 8 Lock the battery cover...
Страница 20: ...18 BATTERY REPLACEMENT INSTRUCTIONS 9 Please note It is important to align the circled area back into correct position prior to use 10 Pressure the module back into the monitor...
Страница 21: ...19 Program profile...