DVR4L5
Rev.
01
26/01/2010
©
Velleman nv
6
•
There is also an audio output connector. Connect an audio device e.g. a speaker to this connector
when desired. Connector type is BNC.
Connecting Local Area Network (LAN)
•
Connect the DVR to a local network by plugging a network cable into the LAN port at the back of
the DVR. Connector type is 8P8C (RJ45). Setup is done through the OSD.
7.
Preliminary settings
•
Make sure the connected cameras are on and set the power switch at the rear of the device to the
on-position. It takes about 15 to 30 seconds to start up.
Menu overview
•
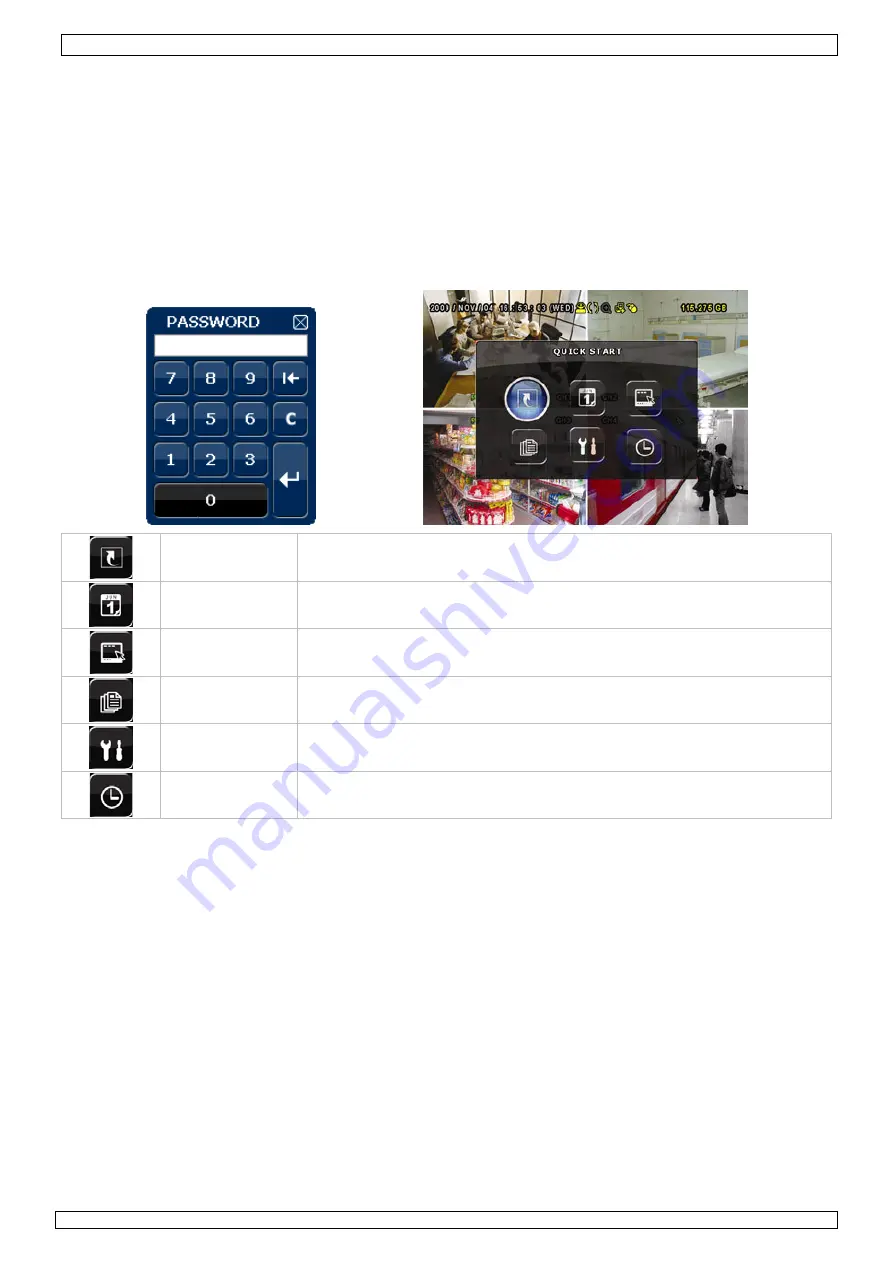
Press the MENU button and enter the password to go into the menu list.
Note
: default admin password is “
0000
” (4 times zero).
QUICK START
GENERAL - TIME SETUP
DATE SETUP
DATE INFO - DAYLIGHT
SYSTEM
TOOLS - SYSTEM INFO
EVENT
INFORMATION
QUICK SEARCH - EVENT SEARCH - HDD INFO - EVENT LOG
ADVANCED
CONFIG
CAMERA – DETECTION – ALERT – NETWORK – SNTP – DISPLAY –
RECORD - REMOTE
SCHEDULE
SETTING
RECORD - DETECTION
For more details, refer to the full user manual.
Setting date and time
•
Before using the DVR the time and date should be set to get a valid time stamp.
•
Press the MENU button and enter the admin password to go into the menu list.
•
Select the QUICK START menu item.
•
Use the NAVIGATION button to move to the TIME SETUP menu item. Select it to set date and
time.
Note:
once recording started, do not change date or time as this will make it very difficult to
find back the recorded files.
Note:
when using the DVR for the first time and the correct time is set, leave it on for at
least 48 hours.
Password setting
•
Press the MENU button and enter the password to go into the menu list.
•
Select the SYSTEM menu item.
•
Go to TOOLS. Select ADMIN PASSWORD (or OPERATOR PASSWORD) and press the ENTER button
to set the password.
Note:
an operator can not access the main menu, only the quick menu bar (see below).


