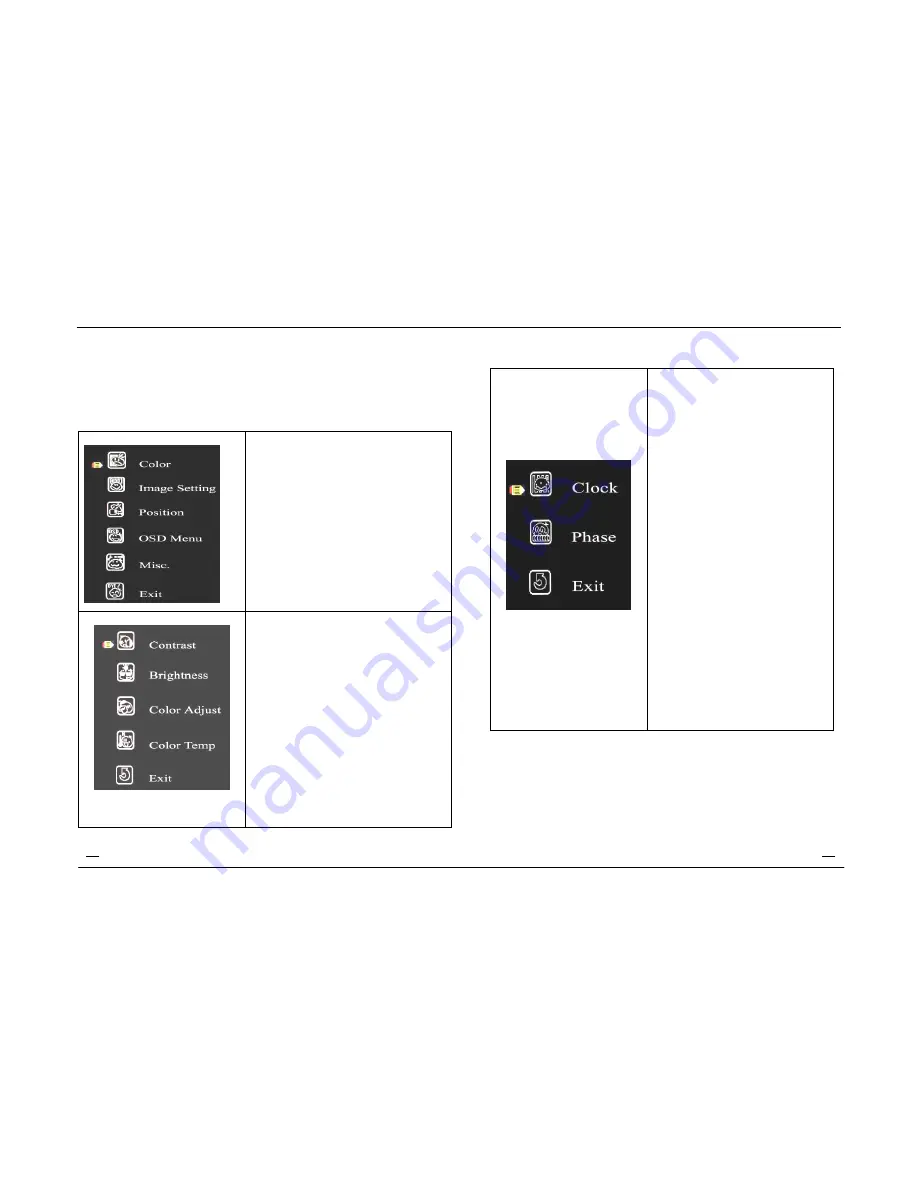
Basic OSD setup
1. OSD setup under VGA input mode
Main Menu
Pressing MENU will pull up the On
Screen Display (OSD) menu
1.Press
+
(
∧)、
and
-
(
∨
)
to select
the different option,
Press
MENU
again to enter sub
menu
2.EXIT:Exits the OSD menu
Color
Enter “Color” setup interface in the
main menu.
1.CONTRAST
、
BRIGHTNESS
Selecting the Contrast option
increases (+) or decreases (-) the
strength (lightness or dimness) of the
image. Adjust the contrast using the -
/left and +/right arrow buttons,and
press MENU to confirm the new
setting.
2.Contrast and brightness: 0-100.
Color adjust : Red. Green. Blue
Color temp: 9300. 6500. 5800.
sRGB.USER
3.Select “Exit” to exit
Image Setting
Enter “Image Setting” setup
interface in the main menu.
1.CLOCK
:
If the clock setting of your image
is not fine-tuned, you may
observe periodic vertical bars of
video noise on your image. These
bars of noise are usually adjusted
out when an Auto Configuration is
performed. If the bars of noise are
still present, this setting can be
adjuste manually. Adjust this
setting so that either the vertical
bars of noise are replaced by an
even amount of noise across the
whole screen, or the noise
disappears completely.
If you do an Auto seting, the
monitor will try to find the best
Clock/Phase setting. If you are not
satisfied with the auto adjustment,
fine-tune the clock manually as
described above.
2.clock adjust from 0 to100
phase :0-63.
3.Select “Exit” to exit.
11
10


