11
4 Mounting
VEGAVIB 61 • Two-wire 8/16 mA
29268-EN-170315
Warning:
The housing must not be used to screw the instrument in! Applying
tightening force can damage internal parts of the housing.
Use the hexagon above the thread for screwing in.
Metric threads
In the case of instrument housings with metric thread, the cable
glands are screwed in at the factory. They are sealed with plastic
plugs as transport protection.
You have to remove these plugs before electrical connection.
NPT thread
In the case of instrument housings with self-sealing NPT threads, it is
not possible to have the cable entries screwed in at the factory. The
free openings for the cable glands are therefore covered with red dust
protection caps as transport protection.
Prior to setup you have to replace these protective caps with ap-
proved cable glands or close the openings with suitable blind plugs.
4.2 Mounting instructions
The vibrating element should protrude into the vessel to avoid
buildup. For that reason, avoid using mounting bosses for flanges
and screwed fittings. This applies particularly to use with adhesive
products.
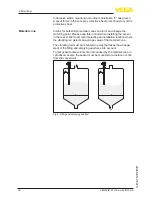
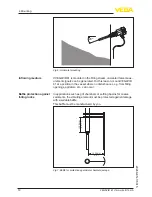
Mount the instrument in such a way that the vibrating rod does not
protrude directly into the filling stream.
20°
a. b.
Fig. 3: Horizontal installation
a Protective sheet
b Concave protective sheet for abrasive solids
If such an installation location should be necessary, mount a suitable
protective sheet above or in front of the vibrating element, see illustra-
tion "a").
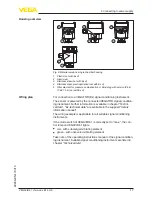
Cable entries - NPT
thread
Cable glands
Mounting socket
Filling opening

