Installing the Dektak 150 System
2-15
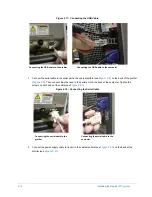
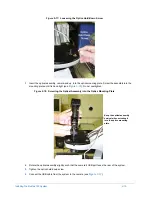
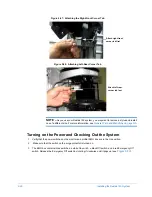
Figure 2-17: Loosening the Optics Hold-Down Screw
3
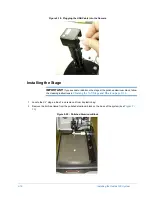
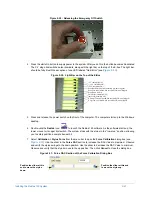
Insert the optical assembly, camera-end up, into the optics mounting plate. Screw the assembly into the
mounting plate until it is hand tight (see
). Do not overtighten.
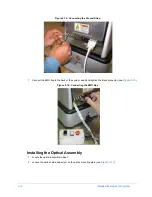
Figure 2-18: ScrewIng the Optical Assembly into the Optics Mounting Plate
4
Rotate the optical assembly slightly such that the camera's USB port faces the rear of the system.
5
Tighten the optics hold-down screw.
6
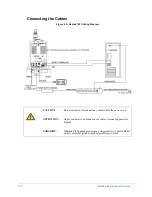
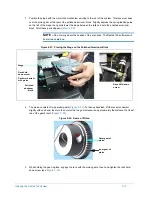
Connect the USB cable from the system to the camera (see
).
Keep the optical assembly
vertical when screwing it
into the optics mounting
plate.
Содержание Dektak 150
Страница 1: ......
Страница 2: ...P N 980 294 Standard P N 980 298 Cleanroom Revision A DEKTAK 150 SURFACE PROFILER USER S MANUAL ...
Страница 7: ......
Страница 17: ......
Страница 81: ......
Страница 105: ......
Страница 149: ......
Страница 191: ......
Страница 251: ......
Страница 257: ...A 6 Facilities Specifications Figure A 6 Dektak 150 without Enclosure Side View ...
Страница 258: ...Facilities Specifications A 7 Figure A 7 Dektak 150 Dimensions without Enclosure Top View ...
Страница 259: ...A 8 Facilities Specifications Figure A 8 Dektak 150 without Enclosure Center of Mass ...
Страница 273: ......
Страница 283: ......
Страница 320: ...3D Mapping Function E 37 Figure E 26 Database Options Button Figure E 27 Database Options Dialog Box ...
Страница 321: ......
Страница 331: ......
Страница 333: ......
Страница 336: ......
Страница 337: ......
Страница 349: ......

