10
11
EN
EN
Using the appliance
Using the appliance
C
C
WARNING
Please refer to the warnings on the instruction sheet concerning the
operation of the appliance when air is evacuated outside the room.
When the extractor hood and appliances supplied with energy sources other than electricity
are operating at the same time, the negative pressure in the room must not exceed 4 Pa
(4 x 10⁻⁵ bar).
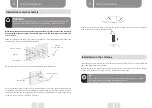
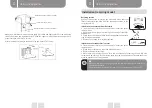
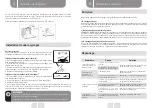
Make three 8 mm holes in which to house the bracket. Screw in and tighten the bracket into
the wall using the screws and dowels provided.
Vis
(4 mm x 30 mm)
Trous dans le mur
Cheville de vis
Support mural
Screws
(4 mm x 30 mm)
Holes in the wall
Dowels
Wall bracket
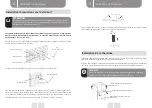
Raise the extractor hood so that it can be attached to the wall bracket.
Hotte aspirante
Support mural
Extractor hood
Wall bracket
Once the extractor hood is suspended on the wall bracket, remove the grease filters and draw
2 marker points inside the hood so that holes can be made for the safety screws. Remove
the hood, make the two corresponding holes and insert 2 wall dowels. Finally fix the safety
screws in place using 2 screws (ST4 x 30 mm).
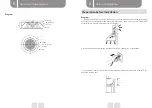
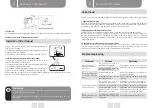
Attach the check valve to the air outlet on the extractor hood. Then connect the evacuation
tube to the check valve as illustrated below.
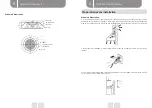
Installation in the chimney
Insert the upper chimney into the lower chimney and use two 8 mm ST4 screws to attach the
lower and upper chimneys together.
Before attaching the bracket to the chimney, determine the position of the lower chimney
bracket by creating holes so that it can be attached at a later stage.
NB
Do not tighten the screws too much and make sure that you can adjust
the upper chimney by sliding it in after assembly.
Installation (external outlet)
Содержание 970142
Страница 2: ...1 2 3 4 5 ...


