


Presets
NOTE:
Beep indicates successfully accomplished operation. If you do not hear a beep, please repeat the above steps.
@
Select the desired channel
@
Press
the
[RPT]
or
[REPEAT]
button 4 times (
MUST BE DONE
within 1-2 seconds). You will hear a beep.
@
SoundLinQ3 will store the current channel in the preset list. You can store up to 10 preset channels, and channels get
recorded in sequential order.
Adding a new PRESET
@
Select
preset you would like to change
@
Select new desired channel (using
the
[TRACK+]
,
[TRACK-]
buttons, or use “Direct entry” on the Navigation screen
(if supported). Make sure you do not select channels which already exist in “Presets list”, because unit will move to
another preset.
@
Press the
[RPT]
or
[REPEAT]
button 4 times (
MUST BE DONE
within 1-2 seconds). You will hear a beep.
@
SoundLinQ3 will update the preset list.
the
(using the
[DISC+]
,
[DISC-]
buttons)
Changing an existing PRESET
NOTE:
Beep indicates successfully accomplished operation. If you do not hear a beep, please repeat the above steps.
@
Enter into “Satellite Radio Input Settings” Mode
@
Press the
[DISC RAND]
or
[DISC RANDOM]
button
one time to activate
the “DISC RANDOM” function.
@
Press the
[DISC RAND]
or
[DISC RANDOM]
button again to deactivate it.
@
SoundLinQ3 will produce a long beep as an confirmation of successful erasure.
@
Exit “Satellite Radio Input Settings” Mode ( See “Satellite Radio Input Settings” for details)
( See “Satellite Radio Input Settings” for details)
Erasing PRESETS
Satellite Radio Input Settings
@
You will hear a short beep as a confirmation.
@
SoundLinQ3 will use the “REPEAT” indicator (continuous blinks 2 times per second) on your head unit to confirm
“Satellite Radio Input Settings” Mode is active.
@
Press
the [
SCAN
] button 8 times (
MUST BE DONE
within 1-2 seconds) to exit “Satellite Radio Input Settings” Mode.
You will hear a short beep as a confirmation.
Press the
[
SCAN
] button 8 times (
MUST BE DONE
within 1-2 seconds) to enter “Satellite Radio Input Settings” Mode.
Enter/Exit “Satellite Radio Input Settings” Mode
NOTE:
In this mode you can setup Display Settings, Erase PRESETS list, and Adjust Sound Level for Satellite Radio
Input.
15
Satellite Radio controls
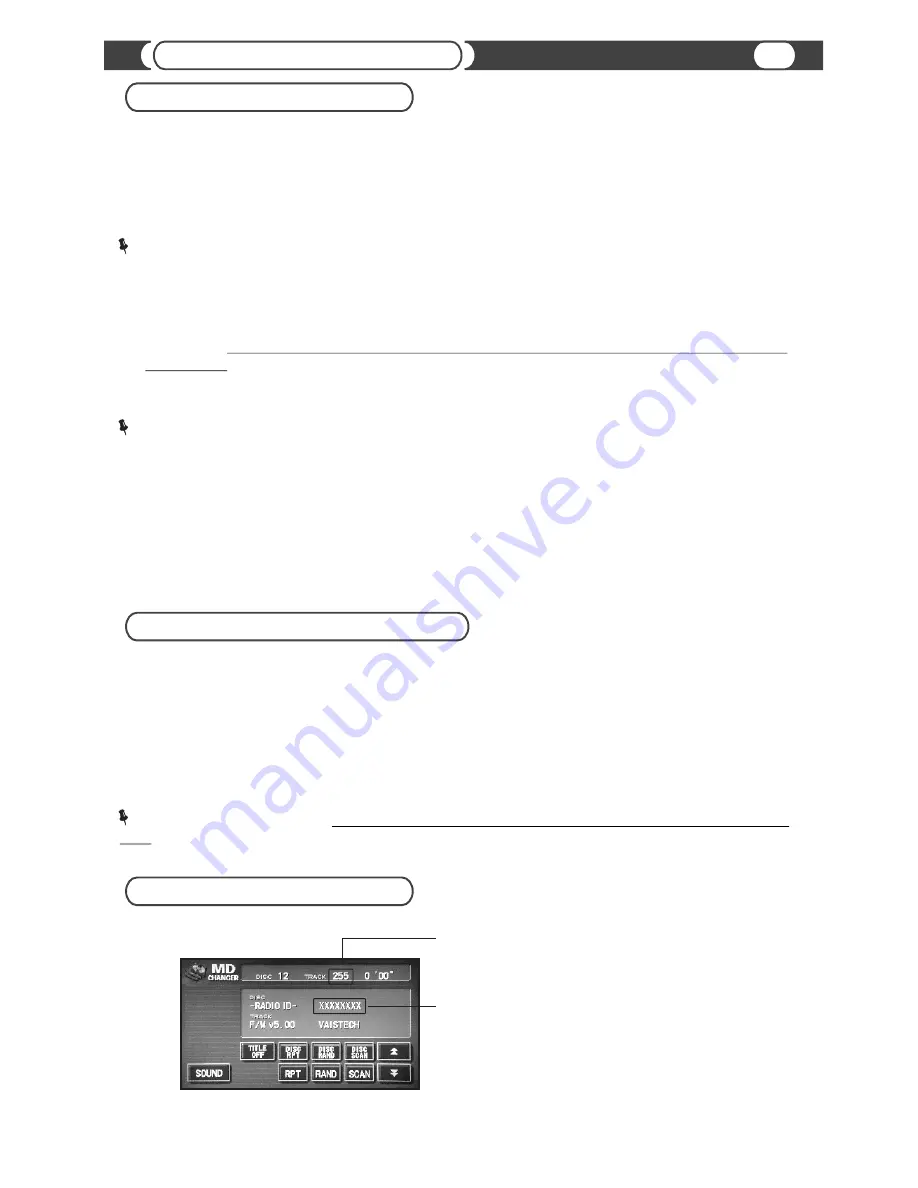
Tuner “RADIO ID”
Select Channel 255
Tuner Radio ID
CD/MD Changer Emulation