9
Head Unit Controls
How to Eject a USB device?
i
Simply push the “SCAN” button twice in one second and then immediately push the “PWR” button on your radio. On
some radios the “PWR” button is combined with “VOL” knob.
Do not remove USB storage while the device is being accessed, as it may result in loss of data.
When Accessory of your vehicle is turned OFF, the USB device will be automatically disconnected (unmounted).
Never remove USB memory or USB Audio Player device while playback or file transfer is in progress, to prevent
possible damage to its memory. VAIS Technology is not responsible for any lost or damaged data on storage media.
NOTE
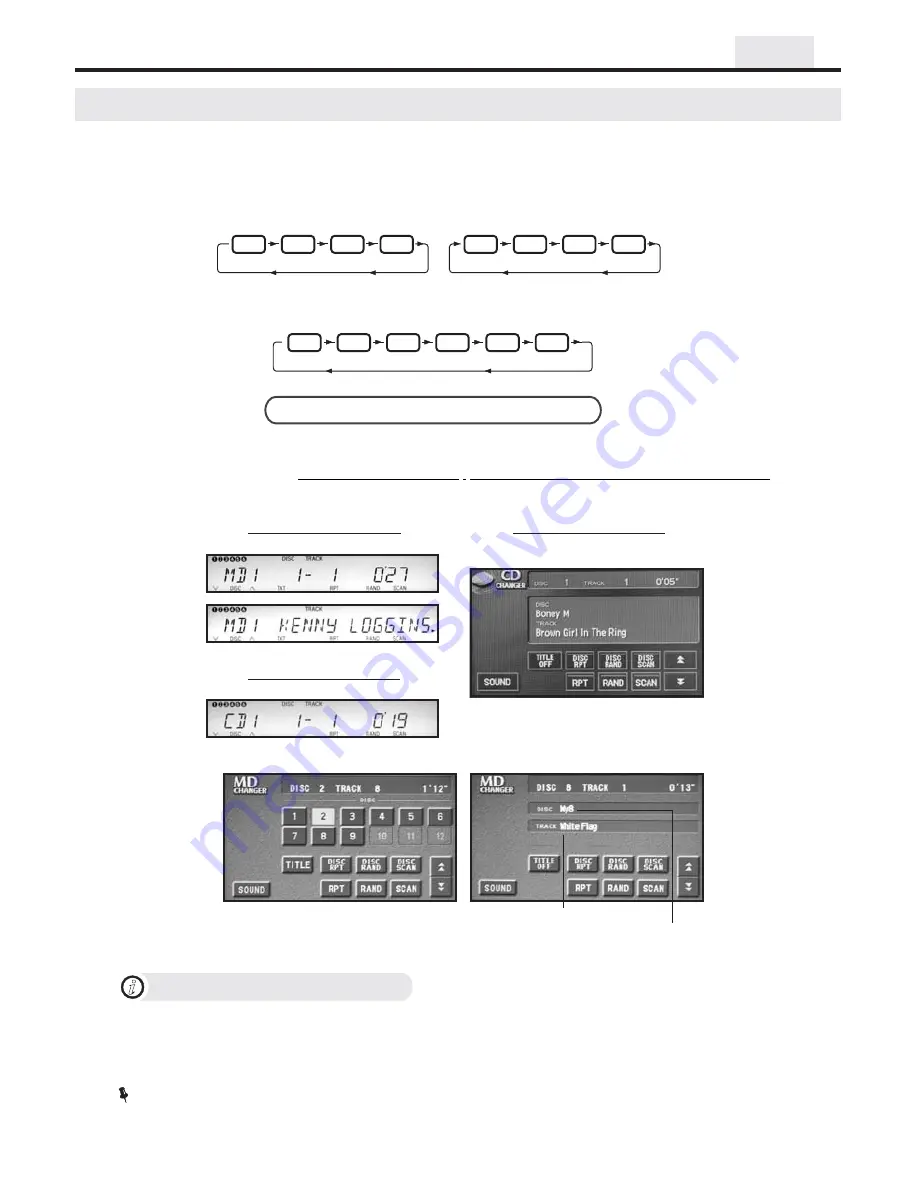
CD/MD Changer Emulation
Radio Integrated into Navigation System)
CD-Text support
VML
(
CD changer emulation
For Radio Integrated into Navigation System
Functionality Description
VML (Radio Integrated into Navigation System)
Direct Playlist selection
MAY NOT look/operate or be available on different
year and model
Song Title, Artist Name
or Album Name
(see “DISC SCAN” function)
MD changer emulation
For Radio Receiver with LCD
For Radio Integrated into Navigation System
Playlist Title
Head Unit:
“DISC”
“CD”
To switch between the unit sources you need to use
or
button on the radio
(Diagram below assumes factory CD changer is present).
Steering Wheel control:
To switch between the unit and radio you need to use the “MODE” button on the steering wheel control.
(Diagram below assumes following sources are present).
CD
CD1
CD
CD1
VML
CD
MD1
CD
MD1
VML
OR
AM
FM1
FM2
TAPE
CD
CD1
Select desired source by pressing
button on the head unit or
on the steering wheel control.
DISC
MODE
Source Selection
VML
VML
VML
This unit can be programmed in
.
Please see attached chart to determine which emulation mode is compatible with your vehicle.
CD changer emulation mode , MD changer emulation mode and CD-MP3 Emulation
Control of VML player
is done through your head unit or the steering wheel controls (explained below).
CD changer emulation
For Radio Receiver with LCD


