


10
17/05/2016
RD 300-400S/C
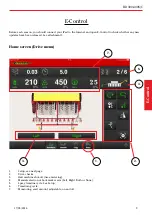
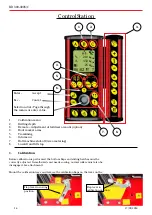
1. Setup
Press Setup to access:
Calibration of delivered seed
Fertiliser
BioDrill (option)
Radar
General (Basic settings)
Tramlining (Setting desired tramlining
programme).
Alarm settings
Workstation I/O (service menu)
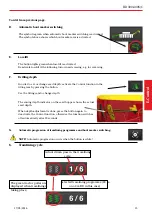
1a. Calibration
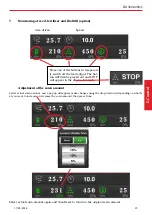
If you access any of the calibration menus, a pop up will appear:
NOTE!
Feed output stops if you access any of these menus!
Select Yes
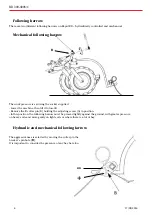
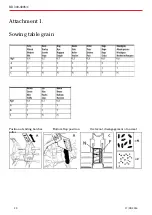
Before calibration is performed, the bottom flaps and sliding hatches must be
correctly adjusted. If small-sized seed needs sowing, normal rollers must also be
disengaged. See attachment 1.
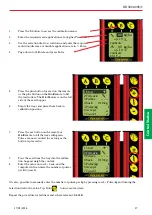
1.
Enter the required seed application rate (
kg/ha)
2.
Enter the required reduction/decrease of
variable application rate in %.
3.
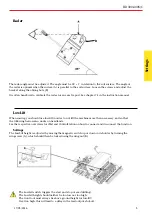
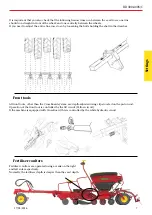
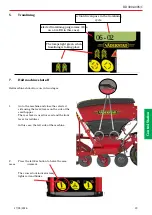
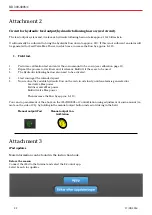
Mount the calibration trays and reverse the
calibration flaps on the lever on the side of the
seed hopper (see image on next page).


