


ProductionVIEW DV Capture 341-600 Rev. A
Page 2 of 10
Unpacking:
Carefully remove all of the parts from the packaging. Remove and identify the following parts of the
ProductionVIEW DV Capture:
ProductionVIEW DV Capture, Part Number 999-5410-000 (North America model) includes:
•
One (1) – ProductionVIEW DV Capture
•
One (1) – 18 VDC Power Supply with AC North America AC Cord
•
One (1) – 6’ RCA to RCA x 3 cable (yellow, red & white)
•
One (1) – 6’ S-Video Cable
•
One (1) – 6’ 6-Pin to 6-Pin FireWire/1394 Cable
•
User Manual (Document Number 341-600)
ProductionVIEW DV Capture, Part Number 999-5410-001 (International model) includes:
•
One (1) – ProductionVIEW DV Capture
•
One (1) – 18 VDC Power Supply with Euro and UK AC Cord
•
One (1) – 6’ RCA to RCA x 3 cable (yellow, red & white)
•
One (1) – 6’ S-Video Cable
•
One (1) – 6’ 6-Pin to 6-Pin FireWire/1394 Cable
•
User Manual (Document Number 341-600)
Key Features:
•
Converts analog video and audio to DV format.
•
Compatible with a wide range of DV editing software (see list tested software on page 7).
•
DV Capture automatically detects which video input (480i component, S-Video or composite) is
connected to the device.
•
DV Capture has a choice of either balanced (XLR) or unbalanced (RCA) left and right inputs for
audio, with 24 dB attenuators on each input
•
Compatible with both PC and Mac computers.
•
Auto detection for NTSC and PAL video standards
Operating the ProductionVIEW DV Capture:
The ProductionVIEW DV Capture can be used as either a stand-alone device, or integrated with
ProductionVIEW series of camera control consoles and switchers. To set up the DV Capture, connect up
your choice of audio (balanced or unbalanced) and video (component, composite or S-video). Plug in the
6-pin FireWire/1394 cable and connect the other end to your computer FireWire/1394 input.
DV Capture is a true “plug and play” device, with no programming or configuration required. Once all
your cabling is connected to DV Capture and to your computer, plug in the power supply, turn your
computer on and launch your digital video capture or editing software.
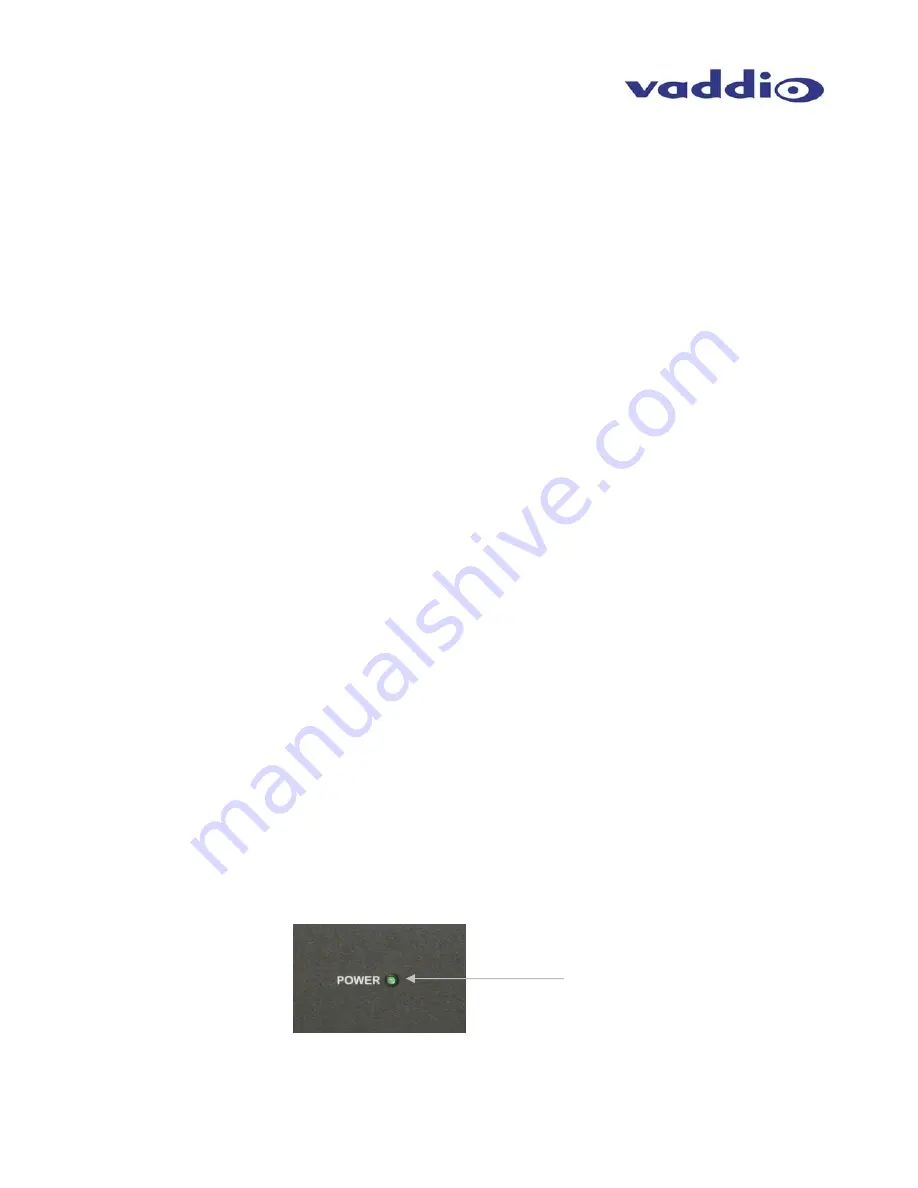
Front Panel:
The front panel has a green LED power indicator light. When the power supply is plugged in, the LED
illuminates.
Power LED
Figure 2
: Power light indicates when DV Capture is receiving power.


