16
MENUS
I. Phonebook
1. Adding Entries in the Phonebook
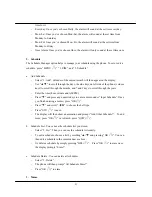
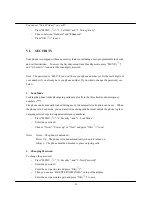
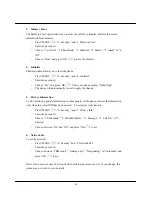
After selecting “MENU ( )”, “1. Phone Book” and “1. PB Add” to add a phone number;
- Press “EDIT ( )” and designate a name. Press “OK ( )” to complete.
- Scroll
“
▲
/
▼
” to edit the location number and the phone number. Once you’ve finished
editing, press “OK ( )” to save.
- Assign the phone number as a Mobile, Home, Office, or Etc by scrolling “
◀
/
▶
”.
※
Note) A yellow frame outlining characters indicates that you can edit or type. For example,
if “No Name” has a yellow frame outside of each character, you can enter the name. Or if [001]
has a yellow frame outside of each number, you can change the location number.
To add Group, E-mail Address, Memo, or Bell Type for CID incoming rings, scroll “
◀
/
▶
”
before you press “OK ( )”.
- Group:
Scroll
“
◀
/
▶
” to choose Group and press “NEXT ( )” to scroll through
Family, Friends, Business, and No Group.
- E-mail: Press “EDIT ( )” to enter an e-mail address. Press “OK ( )” to complete.
- Memo: Press “EDIT ( )” to write a memo. Press “OK ( )” to complete. For more
information on writing memos, refer to ‘ENTERING LETTERS & NUMBERS’ on
page ___.
- Caller Identified Ring: If you are receiving Caller ID service and would like to set a
distinctive ring for a recognized phone number, press “NEXT ( )” and choose a
desired incoming bell type.
- Once finished registering all information for the entry, press “OK ( )” to store.
- Then you can see a message that the number you wanted to store was stored
successfully. And it goes to stand-by mode.
2. Phonebook
Search
Access the Phonebook by pressing “
▼
” and view the list of all stored entries. Here, phone
number can also be searched by name, number, location number, or group.
a. Search
by
name
Search numbers stored in the Phonebook by entering a name.


