8
BUILD-IN ANTI-SCALE SYSTEM
The build-in anti-scale cartridge is designed to reduce the build-up of lime scale which
occurs during steam ironing. This will prolong the working life of your iron.
Note:
That the anti-scale cartridge will not completely stop the natural process of lime
scale build-up.
SELF-CLEANING
This function removes the scales and minerals built up in the Steam Chamber. The iron
will remain in the best condition if this function is performed at least once a month or
more regularly depending on the hardness of the water used.
1. Fill the iron as described in How to Fill Water; fill the water tank up to half.
2. Place the iron on a surface in upright standing position.
3. Connect to a mains supply outlet.
4. Turn the Temperature Dial in clockwise direction to ‘Max’ setting.
5. Pilot light glows indicating the iron is switched on.
6. Pilot light goes off when the required temperature is reached.
7. Wait for one more cycle; pilot light glows and goes off.
8. Turn the Temperature Dial in anti-clockwise direction to ‘Min’.
9. Disconnect the iron from mains supply outlet.
10. Hold the iron horizontally over a sink.
11. Press and hold the Self-Cleaning button.
12. Steam and boiling hot water will drain from the holes on the sole plate washing away
the scales and minerals that have built up inside the Steam Chamber.
13. Gently move the iron back and forth until the water tank is empty.
14. When Self-Cleaning is complete, release the Self-Cleaning button.
15. Rest your steam iron back on its heel rest and allow to fully cool down.
16. Wipe the sole plate with a cold damp cloth.
Caution:
Keep skin/body away from the hot water.
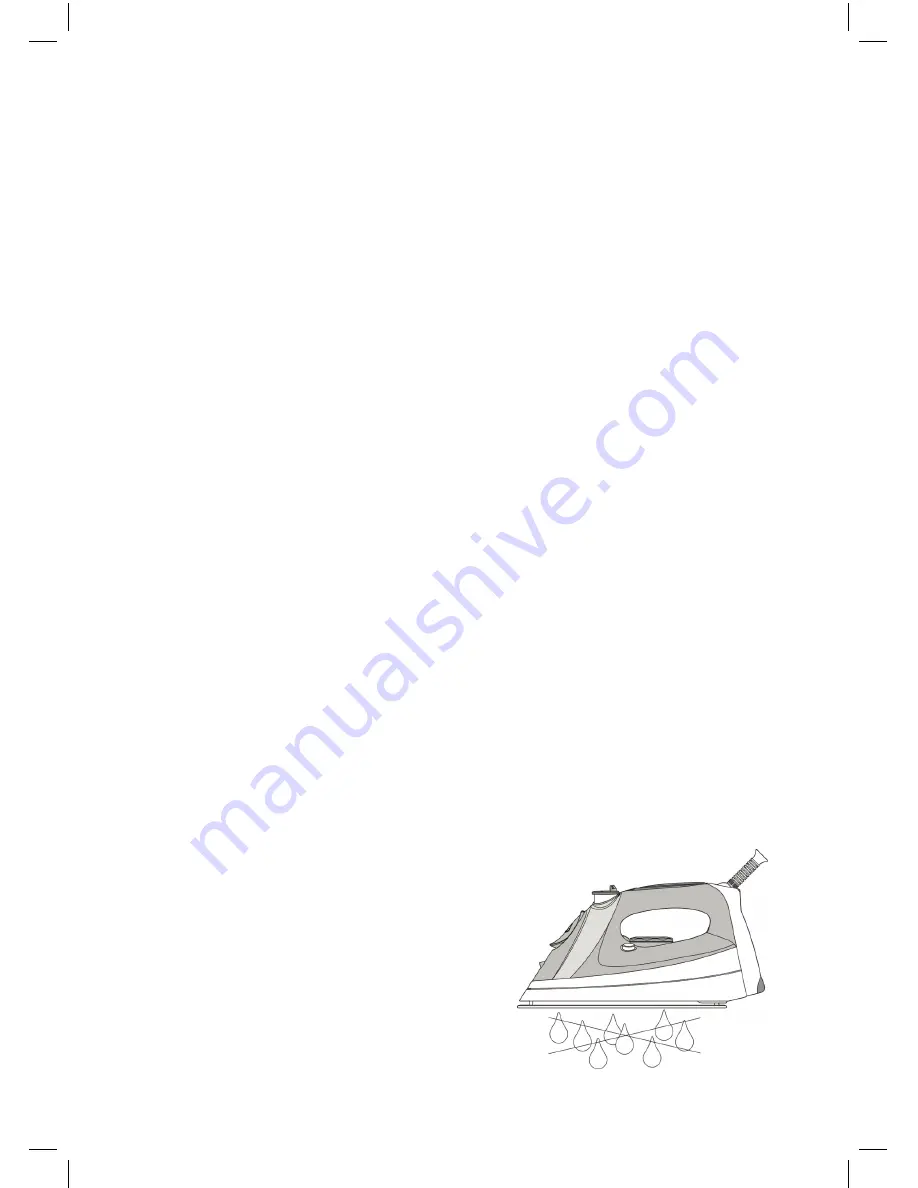
ANTI-DRIP
1. Anti-drip system, which is designed to
prevent water escaping from the sole plate
when the iron is too cold automatically.
2. During use, the anti drip system may emit a
loud clicking sound,particularly during heat-
up or whilst cooling down. This is perfectly
normal and indicates that the system is
functioning correctly.
Содержание Techne 1000
Страница 1: ...STEAM IRON Techne 1000 INSTRUCTION MANUAL...
Страница 10: ...10 NOTES...
Страница 12: ......


