English
7
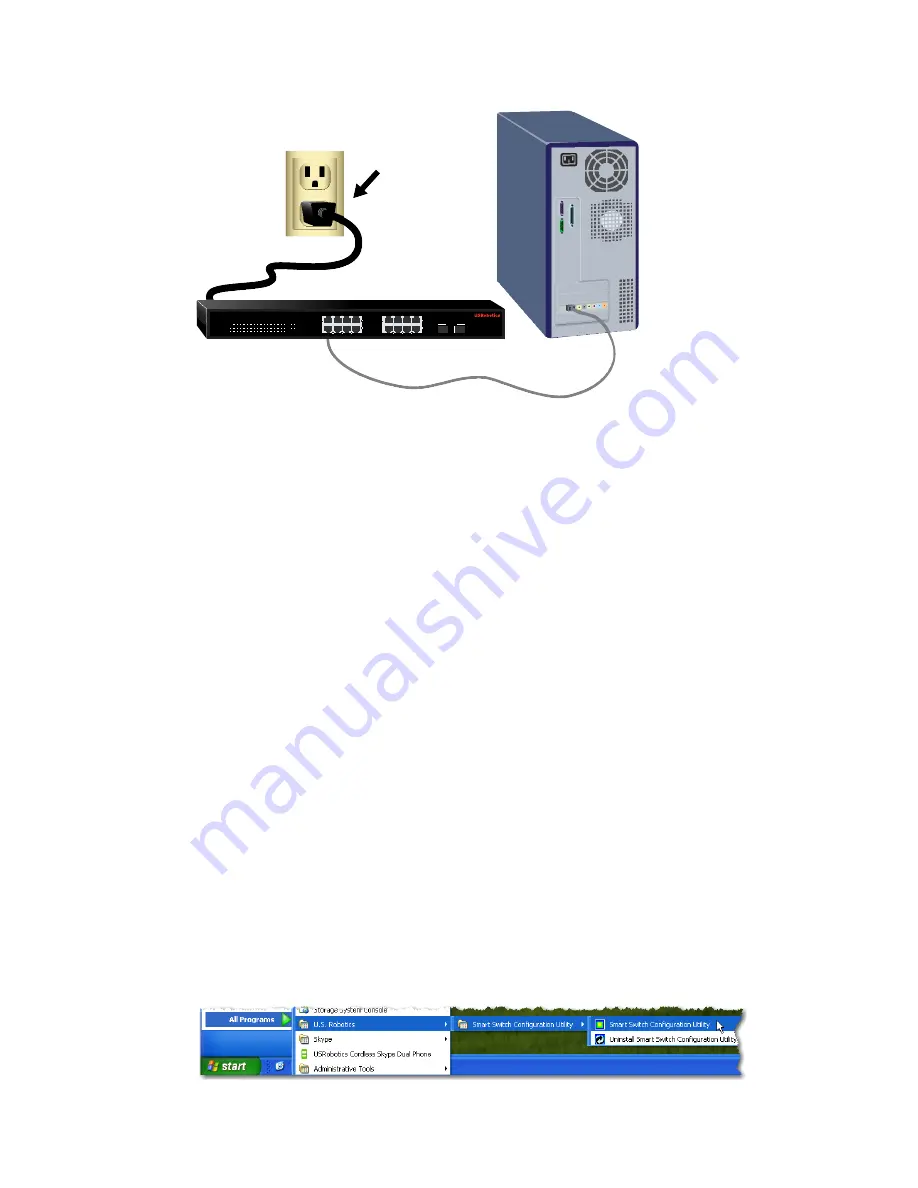
2. Connect the power cord to the 100-240VAC port on the switch, then plug
the power cord into a standard power outlet.
Step Three: Assign an IP Address to the Switch
If you are using an operating system other than Windows, see the
User Guide
on
the USRobotics Installation CD-ROM for instructions on assigning an IP
address to the switch.
If you are using a Windows operating system, the Smart Switch Configuration
Utility is the easiest way to set up the switch’s basic configuration. For informa-
tion about other features available in the utility, see the
User Guide
on the
USRobotics Installation CD-ROM.
Install the Smart Switch Configuration Utility
1. Insert the USRobotics Installation CD-ROM in the CD or DVD drive.
If the CD doesn’t start automatically, start it manually as follows:
A. Windows XP: Click Windows
Start
>
My Computer
.
Windows 2000: On the desktop, double-click
My Computer
.
B. Double-click the CD drive.
2. Follow the on-screen instructions to install the Smart Switch Configuration
Utility.
Assign the IP Address
1. Start the Smart Switch Configuration Utility as follows:
Click Windows
Start > Programs > USRobotics > Smart Switch
Configuration Utility
as shown below:
1
5
3
7
13
15
9
11
2
6
4
8
14
16
10
12
POWER
SYSTEM
Link/ACT
1000Mbps
100Mbps
1000Mbps
Link / ACT
1
2
3
4
5
6
7
8
9
10
11
12
13
14
15
15
16
16
15
16
mini-GBIC
mini-GBIC
10/100/1000 Mbps
16-Port Smart Switch


