English
PAG
.
16
rev 1.0
BASIC OPERATIONS
2. BASIC OPERATIONS
2.0. SWITCH ON STB
Switch the [Device’s Main Power] switch on.
When the STB is first used it will display the quick setup page
where the receiver can be configured quickly.
For further use the STB will play the same channel as last time
when it was switched off.
? FREQUENTLY ASKED QUESTION
Q: The power of my STB is on and it is running in TV mode but
the TV screen shows nothing:
A: Make sure the TV set has been set to the correct video input
(not the TV channels). For example, if you have connected the
STB to the Video1 input of the TV set, then you need to select
the corresponding Input on the TV. Mostly it is done with the AV
button of the TVs remote control unit.
Q: My STB is running in TV mode but the TV screen shows
nothing except one ball and “No Signal”.
A: That means the channel you selected has no signal. This can
be caused by several reasons:
1. The channel you selected is not from the satellite to which
your dish is pointing. Select another channel.
2. The signal of current TV channel is too weak. You can
try to change to other channels with a stronger signal. If the
problems still exist, please consult your local dealer or installer
for technical service.
3. You selected the wrong LNB type in the installation menu or
your DiSEqC switch configuration is not correct.
2.1. STANDBY
1. Press [Power] button to switch from TV mode to Standby
mode.
2. In Standby mode press [Power] button again to switch back
to TV mode. The last active channel will be showed.
3. To switch off the STB complete press the main power button
(placed at the rear panel of the receiver).
2.2. TTX
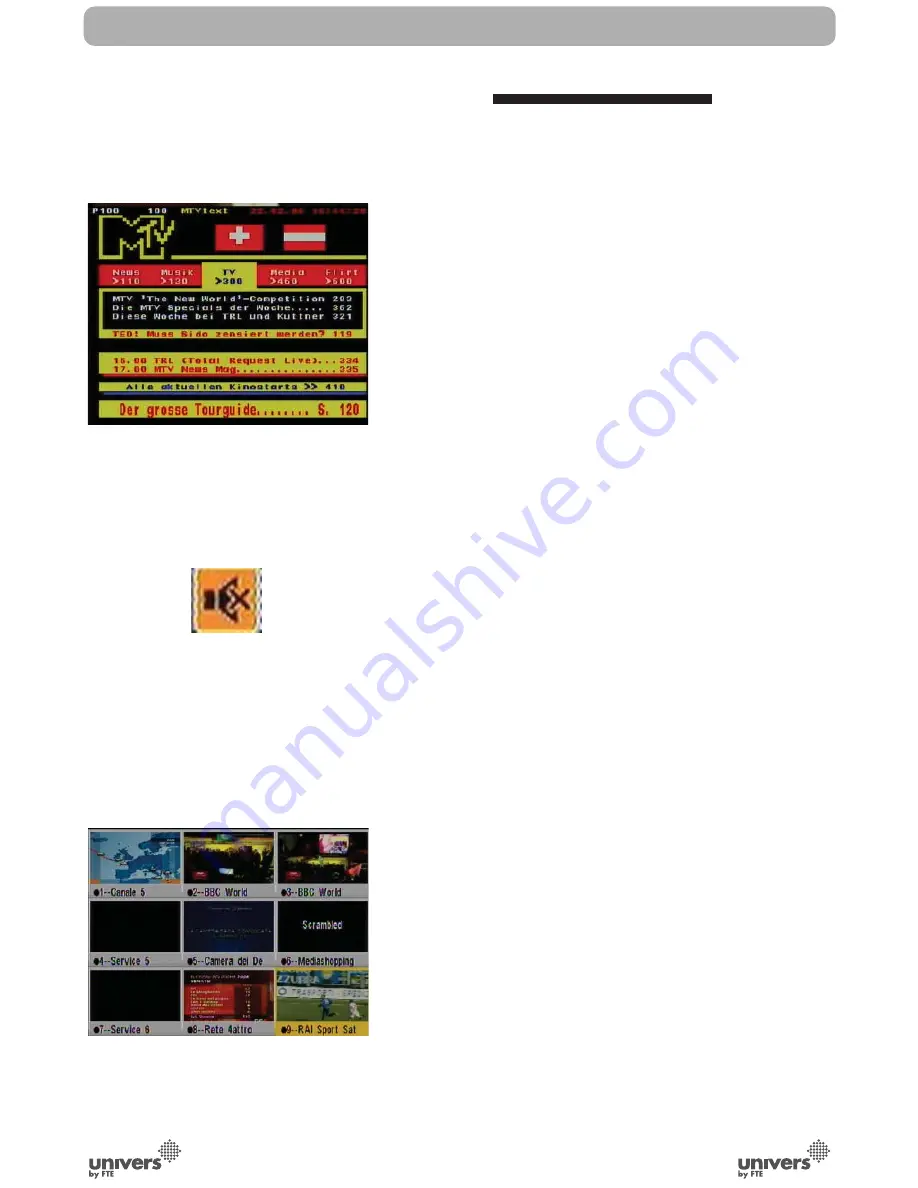
1. Press [TXT] button in TV mode to open the teletext page
(OSD 1). This service is depending on the support of the
channel provider.
2. If the channel does not support teletext information, it will
show “No Teletext Data” on the screen.
2.3. MUTE
1. Press the [Mute] button to mute the sound. On the screen an
icon will be displayed to indicate the muted sound (OSD 2).
OSD 1
OSD 2
OSD 3
Содержание U4132
Страница 1: ...U4132 ...


