15
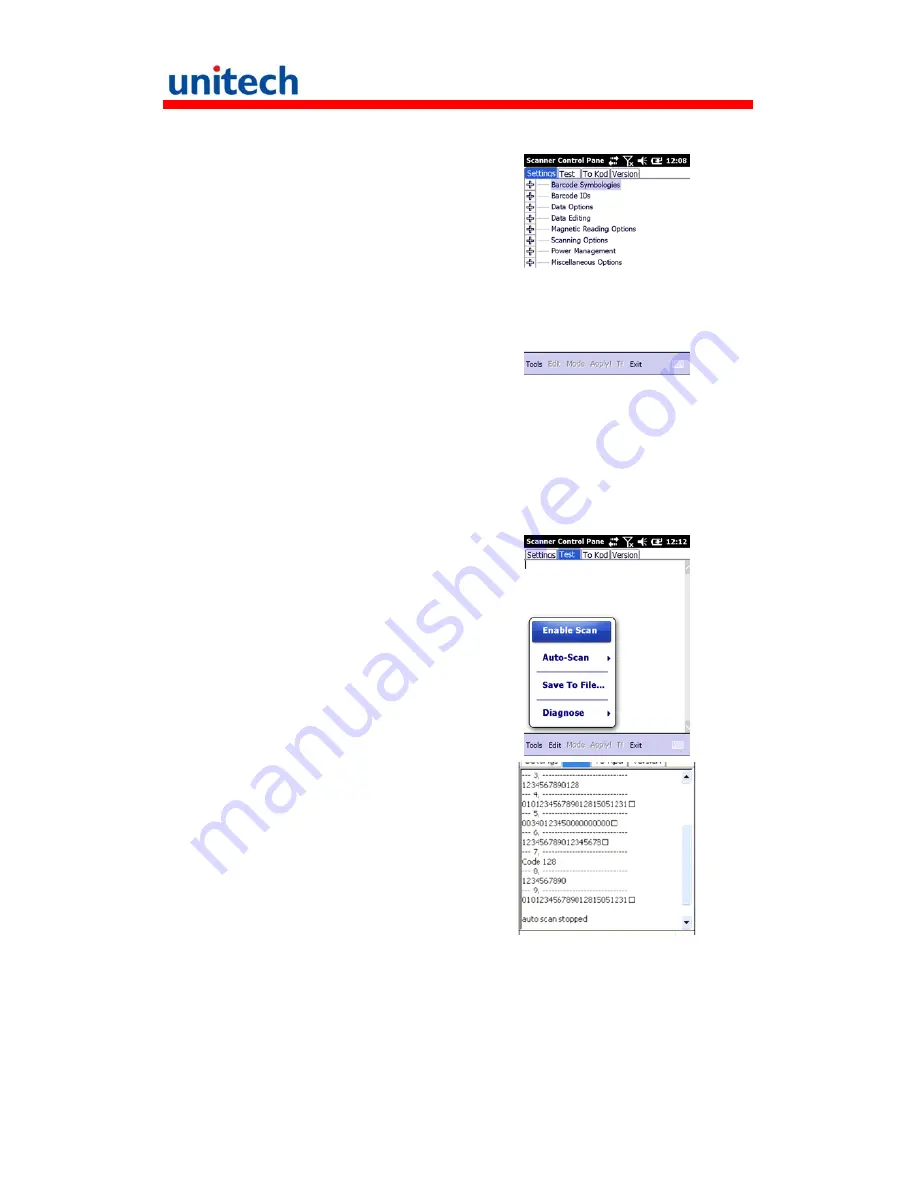
To launch the Scanner Control Panel, follow these instructions.
1. Tap
Start
→
Settings
→
System
2. Tap the Scanner icon. The
Scanner Control Panel appears.
NOTE:
Or press Func key and “7”
button simultaneously to bring
up the Scanner Control Panel
screen.
In the Scanner Control Panel screen, you can configure barcode scanner
parameters such as enabling or disabling barcode symbologies, setting data
transmission options, configuring magnetic and proximity reading options, and
setting power management options. See the section of
Barcode Symbologies
.
To test the barcode laser scanner, follow these instructions.
1. Tap the Test tab to activate the demo program.
2. Tap
Tools
→
Enable Scan.
Or tap Tools
→
Auto-Scan
→
Start Auto-Scan.
Define the scan interval. Tap Start.
3. Aim the laser scanner at the
selected barcode, and press
either one of the scanner trigger
button on the device.
If you enable Auto-Scan, you don’t
have to press any button. Aim the
laser scanner at the selected
barcode while the laser emits light
at regular intervals v.
The scanned barcode data
appears on the screen.
4. Tap
Tools
→
Auto-Scan
→
Stop Auto-Scan.


