O
perating
the
M
icrOsensOr
M
ultiMeter
All movement between tabs and menu
options is performed by pressing
the select and arrow keys next to the
display.
• To select a tab or menu point, press
Select.
• To adjust a menu point, press the up
and down arrow keys.
• To exit a menu point and go back to
the menu, press the left arrow key.
a
djusting
the
pre
-
aMplificatiOn
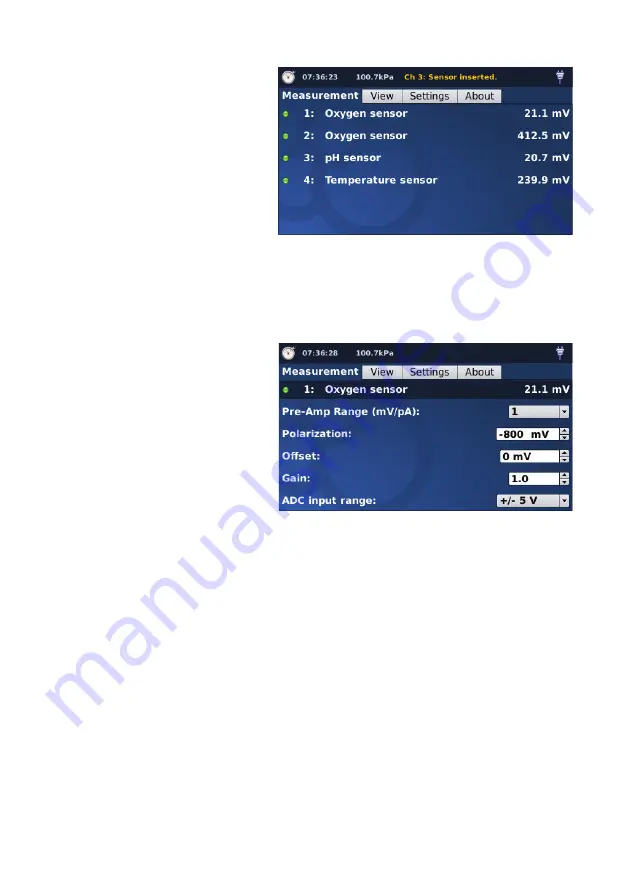
You may need to adjust the pre-amplification range of the sensor. This is done in the Measurement
tab on the Microsensor Multimeter by selecting the relevant sensor. The appropriate range is the
lowest range that can accommodate the highest signal to be measured. The range 1 mV/pA is
selected per default. If the expected
maximum signal in this range exceeds
4500 mV, the range should be changed
to 0.1 mV/pA. If the expected maximum
signal is less than 500 mV in the 1 mV/pA
range, then the 10 mV/pA range should
be selected.
c
Ompatibility
s
ensOrs
The Microsensor Multimeter can be used
only with sensors with LEMO connec-
tions. Adaptors are available for sensors with BNC connections.
In the standard configuration, the Microsensor Multimeter has amperometric channels on channel 1
and 2, a potentiometric channel on channel 3, and a temperature channel on channel 4. For custom
configured instruments, please refer to your order confirmation for channel setup.
Amperometric sensors: O
2
, H
2
, H
2
S, N
2
O, NO, NO
2
-
, NO
3
-
, Flow, Diffusivity, APOX, TPOX, STOX,
Potentiometric sensors: pH, Redox
Temperature
Sensors that are automatically recognized and polarized: O
2
, H
2
S, pH, Redox, Temp.
All other sensors AND all BNC sensors connected via an adapter are recognized as “Sensor for manual
setting” and polarization is set manually. Please refer to the relevant sensor manual for polarization
values.


