background image

8

Safety and Regulatory Instructions

Regulatory Compliance Statements (EU/EFTA only)

This equipment is intended to be used in the whole EU & EFTA. This equipment is in compliance 
with the essential requirements and other relevant provisions of R&TTE Directive 1999/5/EC and 
2009/125/EC (Eco Design).

The Declaration of Conformity may be obtained from your installer.

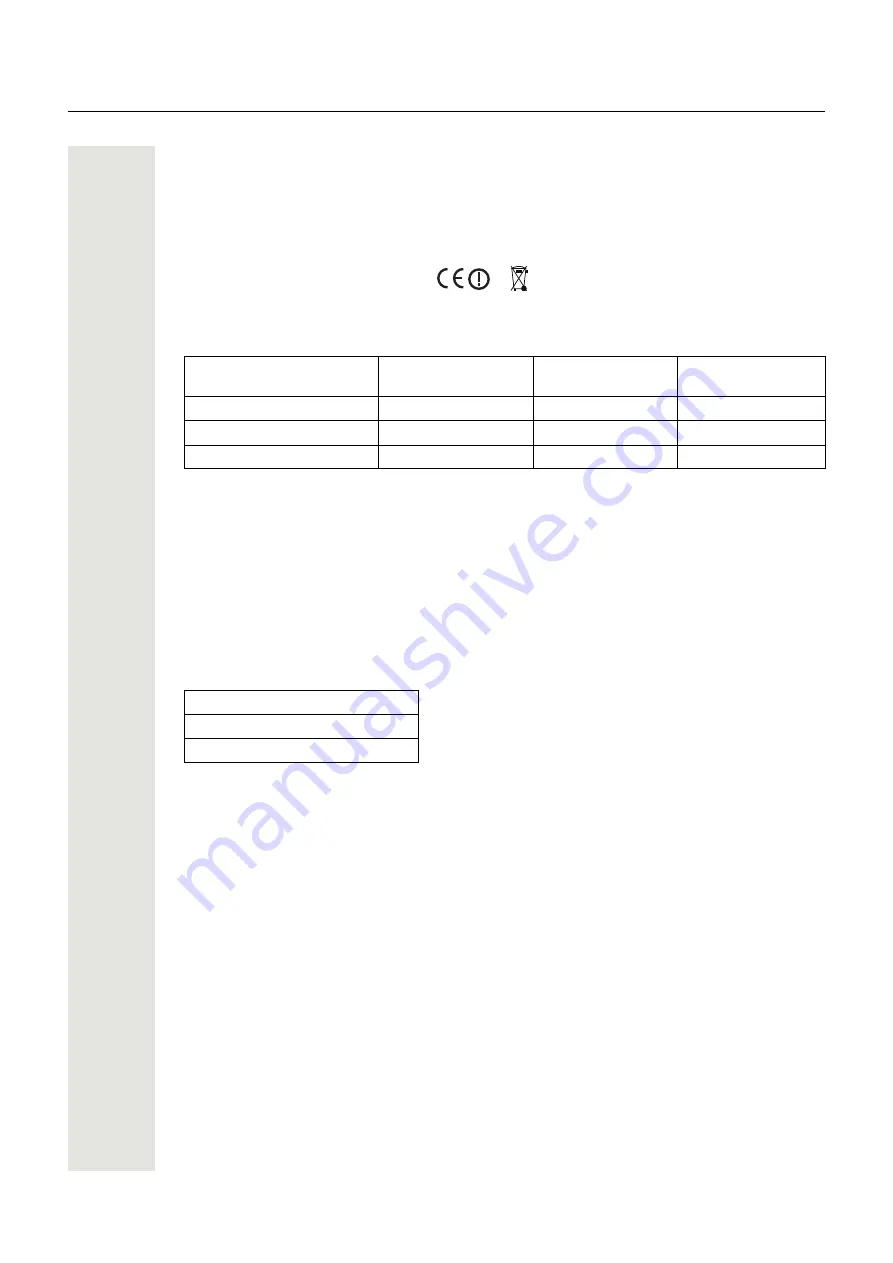
The handset is marked with the label 


Restrictions for Wireless LANs (EU/EFTA and USA/Canada) 

Additional National Restrictions

Always consult local authorities for the latest status of National Regulations for both 2400 and 
5000 MHz wireless LANs.

Regulatory Compliance Statements 

(USA and Canada only) 

FCC and IC Compliance Statements

This equipment has been tested and found to comply with the limits for a Class B digital device, 
pursuant to part 15 of the FCC Rules. These limits are designed to provide reasonable protection 
against harmful interference in a residential installation. This equipment generates, uses and can 
radiate radio frequency energy and, if not installed and used in accordance with the instructions, 
may cause harmful interference to radio communications. However, there is no guarantee that in-
terference will not occur in a particular installation. If this equipment does cause harmful interfer-
ence to radio or television reception, which can be determined by turning the equipment off and 
on, the user is encouraged to try to correct the interference by one or more of the following mea-
sures:
• Reorient or relocate the receiving antenna.
• Increase the separation between the equipment and receiver.
• Connect the equipment into an outlet on a circuit different from that to which the receiver is con-

nected.

• Consult the dealer or an experienced radio/TV technician for help.

This Class B digital apparatus complies with Canadian ICES-003.

Cet appareil numérique de la Classe B conforme á la norme NMB-003 du Canada.

Privacy of communications may not be ensured when using this handset.

Frequency Band (MHz)

and Channel

Max Power Level 

(EIRP)(mW)

Indoor ONLY

Indoor and Out-

door

2400–2483.5 Ch 1–13

100

                X

5150–5350

1

 Ch 36–64

1

Dynamic Frequency Selection and Transmit Power Control are required in the 5250 to 5350 MHz and 5470 to 

5725 MHz frequency range.

200

                X

5470–5725

1

 Ch 100–140

1000

                X

FCC ID: BXZWH1
IC: 3724B-WH1
US: 9FVIPNANWH1 

HAC


Содержание OpenStage WL3 Plus

Страница 1: ...OpenStage WL3 OpenStage WL3 Plus User Manual A31003 M2000 U101 2 7619...

Страница 2: ...scriptions or characteristics of performance which in case of actual use do not always apply as described or which may change as a result of further development of the products An obligation to provid...

Страница 3: ...d Phone On Off 20 Turn the Audible Signal On Off 21 Lock Unlock the Keypad 22 Lock and Unlock the Handset 22 Calling 23 Incoming Call 23 Outgoing Call 24 In Call 25 Loudspeaking Function 28 Call Diver...

Страница 4: ...ata 61 Operation Notice 62 Accessibility and Voice Quality 62 Maintenance 63 Maintenance of Batteries 63 Attach the Hinge type Clip 64 Attach the Swivel type Clip 65 Attach Cover for No Clip 65 Replac...

Страница 5: ...unctions Refer to the Data Sheet for a complete list of licenses Read chapter Safety and Regulatory In structions on page 6 before using the WLAN Handset Prerequisite Before using the handset the syst...

Страница 6: ...CAN AUS Order number S30122 X8008 X26 OpenStage WL3 desktop charging unit without power supply unit Order number S30122 X8008 X27 The Charging Rack shall only be connected with the following power su...

Страница 7: ...terial Product packaging material is often small and may present a choking hazard Do not allow children to play with the handset It is not a toy Children could hurt themselves or others Children could...

Страница 8: ...rdance with the instructions may cause harmful interference to radio communications However there is no guarantee that in terference will not occur in a particular installation If this equipment does...

Страница 9: ...ppareil ne doit pas produire de brouillage et 2 l utilisateur de l appareil doit accepter tout brouillage radio lectrique subi m me si le brouillage est susceptible d en compromettre le fonctionnement...

Страница 10: ...subjected to extremely high temperatures such as inside a car on a hot day Use the Desktop Charger or the wall mounted Charging Rack for charging Charge the battery for at least one hour the first ti...

Страница 11: ...the loudspeaker volume 5 Mute and PTT button To turn on off audible signals in standby mode or silence the ring signal for an incoming call During a call a long press on the button changes between mic...

Страница 12: ...ock and upper lower case Combined key lock to lock the keypad and upper lower case This key locks the keypad in combination with the soft key Lock This key also switches between upper lower case and d...

Страница 13: ...ubleshooting on page 66 or Attach the Swivel type Clip on page 65 Use the clip to attach the handset to a pocket belt or similar It is also possible to use the handset without any clip on see Attach C...

Страница 14: ...ters unless the key is pressed be fore entering the character To switch between Abc ABC abc and 123 press the key A long press on the key displays special characters A long press on the key changes th...

Страница 15: ...ar is placed to the right of the Active area It becomes visible when a menu screen has more than six menus or if the complete text in a message cannot be displayed on the screen simultaneously Icons S...

Страница 16: ...ement alarm is enabled Profile active icon Missed call icon is added to all missed calls in the call list Incoming call icon is added to all answered calls in the call list Outgoing call icon is added...

Страница 17: ...u contains Call list Missed calls Diverted Calls1 and Call Services such as Call waiting Divert calls1 Do not disturb1 and Hide calling ID The Connections menu contains Headset selection Network selec...

Страница 18: ...plied documentation Battery Pack Charger The battery pack charger CR4 is used to charge up to six spare batteries For further information please have a look at the supplied documentation Clip There ar...

Страница 19: ...ended if the handset is frequently used and or if the user wants to have both hands free The headset comes in three versions microphone integrated in the cable or micro phone on a boom and hearing pro...

Страница 20: ...ed by any shared phone user in the system The user profile must have the phone mode Personal disabled in the WinPDM If the user is configured as per sonal that is not shared the handset becomes a pers...

Страница 21: ...e icon indicates a silent handset If a handset is shared and one of the users logs off the shared phone the lock that prevents the handset from unauthorized use is deactivated For additional informati...

Страница 22: ...any 4 8 digit personalized code 1 Press Menu 2 Select Settings 3 Select Locks 4 Select Phone lock 5 Select Auto phone lock 6 Select On On in charger or Off 7 Enter PIN code If a user forgets the PIN...

Страница 23: ...the handset out of the charger See Answering on page 53 Answer a Call When the signal sounds press Accept on the left soft key or press to answer the call in loudspeaking mode The name number of the...

Страница 24: ...ct Call list 4 Select a number 5 Press or the soft key Call to dial The number can be edited before the call is dialed Press More and select Edit number The 25 last received dialed or missed calls are...

Страница 25: ...by name 5 Enter the first name and or last name The whole name does not have to be entered TIP When searching for a contact adding or editing a contact it is possible to change the lan guage by a long...

Страница 26: ...ll on hold is indicated with End Call Prerequisite A new call has been started during the conversation see Start New Call During Con versation on page 26 1 Select the call to end by using Up and Down...

Страница 27: ...ence call again by selecting More and Conference Retr toggels between the two calls TIP The conference leader can return to idle mode and let the other two parties continue the con versation by pressi...

Страница 28: ...s indicated as missed call The call on hold is indicated with and the ongoing call is indicated with Use the soft key Retr to switch between the calls Loudspeaking Function There are two ways to activ...

Страница 29: ...to talk he presses and holds down the button Letting go of the button gives another person the opportunity to push to talk In order to participate in the conference the group members must accept an in...

Страница 30: ...tation Press Reject to decline the invitation The handset returns to the previously shown screen See also Re join a PTT Group on page 30 for more information Re join a PTT Group If you received a PTT...

Страница 31: ...conds The handset alerts by beep vibrator and LED signals depending on the settings during a pre defined period of time default 7 seconds At the same time the handset displays the message Man down war...

Страница 32: ...set the alarm function after an alarm has been sent Move the handset to an upright position after Man down Move the handset after No movement Press the Mute button if the ALS is sounds Automatic Call...

Страница 33: ...AP location to indicate where the alarm was activated Alarm with Data The data can be defined and stored manually by the user To use the function one Soft Hot key Navigation key in the handset must b...

Страница 34: ...al View the Time of a Call 1 Enter the menu by pressing the Menu soft key 2 Select Calls in the menu 3 Press Select 4 Select Call list 5 Step with Up and Down to select number in the list 6 Press More...

Страница 35: ...5 Step with Up and Down to select number in the list 6 Press More 7 Select Send message Delete Entry from the Call List 1 Enter the menu by pressing the Menu soft key 2 Select Calls in the menu 3 Pres...

Страница 36: ...stem when establishing a call The call is au tomatically disconnected after a few seconds 9 To stop the diversion select All calls and unmark the check box Press the Soft Key Back until the screen tur...

Страница 37: ...diversion select All calls and unmark the check box Press the Soft Key Back until the screen turns to idle mode Call Services Do Not Disturb 1 Enter the menu by pressing the Menu soft key 2 Select Cal...

Страница 38: ...onebook on page 25 It is also possible to access a central phonebook1 see Dial a Name from the Central Phonebook on page 25 or Central Phonebook on page 39 Call Contact 1 Enter the menu by pressing Me...

Страница 39: ...5 Press Edit 6 Select Name Work number Mobile number Other number or Ring signal 7 Press Edit 8 Enter new name number and or select new ring signal 9 Press OK 10 Press Save Delete Contact 1 Press Menu...

Страница 40: ...ch Result 1 Press Menu 2 Select Contacts in the menu 3 Select Central phonebook 4 Select Last result Only the last result will be displayed Profiles An own profile can be set up for incoming calls and...

Страница 41: ...rts flashing and the message alert signal sounds The New message icon and the content of the received message are automatically dis played The icon is displayed until all new messages are opened If th...

Страница 42: ...ect Messaging in the menu 3 Select Inbox to view the message list 4 Select a message by using Up and Down on the Navigation key 5 Press More 6 Select Forward 7 Enter additional text if needed See Alph...

Страница 43: ...rite new message 4 Enter text See Alphanumeric Keys on page 14 5 Press Send A message can be saved and sent later by pressing the Soft Key Back and select Yes The message is stored under Unsent messag...

Страница 44: ...n the list 5 Press View 6 Enter additional text if needed 7 Enter number 8 Select Send Delete Message 1 Press Menu 2 Select Messaging to view the message list 3 Select Sent to view the list 4 Select m...

Страница 45: ...s Menu 2 Select Services in the menu 3 Mark a service function usingUp and Down on the Navigation key 4 Press More 5 Select Delete 6 Press Yes Short Cuts Predefined functions can be set as short cuts...

Страница 46: ...example a number Press OK 8 Select Control question and press Select It is off by default If the control question is enabled a dialog window Proceed is displayed when pressing the defined Hot key Pres...

Страница 47: ...ess or Multi press 5 Select Function 6 Press Select to select function 7 Select function from list 8 Press Select and then press Back 9 Select Value only for some of the functions and press Select Ent...

Страница 48: ...essages 1 Press Menu 2 Select Settings in the menu 3 Select Sound Alerts 4 Select Message alert 5 Select between 10 different message alerts from list By pressing Play you can listen to the different...

Страница 49: ...enu 3 Select Sound Alerts 4 Select Hearing aid 5 Select On or Off 6 Press Back repeatedly until the idle screen appears Locks Activate the Automatic Key Lock 1 Press Menu 2 Select Settings in the menu...

Страница 50: ...Locks 4 Select Phone lock 5 Select Auto phone lock 6 Select On or On in charger 7 Enter PIN code 8 Press OK If a user forgets the PIN code it can be reset by the distributor Deactivate the Phone Lock...

Страница 51: ...lect Off 6 Press Back Display Settings Brightness 1 Press Menu 2 Select Settings in the menu 3 Select Display 4 Select Brightness 5 Select Normal or Power save 6 Press Back Screen Saver 1 Press Menu 2...

Страница 52: ...ct Settings in the menu 3 Select Display 4 Select Font style 5 Select Normal or Bold Time Date Settings Time and date format changes in the handset appear directly but changes in the system appear aft...

Страница 53: ...swering Behavior 1 Press Menu 2 Enter Settings in the menu 3 Select Answering 4 Select Answer behavior 5 Select Automatically Loudspeaking or Quick answer If Automatically is selected all in coming ca...

Страница 54: ...s set to identify the handset 1 Press Menu 2 Enter Settings in the menu 3 Select Owner ID 4 Enter name identity See Alphanumeric Keys on page 14 5 Press Save Alarm Settings Activate Man down and No mo...

Страница 55: ...tion can be sent along with an alarm It is recommended to create a shortcut for quick access to the Edit alarm data menu see Short Cuts on page 45 1 Enter the menu by pressing Menu 2 Select in the men...

Страница 56: ...tact your administrator to get sup port Network 1 Enter the menu by pressing the Menu soft key 2 Select Connections in the menu 3 Select Network 4 Select network in the list The handset restarts if th...

Страница 57: ...the handset is removed from the charger 1 Enter the menu by pressing the Menu soft key 2 Select Connections in the menu 3 Select In charger 4 Select Other actions 5 Select Change profile 6 Press Edit...

Страница 58: ...ontacting the system administrator to get support Software version Hardware version Licenses WLAN information Network information User ID To enter the Device Information menu press Menu select Setting...

Страница 59: ...hown in the message list The text Accepted or Rejected and time and date is also added in the acknowledged message Message Queuing and Message Priority To notify about new incoming messages all incomi...

Страница 60: ...differ from an ordinary message depending on the settings in the IM The application that sends the IM can determine the alert signal volume and LED indication When an IM has been read the IM may displ...

Страница 61: ...set by selecting a service Mobile data can be used to open a door or to start or stop a machine The data can either be predefined or entered after the service is selected The data can be predefined wh...

Страница 62: ...ur system Outside this area you lose contact with the system The signal strength icon is low and the text No network appears in the display Out of Range When you leave the system s coverage area a sho...

Страница 63: ...d battery icon indicates a fully charged battery Charge Spare Batteries Spare batteries can be charged with a separate battery pack charger It can charge six batteries at the same time The Low battery...

Страница 64: ...tach the battery as described in the illustration below The battery is easy to replace It is attached inside the battery lid and is connected to the handset in such a way that no improper contact is p...

Страница 65: ...ew the swivel type clip into position Attach Cover for No Clip Attach the enclosed cover as described in the illustration below when no clip is to be used Figure 13 Screw the cover into position Repla...

Страница 66: ...tate for another bad state the dialog window reopens and the beep sounds again if enabled No display The battery level is low screen sav er is set to Black also in call or the handset is defective Cha...

Страница 67: ...d calls Call Services Call waiting On Off Divert calls1 1 Depends on the VoIP protocol used Internal All calls Enter number No reply same as above When busy same as above External All calls Enter numb...

Страница 68: ...ernal call Play Back External call same as above Callback same as above Message alert Play Back Vibrating alert On On if silent Off Key sound Click Tone Silent Answering Answering key Call key Any key...

Страница 69: ...Close More Delete Yes No Delete all Yes No Back Write new message Enter text Send Enter number Send Contacts access Send Back Unsent Message list Edit Send Enter number Contacts access More Delete Ye...

Страница 70: ...ve Contacts access Save Back PTT PTT Groups1 example 1 This function is configured by the administrator Edit alarm data Alarm data example Service 1 example Select Sending message More Edit Delete Yes...

Страница 71: ...On Down same as Up key Left same as Up key Right same as Up key Multifunction button3 Long press Function same as above Value2 Control question Off On Multi press same as Long press 1 This function is...

Страница 72: ...Battery warning Repeated sound Sound once Sound off Hearing aid Off On Locks Automatic key lock On Off Phone lock Auto phone lock On On in charger Off Change PIN code Auto lock time 5sec example Sele...

Страница 73: ...anish Dansk German Deutsch Greek English English Spanish Espa ol French Fran ais Italian Italiano Hungarian Magyar Dutch Nederlands Norwegian Norsk Polish Polski Portuguese Brazilian Portugu s Br Russ...

Страница 74: ...umber Mobile number Other number Ring signal From call list Edit contact Delete contact Central Phonebook3 Search by name Search Clear Back Search by number same as above Last result Call More Back Me...

Страница 75: ...and updating the portables with new software SNMP Simple Network Management Protocol VoIP Voice over Internet Protocol VoWiFi Voice over Wireless Fidelity A wireless version of VoIP Refers to IEEE 802...

Страница 76: ...ting 28 conference 27 dial 24 divert 29 36 37 duration 23 34 end 23 multiple calls 26 transfer 26 volume 25 Call key 11 Call list 24 34 35 Case 12 Central phonebook 25 38 39 Charge battery 63 charging...

Страница 77: ...ort cuts 47 Message 44 61 alert 48 coloured 60 delete 42 display time 59 forward 42 interactive 60 priority 59 queue 59 read 41 receive 41 reply 42 sent 44 unsent 43 write 43 Message list 24 Message v...

Страница 78: ...hort cuts 47 Soft keys 11 15 45 Software version 58 Sound off key 12 Sound keys 49 Space 12 14 Special characters 14 Switch between calls 26 T Test alarm 31 Text input mode 14 Time 15 format 52 Transf...

Отзывы: