background image

62

63

 • 

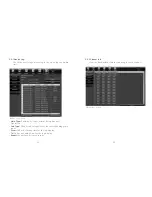
Channel Select:

 Select the channel you would like to playback.

 • 

Date Select:

 Select the date of playback desired.

 • 

Playback Interface:

 Use the toolbar at the bottom of the 


Playback

 screen to control playing progress, as shown in the 

    table below.

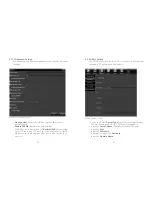
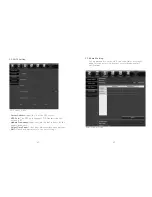
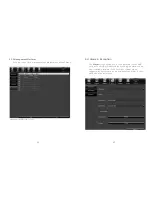
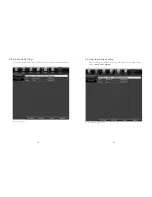
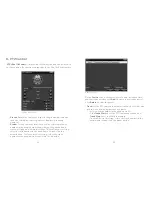
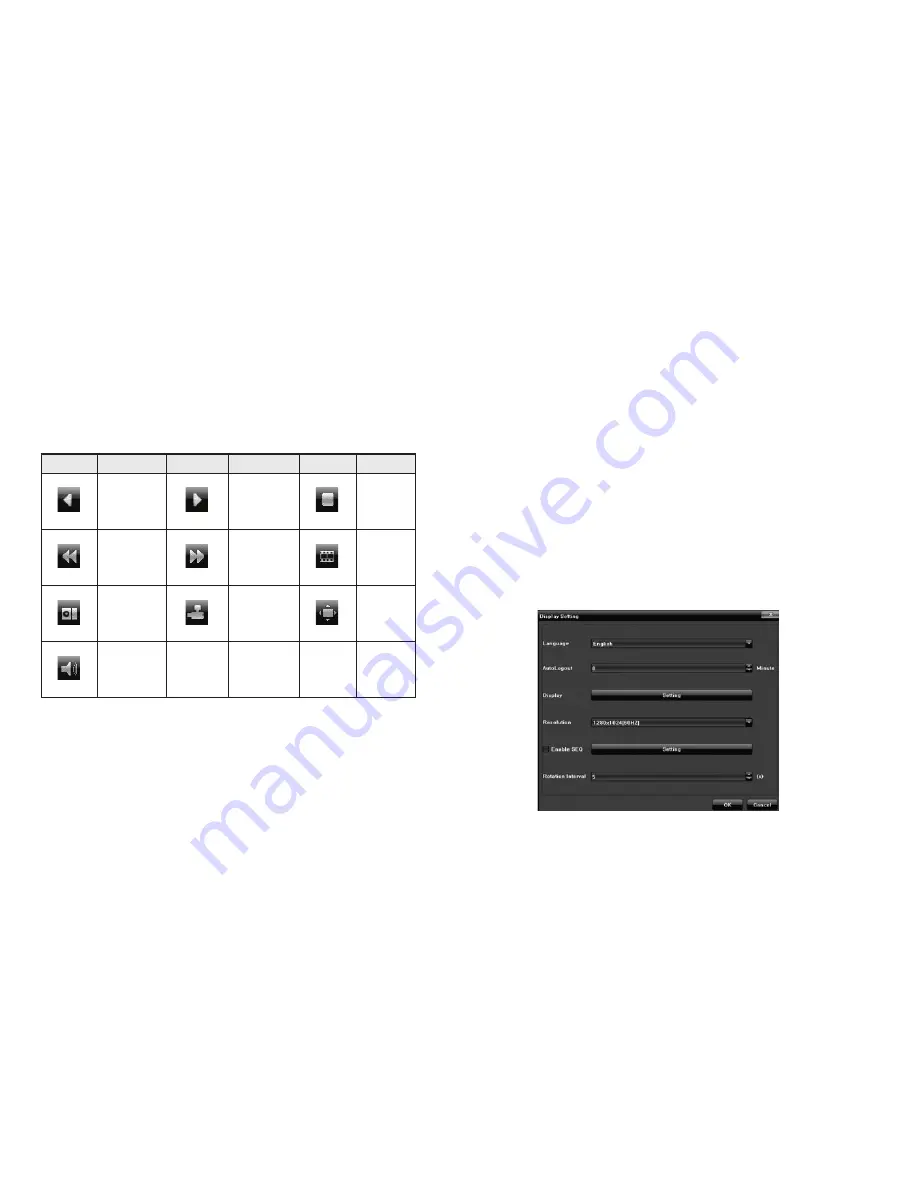
10. Display Setting 


Display Setting

 is located in the Main Menu and allows you to  


adjust the following settings. 

 
   • 

Language:

 Choose a language (Simplified Chinese, English, 


    French, etc.).

   • 

Auto Logout:

 Determine how many minutes the system must 


    be idle before it will automatically logout.

   • 

Display:

 Adjust the brightness, contrast, saturation, hue, 


    transparency, etc. of the video screen display.

   • 

Resolution:

 Select from resolution options to match your 

     display.
   • 

Enable SEQ:

 Click the check box in front of 

Enable SEQ

 and 


    click the 

Setting

 button to select the channel. Selected 


    channels will be displayed in a rotation on the viewing screen. 

   • 

Rotation Interval:

 Set the rotation interval time in seconds.

Button

Operation

Button

Operation

Button

Operation

Backward

Play

Stop

Slow Down

Fast Forward

Frame

By

Frame 

Play

Snapshot

Backup

Full Screen

Volume

Dispaly Setting Screen

Содержание Pro7800N1

Страница 1: ...Pro7800N1 NVR User Manual...

Страница 2: ...2 5 Video Lost 28 5 2 6 Tampering Alarm 30 5 2 7 Video Mask Setting 33 5 3 Network 35 5 3 1 Network Setting 36 5 3 1 1 Advanced Setting 38 5 3 2 DDNS Setting 39 5 3 3 NTP Setting 40 5 3 4 Email Setti...

Страница 3: ...over the Start button and allows you to Power Off Reboot Login Logout access the User Guide set the Device Time and adjust Volume Main Menu Start Sub Menu Screen Login Screen Power Off To begin switch...

Страница 4: ...work Setting IP Input the Network s IP address Subnet Mask Input the corresponding IP Subnet Mask Default Gateway Input the corresponding gateway address Click Next to save and continue logging in to...

Страница 5: ...eeds for each individual channel 4 IP Channel Setting 4 1 Add IPC Automatically Select IP Channel Setting from the Main Menu and click the Search button All the IPCs that are connected to the NVR will...

Страница 6: ...add all of the listed IP cameras to the channel window on the right Click Save to continue 4 2 Add IPC Manually You can also manually add the IP Cameras if you already know the address by typing it i...

Страница 7: ...nable Select the relevant channel and check Enable to enable a channel Protocol Select a protocol type from Onvif Standard protocol I8 Private protocol I9 Private protocol and RTSP protocol Address Ed...

Страница 8: ...click the channel settings that need to be modified under Channel and fill in the relevant parameters click Modify to save 4 5 Delete IPC Mark the IPC parameters that needed to be removed and click t...

Страница 9: ...modify the basic device information System Version View the system version number PTZ Setting Set the parameters for the Pan Tilt Zoom PTZ dome cameras DST Setting Set the Daylight Savings Time DTS s...

Страница 10: ...to modify Local Camera Name Enter the camera s name you would like displayed on the channel Time Format Choose from a 24 hour or 12 hour time display Date Format Choose how you would like the date to...

Страница 11: ...ion Frame Rate Choose frame rates from the drop down menu The default is full frame rate Video Quality Select the quality of video you would like displayed The default is highest quailty I Frame Inter...

Страница 12: ...left mouse button and drag the cursor to select the area to define the preferred recording time Double click to set the start and end times left mouse button and drag the cursor to select the area to...

Страница 13: ...djust for Pre Recording and Post Recording 5 2 4 Motion Detection Set the motion detection settings for each video channel and use Copy To to transfer the settings to other channels Note IP Cameras mu...

Страница 14: ...Settings Adjust the motion detection s Sensitivity to determine how much motion must register on the system before you are alerted Set Arm Schedule for the motion detection Set Linkage to define the...

Страница 15: ...ses video Use Copy To to transfer the settings to other channels Click the check box in front of Enable Video Lost to turn on the feature Set the Arm Schedule Select the Linkage to define the Trigger...

Страница 16: ...a is tampered with Note IP Cameras must support tampering alarm Click the check box in front of Enable Video Tampering to activate this feature Define the tampering alarm areas under Area Settings usi...

Страница 17: ...hedule Select Linkage to define the Trigger Mode in the event of tampering Linkage Screen Video Mask Screen 5 2 7 Video Mask Setting Use Video Mask to block off the portion of the camera s video that...

Страница 18: ...ttings Screen Network Screen 5 3 Network The Network screen gives you access to your network settings Click the check box in front of Enable Video Mask to turn on this feature Define mask areas under...

Страница 19: ...amera s access in the POE ports should be the same as the NIC2 IP Input the relevant IP Address number DHCP Click the check box in front of DHCP It will automatically input a valid IP according to the...

Страница 20: ...PPOE function for NVR dialing Click the check box in front of Enable UPnP after setting the HTTP port and TCP port so it can match successfully Make sure the port number does not conflict with other d...

Страница 21: ...ansmission the default is 123 Update Frequency Input the time interval in hours for the update frequency Select Time Zone Select from different time zone options GMT Make fine adjustments to the time...

Страница 22: ...Alarm Exception The Alarm screen allows you to set up alarms for the NVR system The NVR will alert you by sounding an alarm sound and creating a pop up of the live video stream when triggered by even...

Страница 23: ...44 45 5 4 1 Alarm Input The Alarm Input enables alarm processing sets the alarm schedule and selects the trigger mode Alarm Input Screen Linkage Screen Screen...

Страница 24: ...2 Alarm Output Sets the alarm output delay and alarm schedule 5 4 3 Exception Sets the alarm event types alarm audio type and alarm display settings for the monitor Alarm Output Screen Alarm Exceptio...

Страница 25: ...t Setting View and modify details of the user accounts in your system 5 5 1 User Information Setting Add modify or delete users and define user permissions under Account Setting Account Screen Account...

Страница 26: ...5 5 2 User Online Checking Check to see the current status of each online user s connection User Online Screen 5 6 System Administration The System screen allows you to modify system settings System S...

Страница 27: ...of data streaming for each channel Main Type Sorts by All Types Alarm Exception and Operation Sub Type Defines sub categories for the corresponding main types From Define a starting time for the log d...

Страница 28: ...Check the capacity and free space of the Hard Disk Drive HDD and format if needed 5 6 4 System Update Browse and select an upgrade file to upgrade the system hardware and view progress HDD Setting Scr...

Страница 29: ...o Reboot Enable or disable the NVR system to reboot one time or set a daily or weekly rebooting schedule 5 6 6 Recovery Configuration Export or import a recovery file Auto Reboot Screen Recovery Confi...

Страница 30: ...ise number in the drop down list and click the arrow button To delete a cruise setting select the cruise number in the drop down list and click the X button On the Cruise screen set preset preset name...

Страница 31: ...vidual channels 8 Manual Snapshot Select Capture on the Main Menu and click the camera button in the lower right corner of the screen to take a snapshot of the preview screen The snapshot pictures can...

Страница 32: ...many minutes the system must be idle before it will automatically logout Display Adjust the brightness contrast saturation hue transparency etc of the video screen display Resolution Select from reso...

Страница 33: ...ey are the setting screen will display Select a single channel or check All to select all channels for backup Using the From and To fields select a start and stop time for the backup Select a file typ...

Страница 34: ...ice such as a USB drive 14 Image Setting Adjust the brightness contrast saturation and hue on the video image through Image Setting located on the Main Menu 15 Screen Aspect Ratio Segmentation Set the...

Страница 35: ...omer Service offering quality support when you need it including Direct Pro Support Customer Support 24 7 Videos Remotely view all your devices from your smartphone or tablet Playback video Capture im...

Отзывы: