6
7
•
User Guide:
After logging into the DVR interface, the
User Guide
set-up will begin, which will walk you to through the
following steps:
3) Network Setting:
Input the IP address, Subnet Mask and
Default Gateway address of your network. Click
Next
to save
and continue:
You can come back and modify the user guide settings at any
time after the initial set-up by clicking on
User Guide
in the
Start
menu and opening it directly.
•
Power off:
Clicking
Power Off
in the
Start
menu will cause the
DVR to automatically shutdown.
•
Reboot:
Clicking
Reboot
will automatically restart the DVR.
•
Logout:
Clicking
Logout
will kick off the current user and display
the login screen for the next user to login.
•
Device Time:
Clicking on
Device Time
will open or close the
DVR’s time settings.
•
Volume:
Clicking
Volume
will open or close the DVR’s audio
settings.
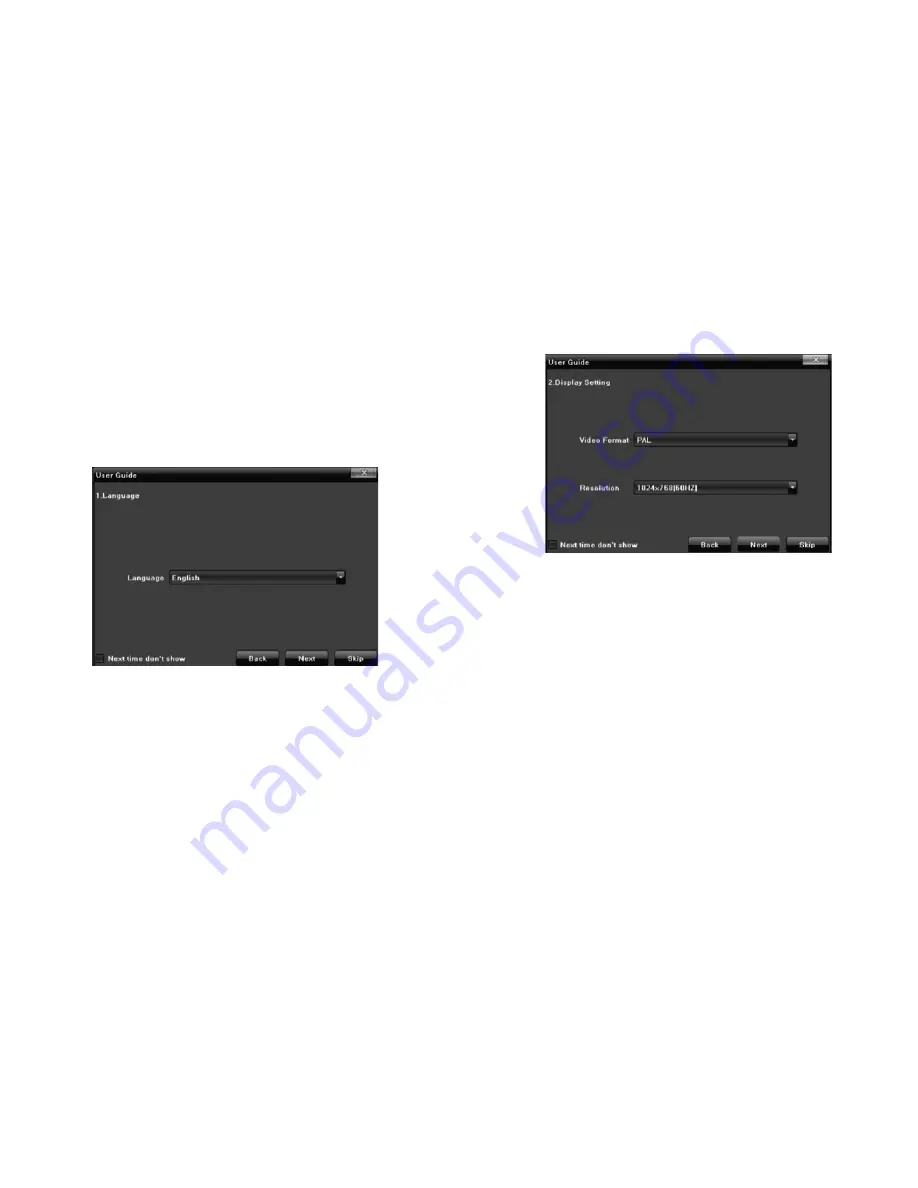
1) Language:
Click the right down arrow to select from a list of
languages. The default language is English. Once your language is
selected, click
Next
to save and continue:
2) Display setting:
Select a Video Format and set a Resolution
that matches the resolution of your display by clicking on the right
down arrow next to the box. The default Video Format is NTSC
and the default Resolution is 1024x768 (60HZ). After these are
selected, click
Next
to save and continue:
User Guide Language Selection
User Guide Display Setting
Содержание Pro7400H1
Страница 1: ...Pro7400H1 Hybrid DVR User Manual...


