


16
BUTTON
FUNCTION
BUTTON
FUNCTION
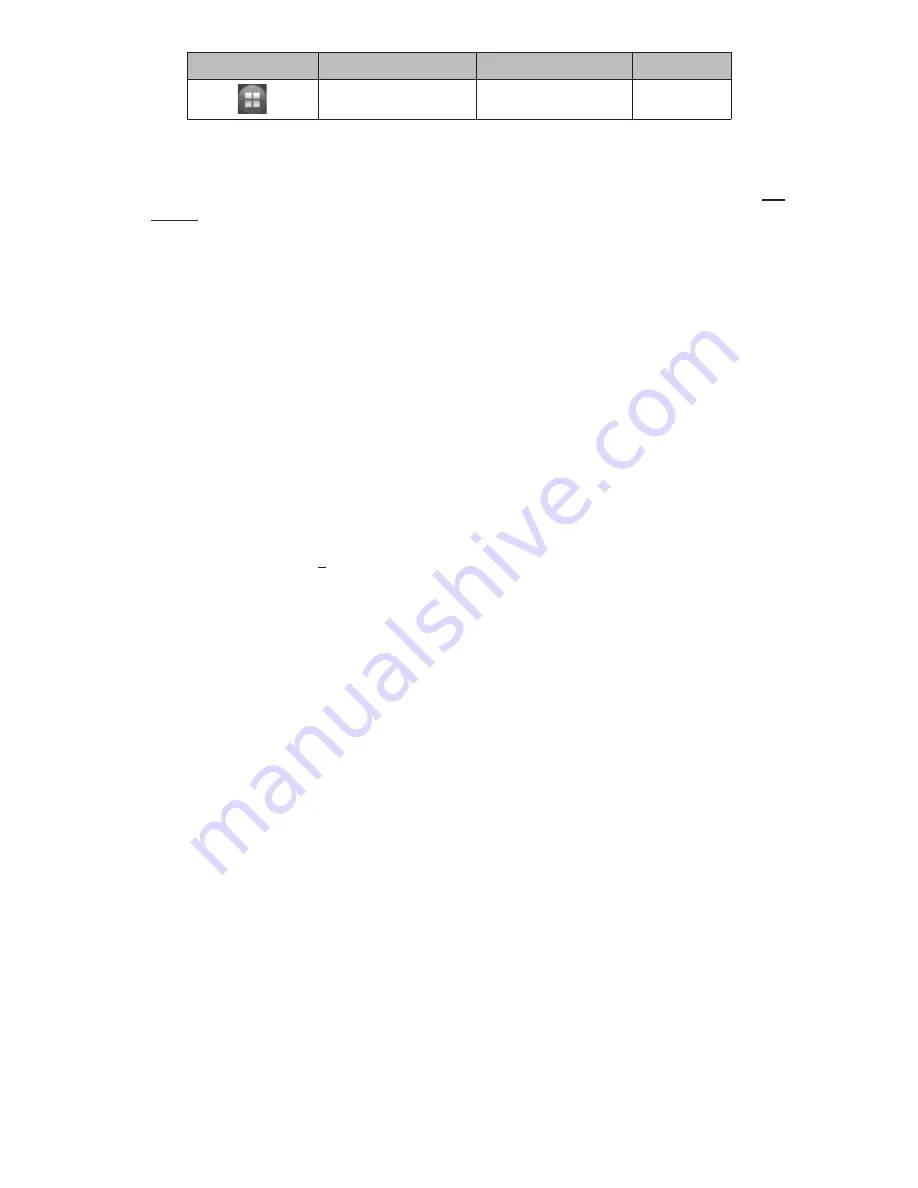
Multi-Screen Display
Select
Pause
to advance the recorded video frame by frame.
FIND AND VIEW SNAPSHOTS
Go to
Main Menu/Search
(
Image
tab). Set the time frame to search for images and select the
Search
button. See page 41 for details.
MASK MOTION SENSITIVE AREAS
Motion masking sets up areas to be ignored by the motion sensor. Go to
Main Menu
/
Setup/Alarm/
Motion
(
Motion
tab,
Area
field). The screen displays a Live view image with a grid overlay.
See
page 29 for details.
BLOCK OFF AREAS NOT TO RECORD
Video masking blocks areas from recording. Go to
Main Menu
/
Setup/Live
(
Video Masking
tab).
Select the masking area for the camera you want and a live view of that camera displays. Left-
click and drag a rectangle over the area to block off. See page 21 for details.
SET UP EMAIL NOTIFICATION AND ALERT
Go to Main Menu/Setup/Network
(
tab). See page 32 for field descriptions and details.
CONFIGURE ALARMS
Go to Main Menu/Setup/Alarms
. Select the type of alarm (Sensor, Motion, Video Loss, or Other
Alarm).See page 26 for details.
CREATE A RECORDING SCHEDULE
Go to Main Menu/Setup/Schedule
. You can set up alarms by a specific calendar schedule or
according to sensor type. See page 24 for details.
TRANSFER RECORDED FILES FROM THE HARD DRIVE TO A USB DEVICE
1. Insert a USB drive into the USB port on the BACK of the unit.
2. Go to
Main Menu/Backup
.
3.
Select the files you want to back up (see page 42 for details), then select
Backup
. The files
are saved to the USB drive.
ADD OR CHANGE A PASSWORD
Go to Main Menu/Setup/Users/User Management
(
Change Password
button). The screen
prompts for old and new passwords. See page 35 for details.


