Using the Remote Interface
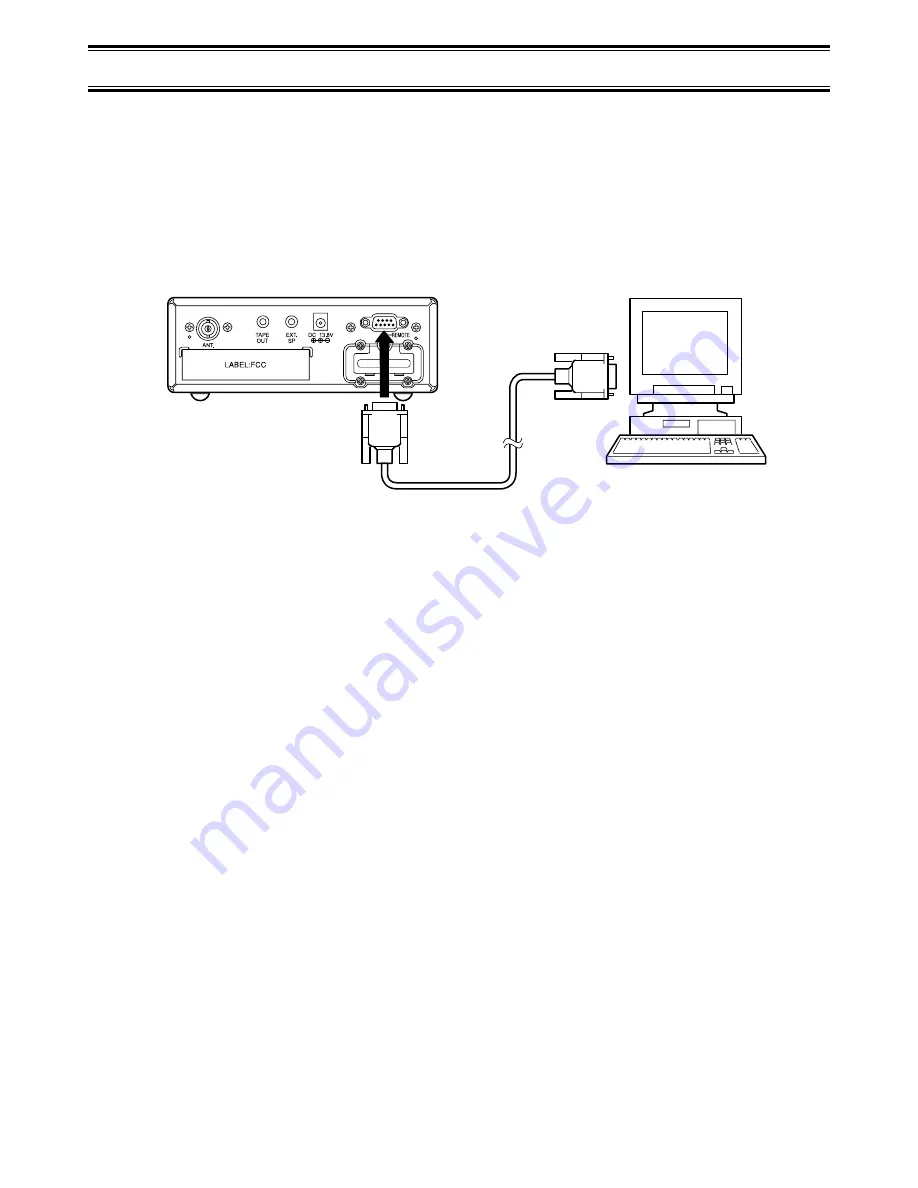
You can connect your scanner to either a PC or another BC796D using the remote interface
cable port. This allows you to either control and program your scanner using a PC and the
supplied software and cable (not supplied) or clone the memory from one BC796D into
another BC796D (gender changer/coupler required, not supplied).
PC Control Mode
To connect the Scanner to a PC, plug the scanner end of the RS232C cable (not supplied)
into the remote port which is on the side of the scanner. Plug the other end of the cable into
your PC’s serial port.
Start the remote mode and set the scanner’s communications speed:
3:SYSTEM OPTION
→
5:PC CONTROL
To use PC control, set the scanner to any setting other than off. You will usually want to set
the speed to its highest setting. If you seem to be having communications problems between
the scanner and PC, set this setting to a lower value.
Cloning Scanner Settings
You will need to purchase an RS232C null modem adapter/gender changer to connect your
scanners together. (These items are available at your local electronics stores.)
To connect the Scanners together, plug the scanner ends of the cables into the scanners,
then connect the PC ends of the cables to the null modem adapter/gender changer
Clone all of the programming of one BC796D into another, by selecting:
3:SYSTEM OPTION
→
6:CLONE
on both scanners. Then, on the scanner that has the data you want to transfer, select
MASTER and press
E
. On the scanner that you want to transfer the data into, select SLAVE
and press
E
. Then, press
SCAN
on both scanner to start the transfer.
Caution:
This deletes all data from the unit you select as SLAVE. Make certain that you
pick the correct settings for each scanner to prevent data loss.
EXPANSION SLOT
55
Содержание APCO 25
Страница 1: ......
Страница 2: ......
Страница 6: ......
Страница 81: ...75 Memo ...
Страница 82: ...Memo 76 ...
Страница 83: ...Memo 77 ...
Страница 84: ......


