7
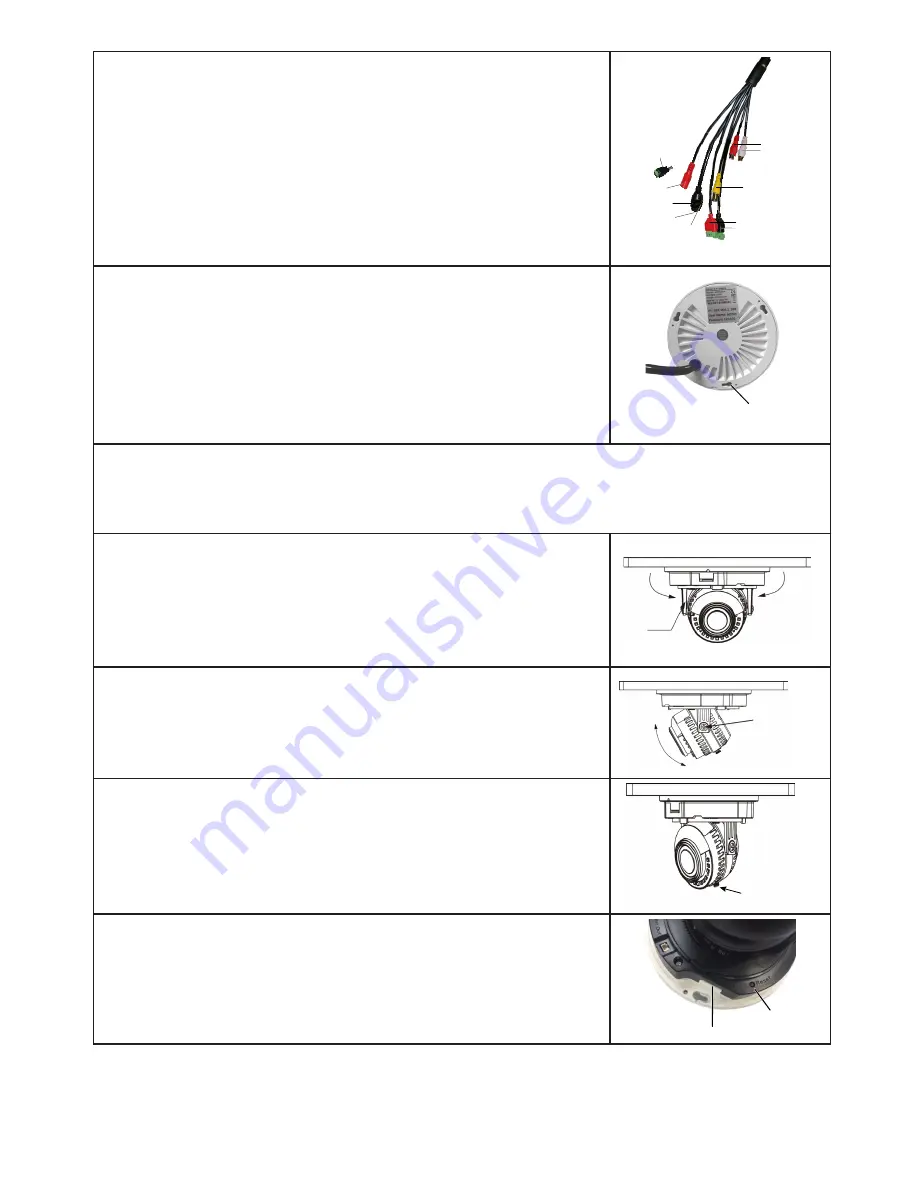
5. If you have a 4K TPD camera, connect the plugs from the
network cable tail to their appropriate cables.
When using an optional external power supply, the AC
socket outlet shall be installed near the equipment and be
easily accessible.
If installed outdoors, the cable and all cable connections
must be routed inside the wall.
White - Audio Out
Red - Audio In
Yellow - Video (BNC)
Black - Alarm In
Red - Alarm Out
RJ45
Red - 12VDC (optional)
Network
Activity
LEDs
PoE
2.1mm Barrel Adapter
NOTE: 12VDC power supply
not included
6. Align the camera base screw holes to the screws. Hang the
base onto the screws then slide the base along the screw lock
to secure.
Screw Hole
and Lock
7.
Remove the protective films from the inside and outside of the camera dome and clean the
dome with a microfiber cloth (not included) if available.
Do not use a paper towel to clean the camera lens or dome as it might leave
scratches.
8.
Adjust the bracket to swivel the camera up to 175˚ on a
horizontal axis (orients the camera for top/bottom of frame).
Bracket
Swivel
Direction
Swivel
Direction
9.
Loosen screw 1 and adjust the camera from 15 - 90˚ on a
vertical axis.
15˚ - 90˚
Screw 1
10.
Loosen screw 2 to fine-tune the horizontal axis (
+/-
30˚).
As you adjust the camera position, check it through the
NVR Preview screen.
Screw 2
11. Insert an SD card if needed.
SD Card Slot
Reset Button


