4
3. Double-click on the UMAX AstraCam 1000 CD icon (your CD-ROM drive
icon).
4. Double-click on the SETUP icon.
5. Follow the onscreen instructions to continue the installation. On the Select
Component screen, select the programs you want to install:
•
Mr. Photo
•
VistaShuttle
•
AstraCam 1000 Software (including the Twain driver)
The default setting is to install all three programs (highly recommended). You
must install the AstraCam 1000 and Mr. Photo software in order to download
photos to your computer using the DOWNLOAD button.
CONNECTING THE ASTRACAM 1000 TO YOUR
COMPUTER
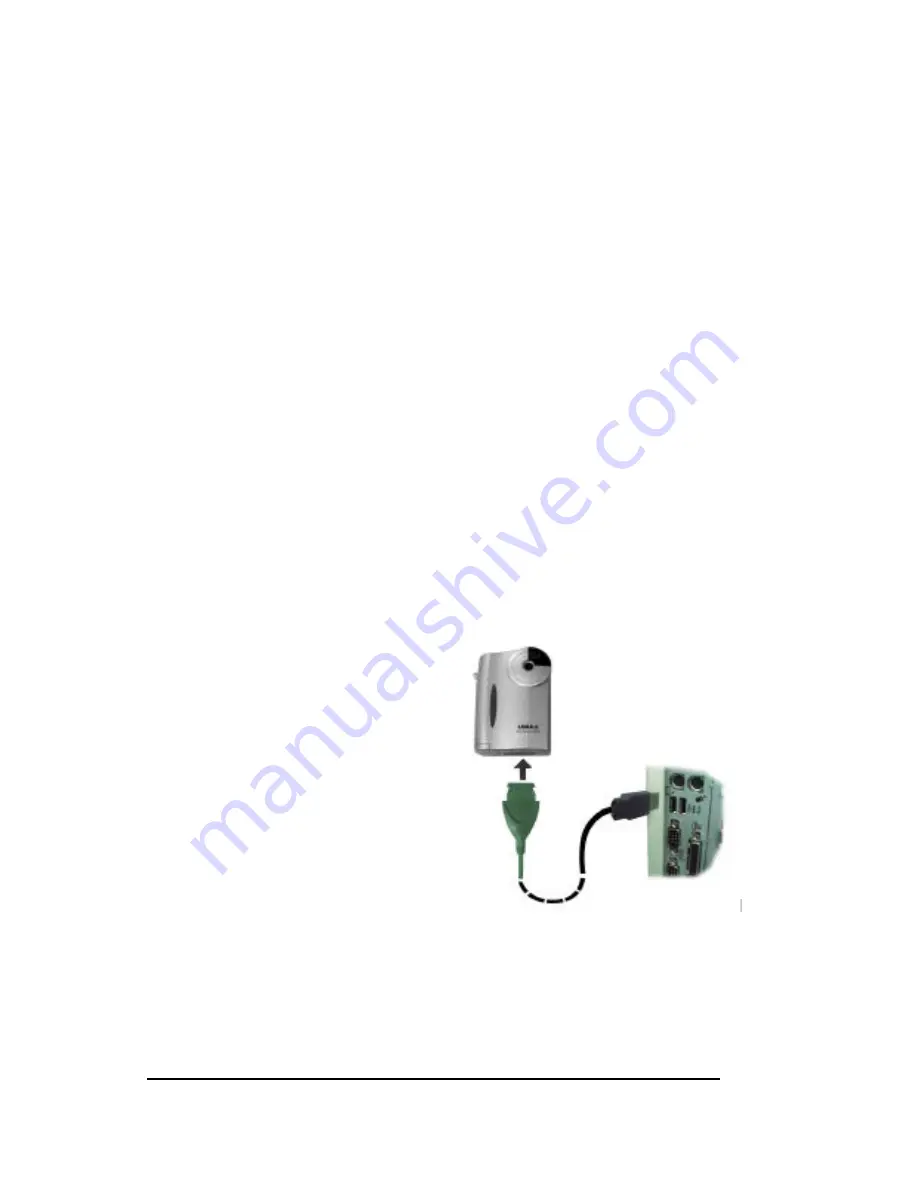
The AstraCam 1000 connects your camera to a computer using the attached
USB cable. The USB syst
e
m is "hot-swappable." You do not have to turn
your system off before inserting the USB cable into the port.
1. Look on the back of your computer for the USB port. The USB port is a
small slot 1/2" long by 1/4" wide (see illustration on the right). Insert the
USB cable into the USB socket.
2. With the AstraCam 1000 power
switch turned off, gently insert the
large end of the USB cable into the
bottom of the AstraCam 1000. The
side of the connector that has
“UMAX” printed on it should face
in the same direction as the front of
the camera. The front of the
camera is the side that displays the
UMAX logo.Windows will display
screens saying that it discovered
your new hardware, is updating the
driver database and is installing
new software.
Note: To save battery, you can turn off the camera when connecting to PC for
downloading.


