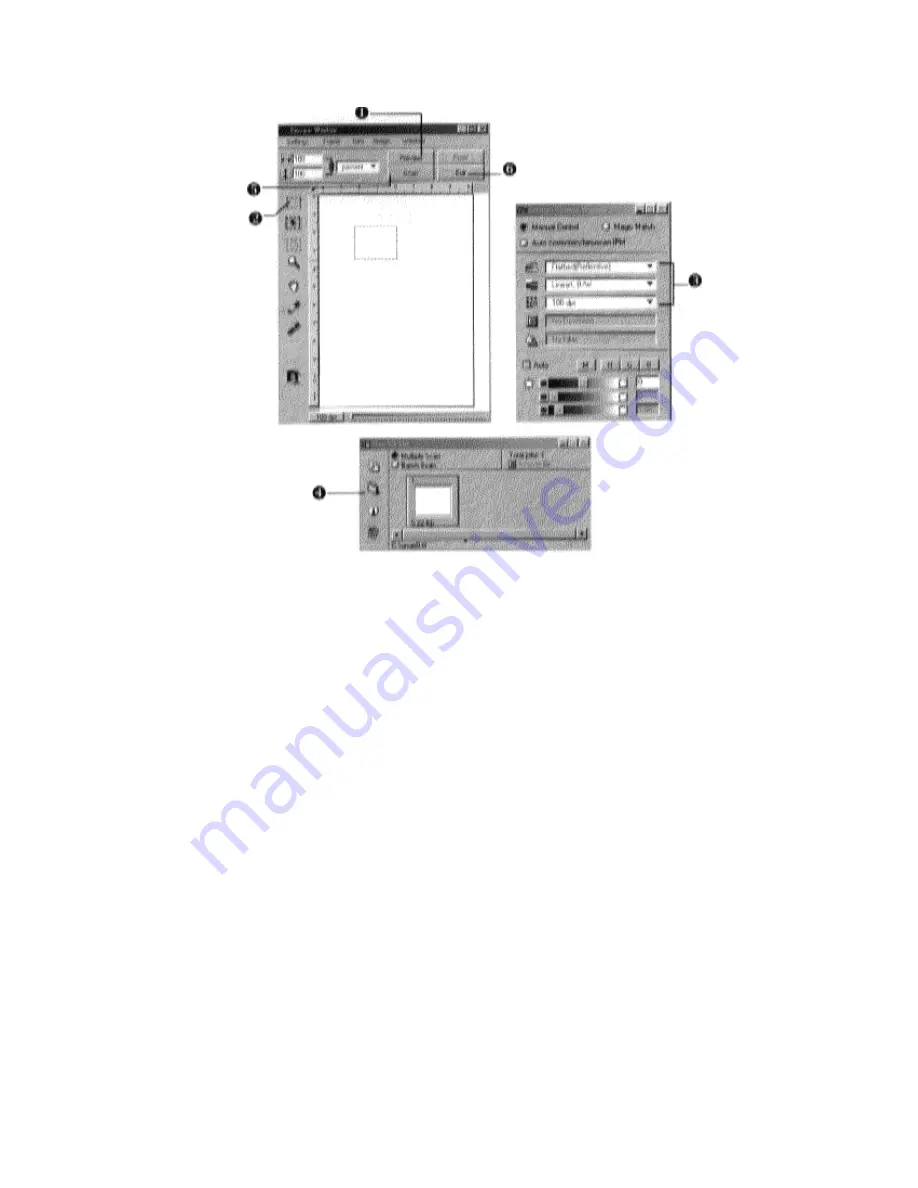
Step 1
Click the “
Preview
” button. A quick, low-resolution scan will be made and appear in the preview
window. From this image, you can determine the area you want to scan.
Step 2
Select the area to be scanned by clicking on the
Frame Tool
, drag the cursor diagonally to form a
rectangle surrounding the area to be scanned.
Step 3
Select
the type of original
(Flatbed, Transmissive, Negative…), scan mode (Color RGB, Color
CMYK, Gray 256), intensity level (No filter, Sharpen, Blur…), Resolution (300dpi, 200dpi,
100dpi, 50dpi…) by clicking on the arrows on the right of each field.
Step 4
You can click the “
change the filename of image
” button in the scan job list window to change
the filename or the file format. (The button looks like a file folder.)
Step 5
Click the “
Scan
” button in preview window.
Step 6
Once the scan is complete click the “
Exit
” button in preview window to close the interface.
10


