2
1
3
4
5
6
7
8
9
S
a
fe
ty
P
re
c
a
u
tio
n
s
B
e
fo
re
Y
o
u
B
e
g
in
T
ro
u
b
le
s
h
o
o
tin
g
S
p
e
c
ifi
c
a
tio
n
s
M
u
lt
i-
B
ra
n
d
IR
R
e
m
o
te
C
o
n
tr
o
lle
r
H
a
rd
w
a
re
D
e
s
c
ri
p
tio
n
s
C
o
n
n
e
c
tio
n
s
G
u
id
e
o
f
F
u
n
c
tio
n
s
6
G
u
id
e
o
f
M
a
in
M
e
n
u
Guide of Main Menu
If you reserve one or more event through the EPG menu, the reserved event(s) will be added to
Timer Manager automatically.
q
To add new timer entry :
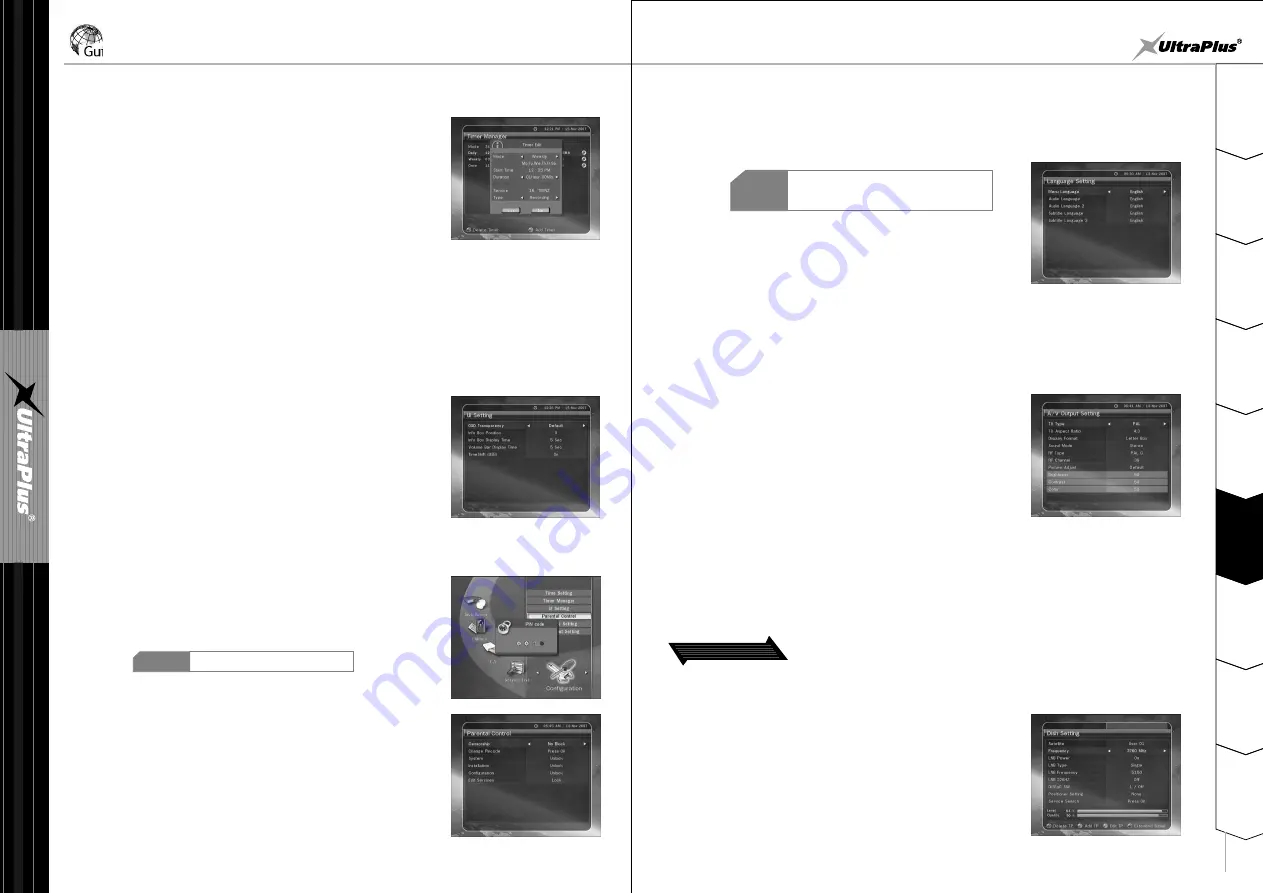
Press GREEN button. Timer Edit window will be popup. You
can specify start date, time, duration and service for reservation.
And you can choose one of Timer Mode as
'Once'
or
'Daily
' or
'Weekly'
.
You can choose timer operation type as
'Recording'
or
'Play'
.
If you choose
'Recording'
, it will start recording at that time.
If you choose
'Play'
, it will change the service what you watch.
w
To modify exist timer entry :
Choose one timer entry you want to modify and press OK button.
e
To delete exist timer entry :
Choose one timer entry you want to delete and press RED button.
1.4 Parental Control
Access to services and programs is controlled by a 4-digit secret
code that is defined by the user. Whenever you attempt to access
parental control menu, the pop-up window will instruct you to
input a PIN code.(If necessary, you can change it.)
1.3 UI Setting
q
OSD Transparency : Set the OSD transparent type.
w
Info Box Position : Set the information window position.
e
Info Box Display Time : Set the display duration of information
window displayed on the screen after changing services.
r
Volume Bar Display Time : Set the display duration of volume
bar displayed on the screen after changing volume.
t
Time Shift (USB) : Set
'On'
to run time shifting function. In this
case, time shifting function works automatically up to 2 hours if
external USB device have enough space.
If you set
'Off'
this option,
time shifting function never works.
NOTE
The default PIN code is '0000'
- 22 -
- 23 -
q
Censorship : Set the parental guidance rating of highlighted censorship
classification. The parental level is given as age-based numbers.
w
Change Pin code : To change your PIN code, input the new PIN code
using NUMERIC buttons. To verify the new PIN code, input the
new PIN code again.
e
System : Set the accessibility of system.
r
Installation : Set the accessibility of Installation menu.
t
Configuration : Set the accessibility of Configuration menu.
y
Edit Service : Set the accessibility of Edit Service menu.
1.5 Language Setting
q
Menu Language : Select the desired menu language by using the ARROW buttons.
1.5 Language Setting
q
Menu Language : Select the desired menu language by using the ARROW buttons.
1.6 A/V Output Setting
q
TV Type : Select the TV types.(PAL/NTSC/Auto) In Auto mode, the STB is automatically selected
as NTSC or PAL according to the service played.
NOTE
The Kind of languages can be changed
depending on the country. Languages are
subject to change without prior notice.
w
Audio Language : Select the default language for audio when
changing services. If no language is provided, then the default
language of current service will be automatically selected.
e
Subtitle Language : Select the default language for subtitle when changing services.
w
TV Aspect Ratio : Select the aspect ratio of TV which is connected
to STB.(4:3/16:9)
e
Display Format : Select the format which the video is to be displayed
on screen.(Letter Box/Pan Scan) In case of 16:9 mode, this option is
not available.
r
Sound Mode : Set the audio mode which is output from the RCA
jack.(Stereo/Mono/Left/Right)
t
RF Type : Select the RF type. ( PAL G/ PAL I / PAL K )
y
RF Channel : Select a RF channel.(21~69)
u
Picture Adjust : Adjust brightness, contrast and color of screen.
2. Installation
2.1 Dish Setting
Select the antenna and LNB settings for service search. The values
that are set in this menu will be available for selection in other
service searching menus.
q
Satellite : Select the satellite what you want to search the service.
- Press the LEFT/RIGHT button to select the satellite.
- Select the wanted satellite name.
- If the desired satellite name is not listed then select User Defined.
w
Frequency : Select frequency what you want to check the signal.


