27
Slicing a model
To slice a model in Ultimaker Cura, take the steps described below.
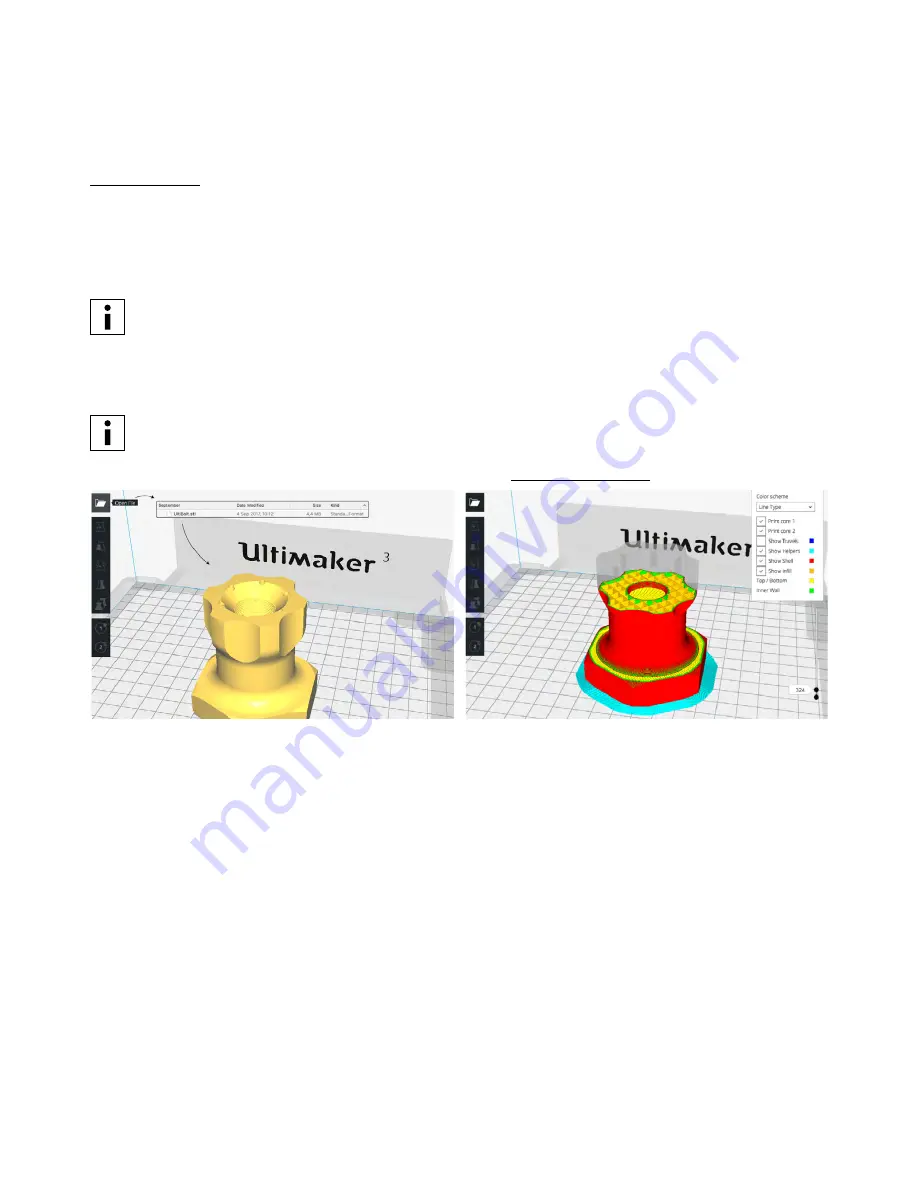
1. Load the model(s) by clicking the “Open File” folder icon.
2. In the Sidebar (right side of the screen), check if the print cores and materials are correct.
3. Use the Adjustment Tools to position, scale and rotate the model if desired.
4. Select your desired settings (layer height/print speed, infill, support and build plate adhesion) under “Print Setup”.
When printing with support, you get the option to select the extruder that you want to use for printing the support
structure. This allows you to print your model with PVA or Breakaway support on your Ultimaker 3.
5. To view the result of the selected settings, change the view mode from “Solid view” to “Layer view”.
6. In the bottom right corner, select “Save to file”, “Save to USB” or “Print over network” depending on the printing
method.
If you create a dual-color print you have to assign material colors to the models and merge the models before
finishing your slice.
For more instructions on how to use Ultimaker Cura take a look at the Ultimaker Cura manual on our website.


