EN
1.
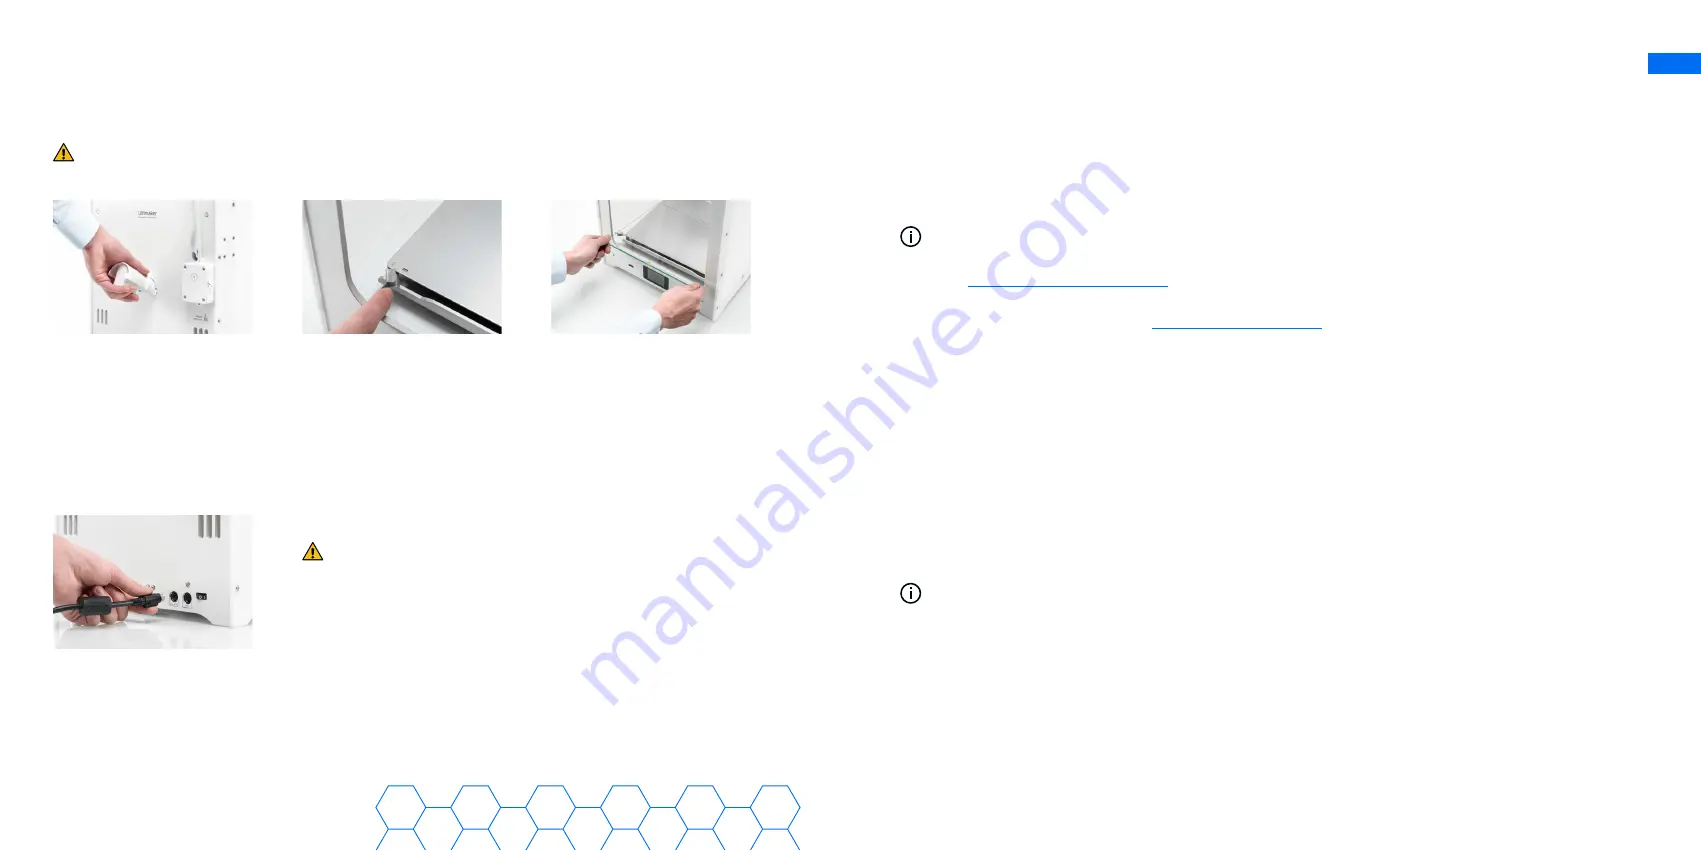
Insert the spool holder
into the back panel
and push until it snaps
into place
Install the Ultimaker 2+ Connect
When placing the printer on a shelf or table, take proper measures to prevent the
printer from falling.
2.
Open the front build
plate clamps to insert
the glass plate
3.
Slide the glass plate
into the rear build plate
clamps, then close the
front clamps
4.
Connect the power
cable to the printer
and the other end to a
power outlet
A power outlet with an earthed connection must be used.
Be sure that the building installation has dedicated means
for over-current and short-circuiting.
Set up for first use
1.
Turn on your Ultimaker 2+ Connect using the power switch on the back
2.
Set up the Ultimaker 2+ Connect according to the setup process on the
Ultimaker 2+ Connect display. The printer will guide you through the steps
Apply a thin layer of glue to the glass plate for better adhesion.
3.
Go to
to set up your Ultimaker account and add
your Ultimaker 2+ Connect
4.
Download Ultimaker Cura from
and install it on
your computer
Start a print
1.
Start Ultimaker Cura and sign in to your account to sync to your Ultimaker 2+
Connect. If your printer is not connected to the internet, select your Ultimaker
2+ Connect from the list of non-networked printers in Ultimaker Cura
2.
Load a 3D model in Ultimaker Cura and slice it with your preferred settings
3.
Send the print to the Ultimaker 2+ Connect by selecting the ‘Print via
Cloud’ button
Alternatively, you can start a print from a USB stick.
4.
When the print has finished and the build plate has cooled, take the glass plate
out of the printer and carefully remove the print with a scraping tool
5.
Clean the glass plate and place it back onto the build plate ready for the next
print job
Содержание 2 Extended
Страница 44: ......


