Assembly
20
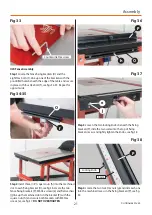
Step 1 Locate the table insert, four grub screws and the
two countersink Hex screws. Place the UJK table insert into
the tables recess, adjust the ten countersink Phillips screws
beneath the table, see fig 29 until the table insert is roughly
level with the table surface. Adjust the locking nuts to lock
the countersink screws in position, see figs 30-31.
Fig 29
Stand and Table Assembled
NOTE: There are four options to choose from:
• 10mm Aluminium Table Insert (Code 105932)
• 10mm Phenolic Insert ( Code 502747)
• 10mm Aluminium Insert with Universal Base
(Code 502748)
• Axminster Router Elevator (Code 952574)
Optional Table Inserts
The following instructions are for the optional UJK
10mm Aluminium table insert but it will apply for the
other options as well.
Fig 30-31
Locking nut
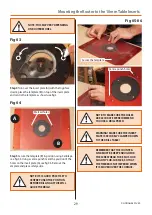
Step 2 Insert a grub screw into each threaded corner of the
table insert, place a straight edge across the table insert
and using a Hex key adjust the grub screws until the table
insert is level with the table top, see fig 32.
Fig 32
Grub screw
Hex key
Straight edge
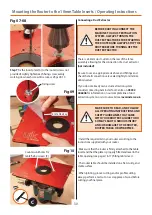
Step 3 Insert the two countersink Hex screws down into
the countersink holes in the table inset to lock the insert in
position, see fig 33.
Содержание 717127
Страница 7: ...What s Included 7 K L M N O P Q a b c d e g h i j N f...
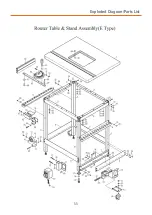
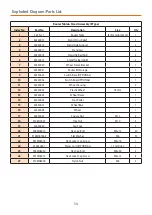
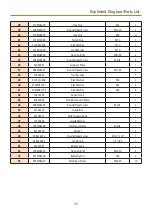
Страница 33: ...Exploded Diagram Parts List 33...
Страница 38: ...Notes 38...
Страница 39: ...Notes 39...

