


(6) Paper slant adjustment
①
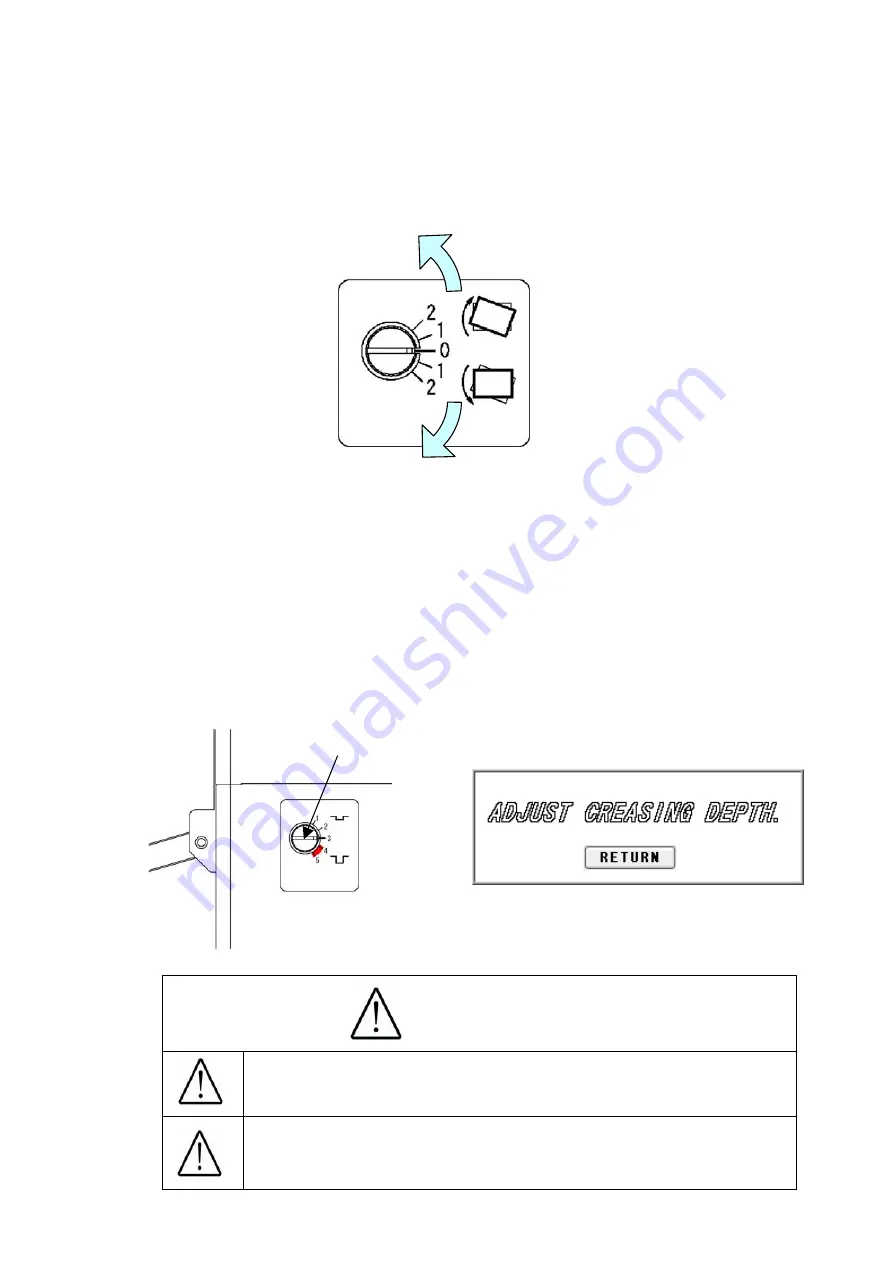
When the printing is tilted, turn the dial as shown in the drawing below to make it straight.
②
Turning the dial counter-clockwise will tilt the paper to the right, whereas turning it
clockwise will tilt the paper to the left.
(7) Crease depth adjustment
①
The sign shown in the drawing below will be displayed when using the creaser.
②
Turn the dial shown in the drawing below to adjust the crease depth.
③
The depth will become the most shallow by choosing Level 1 and the deepest by
choosing Level 5.
④
When selecting Levels 4 and 5, be careful of the paper thickness. Placing the crease too
deep may cause a paper jam or a mechanical failure when the paper is thick.
Dial
Caution
14
Avoid the combined use of the creaser and the perforator,
as it may cause a paper jam or a machine failure.
When selecting Levels 4 and 5, be careful of the paper
thickness. Placing the paper too deep may cause a
paper jam or a machine failure when the paper is thick.
Содержание AeroCut
Страница 1: ...OPERATION MANUAL UCHIDA YOKO CO LTD TOKYO JAPAN Jul 14 2011 USA ...
Страница 37: ... Paper size Finish size 36 Limitations Cut mark size and position Crease limitations Max four times ...
Страница 38: ...6 Equipment Electric circuit and parts 37 ...
Страница 39: ...38 38 ...
Страница 40: ...39 39 ...
Страница 41: ...7 Ordering consumables etc When ordering consumables or parts be sure to specify the machine model 40 ...


