5
To configure the CC1 for a measurement, press the
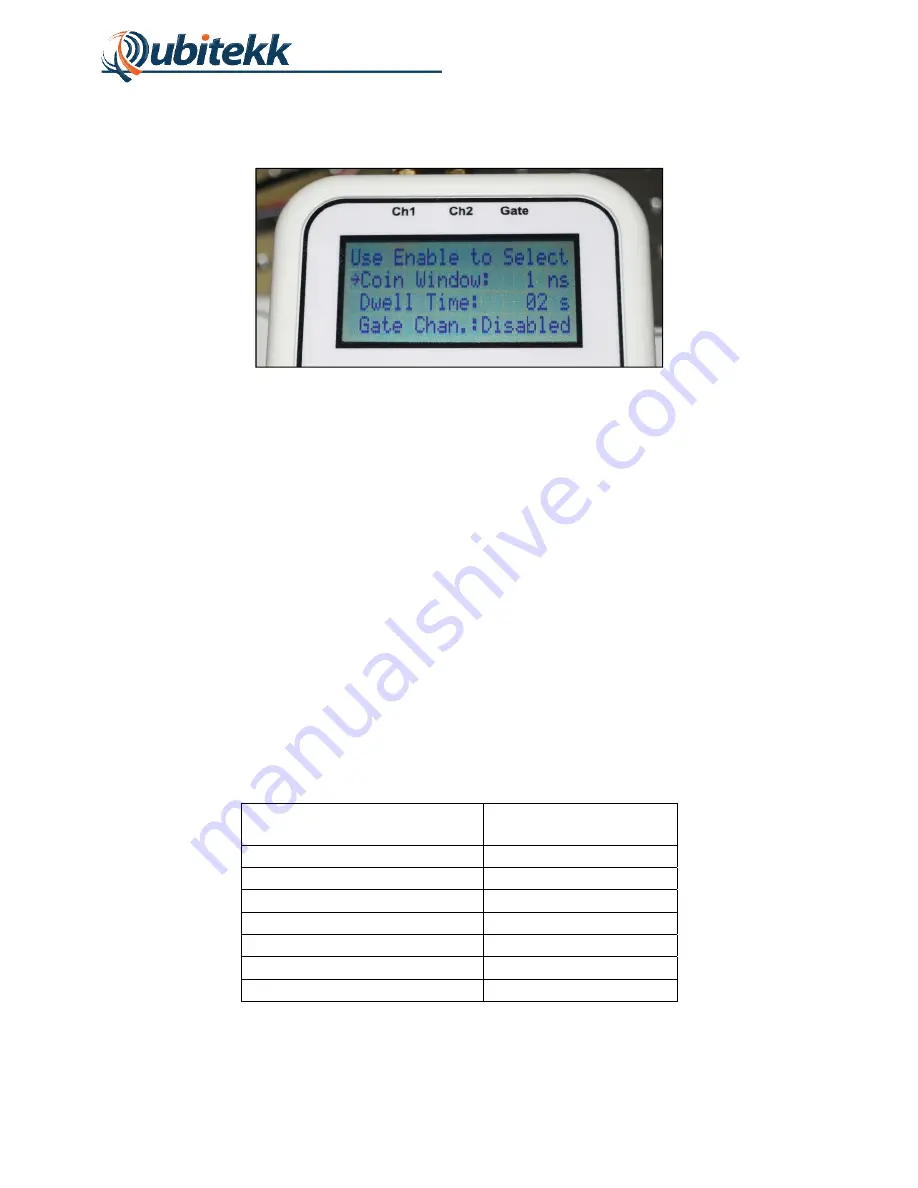
“menu” button. The CC1’s Menu Screen
will be displayed as shown in Figure 5.
Figure 5. Menu Screen.
Pressing the “menu” button again will return the user back to the Count Screen.
The Menu Screen contains six settings that can be changed by the user. These settings will be
covered in the following section. The various settings can be viewed by scrolling up or down in
the menu using the “UP” and “DOWN” arrow buttons.
When a setting needs to be changed, the setting can be selected for modification by pressing
the “ENABLE” button. The setting value will blink, indicating that it is ready for modification.
Again, the UP” and “DOWN” arrow buttons can be pressed to change the setting value. Once
complete, press the “ENABLE” button again to continue scrolling through the menu.
1.5
Setting Up a Measurement
Prior to any measurement, the measurement parameters for the CC1 should be configured. The
next section of the manual will describe each parameter and discuss their impact on the
measurement. The default settings for the CC1 (upon power up) are shown in Table 1 below:
Setting Value
Coincidence Window
1 ns
Dwell Time
2 s
Gate Chan.
Disabled
Subtract Acc.?
No
Trigger Start/Stop
CH1 Delay
0 ns
Firmware Ver
2.001
Содержание CC1
Страница 1: ...CC1 Handheld Coincidence Counter USER S MANUAL Rev 1 02 June 1 2015 www qubitekk com...
Страница 7: ...4 Figure 4 CC1 Buttons and Ports...
Страница 23: ...20 APPENDIX A Electrical Schematics and Connections...
Страница 24: ...21 A 1 Top Board LCD Display...
Страница 25: ...22 A 2 Bottom Board FPGA and Microprocessor...
Страница 26: ...23...
Страница 27: ...24...


