background image

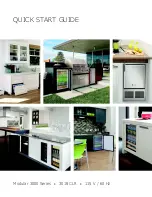
QUICK START GUIDE

8

u-line.com

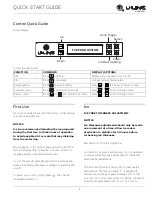
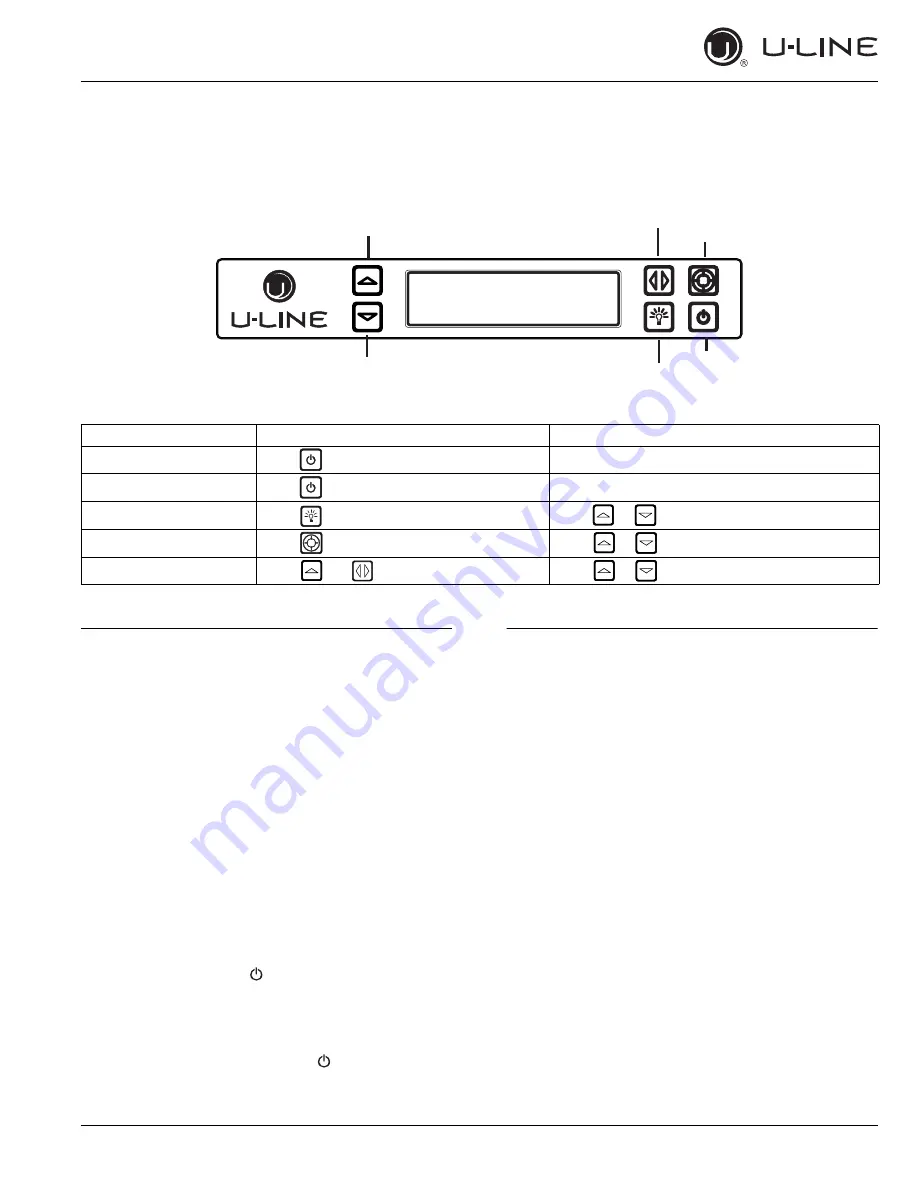
Control Quick Guide

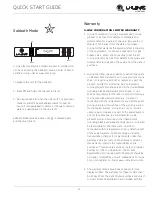
Actual Display:

First Use

All U-Line controls are preset at the factory. Initial startup 
requires no adjustments. 

NOTICE

U-Line recommends discarding the ice produced 
during the first two to three hours of operation 
to avoid possible dirt or scale that may dislodge 
from the water line.

When plugged in, the unit will begin operating under the 
factory default setting. Follow the on screen prompt for 
language selection and temperature units.

To turn the unit off, press   and hold for 5 seconds and 
release. The display will show a countdown to switching the 
unit off. 

To power your unit on, simply press  . The unit will 
immediately switch on. 

Ice

ICE CUBE THICKNESS ADJUSTMENT

NOTICE

Ice thickness adjustment should only be made 
one increment at a time. Allow ice maker 
production to stabilize for 24 hours before 
rechecking ice thickness.

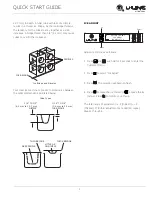
Remove all ice from the storage bin.

Ice cubes in any given batch will vary, so it is necessary 
to choose cubes from the sample area for comparison 
when making adjustments.

The ice cube thickness is factory set for best overall 
performance. The factory setting “0” is designed to 
maintain an ice bridge of approximately 1/16" to 1/8" 
(1.6 mm to 3.2 mm) under normal conditions, resulting in 
a dimple of approximately 1/4" to 1/2" (6.4 mm to 

Up

Zone Toggle

Select

Down

U-Select Lighting

Power

ICE PRODUCTION

Control Function Guide:

FUNCTION

COMMAND

DISPLAY/OPTIONS

OFF

Press 

 and hold 

Display will count down from 5 to off.

ON

Press  

and 

release 

Unit 

will come on immediately.

Adjust lighting

Press 

 to adjust lighting 

Press 

 to set low, medium or high. 

Customer menu

Press 

 and hold for 5 seconds 

Press 

 to scroll through menu. 

Service menu

Press 

 and hold for 5 seconds

Press 

 to scroll through menu.

or

or

or

or

Содержание Modular 3000 Series

Страница 1: ...QUICK START GUIDE Modular 3000 Series 3018 CLR 115 V 60 Hz...

Страница 2: ...DUCT INFORMATION Looking for additional information on your product User Guides Quick Reference Guides CAD Drawings Integrated Panel Instructions Compliance Documentation and Product Warranty informat...

Страница 3: ...IDE u line com Contents 1 Model List 2 Safety and Warning 2 Environmental Requirements 3 Water Hookup 4 Drain 6 Door Swing 7 General Installation 8 Control Quick Guide 8 First Use 8 Ice 10 Sabbath Mod...

Страница 4: ...sit u line com to view detailed User Guides for all U Line products Clear Ice Machines U 3018CLRS 00A U 3018CLRS 01A U 3018CLRS 40A U 3018CLRS 41A U 3018CLRINT 00A U 3018CLRINT 01A U 3018CLRINT 40A U...

Страница 5: ...n serious personal injury or death CAUTION Caution means that failure to follow this safety statement may result in minor or moderate personal injury property or equipment damage Environmental Require...

Страница 6: ...nect to the cold water supply The water pressure should be between 20 and 120 psi The water line MUST have a shut off valve on the supply line CAUTION Do not use any plastic water supply line The line...

Страница 7: ...ck into the ice maker storage bin and or potentially flowing onto the floor which may result in personal injury or property damage NOTICE Drain can NOT be located directly below the unit Unit has a so...

Страница 8: ...r does not otherwise meet the requirements for a gravity drain you may have ordered a pre installed U Line P60 drain pump See below for typical installations requiring a drain pump NOTICE The maximum...

Страница 9: ...om wall on hinge side to allow the door to open 90 Allow for additional space for any knobs or pulls installed on the integrated panel frame Stainless Steel models that are installed adjacent to a wal...

Страница 10: ...ght of 1 8 3 mm less than the opening s rear height Shorten the unit height in the front by adjusting the front feet This allows the unit to be gently tipped into the opening Adjust the front feet to...

Страница 11: ...at a time Allow ice maker production to stabilize for 24 hours before rechecking ice thickness Remove all ice from the storage bin Ice cubes in any given batch will vary so it is necessary to choose c...

Страница 12: ...e thickness as follows 1 Press and hold for 5 seconds to enter the Customer Menu 2 Press to select Ice Adjust 3 Press The selection will begin to flash 4 Press to make the ice thicker or to make the i...

Страница 13: ...a product and 2 for all Marine RV and Domestic U Line products sold and serviced in the United States including Alaska and Hawaii and Canada U Line shall be responsible for the labor costs performed...

Страница 14: ...es of water shall also cause this warranty to be void including flooding of the area in proximity of the unit greater than 1 8 deep in water hurricanes splashing of pool water or directing a spray fro...

Отзывы: