PAGE 3 OF 12
0322 IH-9932
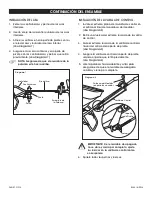
HANDLE INSTALLATION
1. Remove the locknuts and bolts from lower handles.
2. Insert handle shaft between lower handle arms.
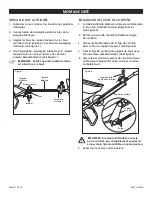
3. Align holes in pivot bracket with holes in handle
shaft and lower handle arms. (See Figure 7)
4. Secure handle, lower handle and pivot bracket with
previously removed locknuts and bolts. (See Figure 7)
NOTE: Ensure that lever assembly is face up.
CONTROL ROD INSTALLATION
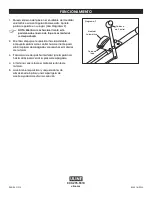
1. Install flattened end of control rod into hole at end
of gauge lever. (See Figure 8)
2. Remove one nut from threaded end of control rod.
3. Guide the threaded end of the control rod through
the hole in the pivot bracket. (See Figure 8)
4. Secure control rod to pivot bracket with previously
removed nut. (See Figure 8)
5. Pull lever back and forth to ensure the shutoff
assembly fully opens and closes.
IMPORTANT! If shutoff assembly does not fully
open or close, adjust nuts on control rod
accordingly.
6. Tighten all nuts and bolts.
ASSEMBLY CONTINUED
Figure 8
Pivot
Bracket
Gauge Lever
(in closed position)
Nuts
Control Rod
Figure 7
Pivot
Handle Shaft
Bolts
Lever
Assembly
Lower Handle
Locknuts

