4
EN
Doing so will cerate the risk of damaging to the
car camcorder and the card.
¯
Never remove the SD card from the car camcor-
der while the car camcorder is powered on. Doing
so can cause failure to the picture recording ope-
ration, and even damage the memory card.
Format the memory card
All data will be deleted including protected fi les. Be
sure to download important fi les to your computer be-
fore formatting.
1. Press the
POWER
button to turn the car camcorder
on, and press the
MENU
button to display the menu,
and then press it again to enter the Setup Menu.
2. Press the
UP
or
DOWN
button to select
[For-
mat]
and then press the
OK
button to launch the
submenu.
3. Press the
UP
or
DOWN
button to select the item
[Yes]
and then press the
OK
button to erase all data.
Using this car camcorder
Turning the Car camcorder On and Off
1. To turn on the car camcorder, hold and press the
POWER button to turn on the car camcorder.
2. Press the POWER button again to turn the car cam-
corder off .
Note: To save battery power, You can change the
power off by setting the function [Auto Off ] in the
Setup menu.
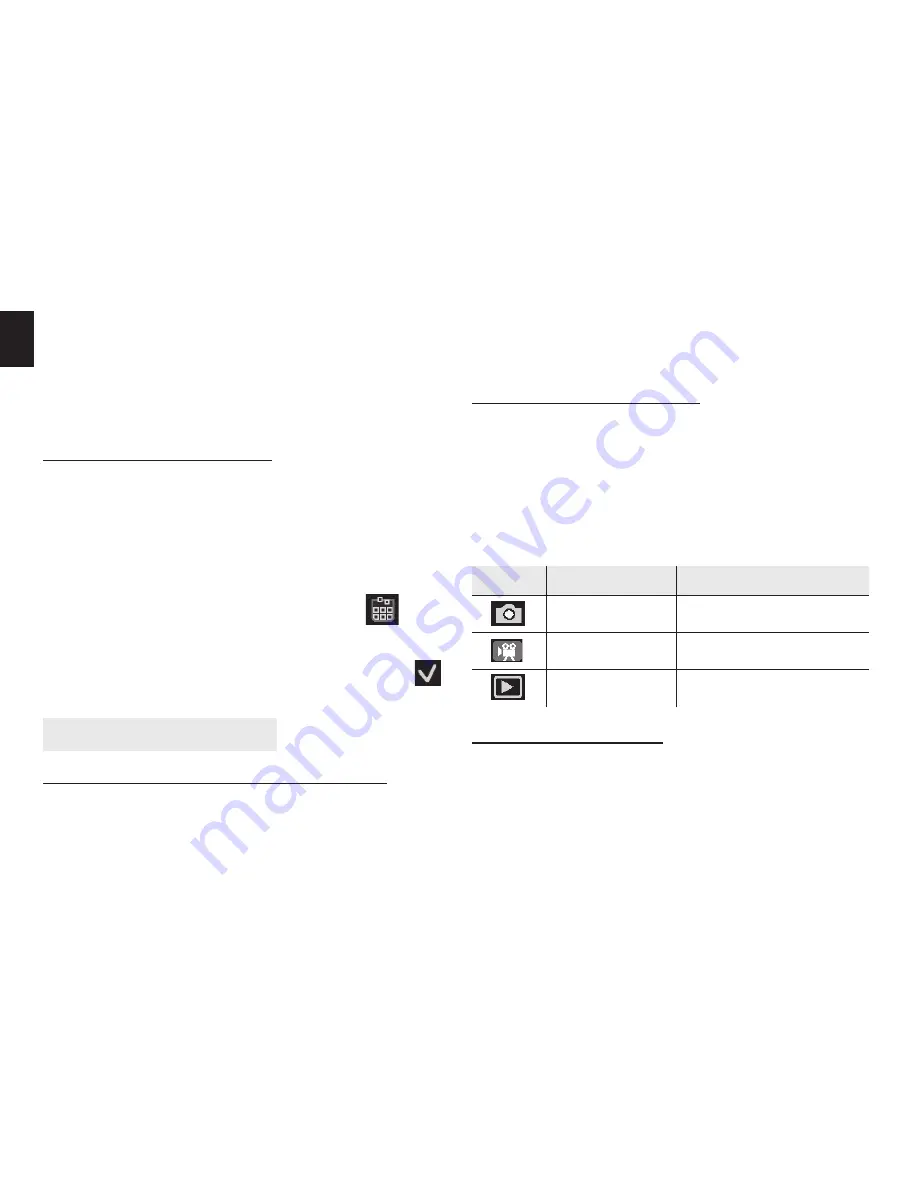
Change the record mode
There are three record modes in this car camcorder.
1. Press the
POWER
button to turn on the car camcord-
er, and the car camcorder get into the default video
mode.
2. Press the
MODE
button to change the mode. Each
time the
MODE
button is pressed the mode icon is
changed.
Display
Title
Description
Capture mode
For taking still photos.
Video mode
For recording movie clips.
Playback mode
For preview fi les.
Recording video clip
1. Turn the car camcorder on and enter to default video
record mode.
2. Press the
SHUTTER
button to start recording.
3. Press the
UP/ZOOM IN
or
DOWN/OUT
button to in-
crease and decrease the size of your subject.
4. Press the
SHUTTER
again to end the recording. If the


