L A S E R S F O R M A R K I N G
System Operation
STEP 6
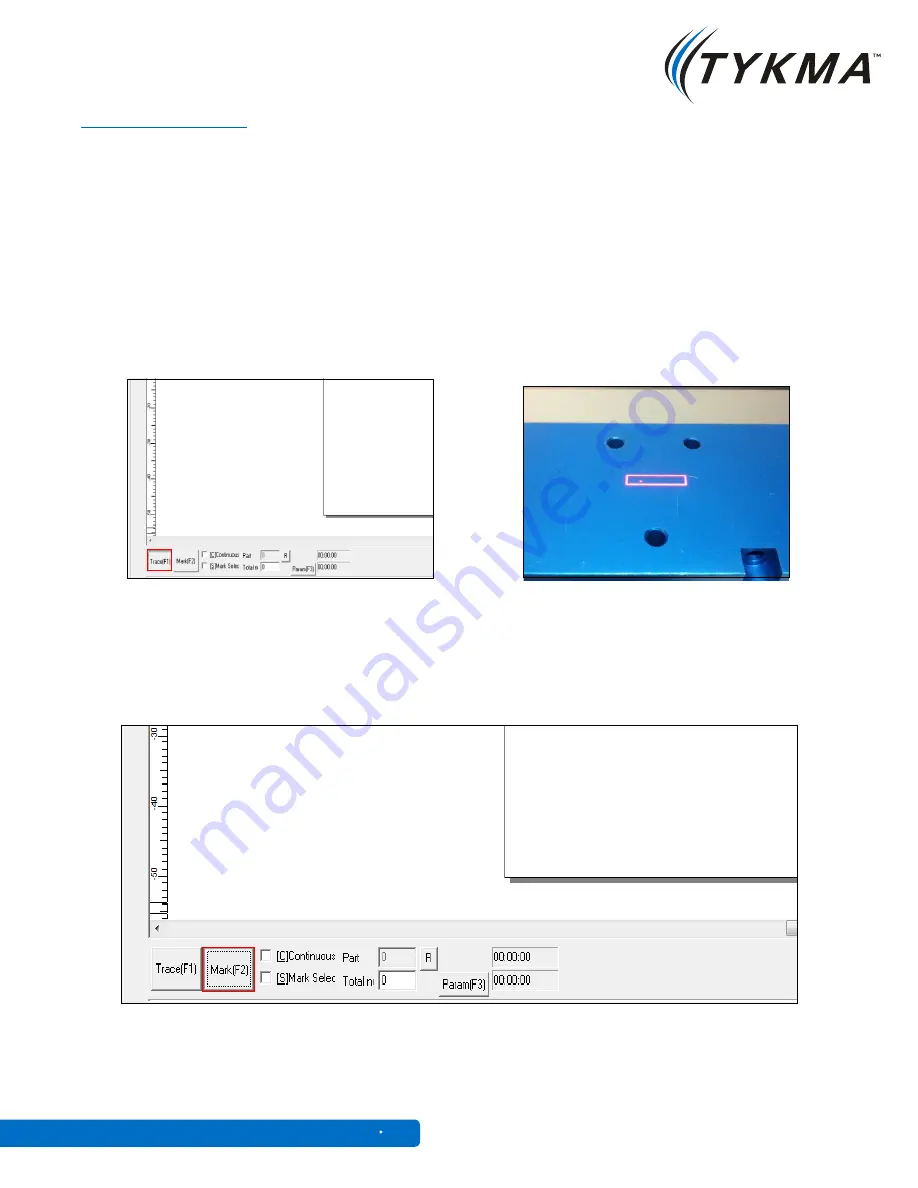
Preview Laser -
After creating your text and/or graphics for laser marking
you may then use the “Trace” function to align your mark to your part. Click the
button that says “Trace”. You will see a red outline simulation in the Zetalase
machine. Move your part or move the mark to align to the desired location. When
completed with alignment click “Stop” to close the screen.
***Please refer to the Minilase
™ Pro SE
Software Manual for instructions on creating
graphics and configuring laser settings
STEP 7
Marking with the Laser -
To mark with the laser, close the door, press “Start” or
click the “Mark (F2)” button, this will start the marking for all active objects on your
workspace.
Step 6: “Trace”
Zetalase
™
22
General Manual SE 1
Step 6: “Trace”


