Tomcat i7221A S5151
Chapter 4: SATA/RAID Setup (for SATA RAID model)
4-31
http://www.tyan.com
3.
Press Enter when both disks for the new array are selected. The
Array Properties
menu
displays.
To assign properties to the new array
:
1.
In the Array Properties menu, select an array type and press Enter. Note that only the
available array types, RAID 0 and RAID 1, are displayed. Each of these types requires
two drives.
2.
Type in an optional label for the array and press Enter.
3.
For RAID 0, select the desired stripe size. Available stripe sizes are 16KB, 32KB and
64KB (default)
4.
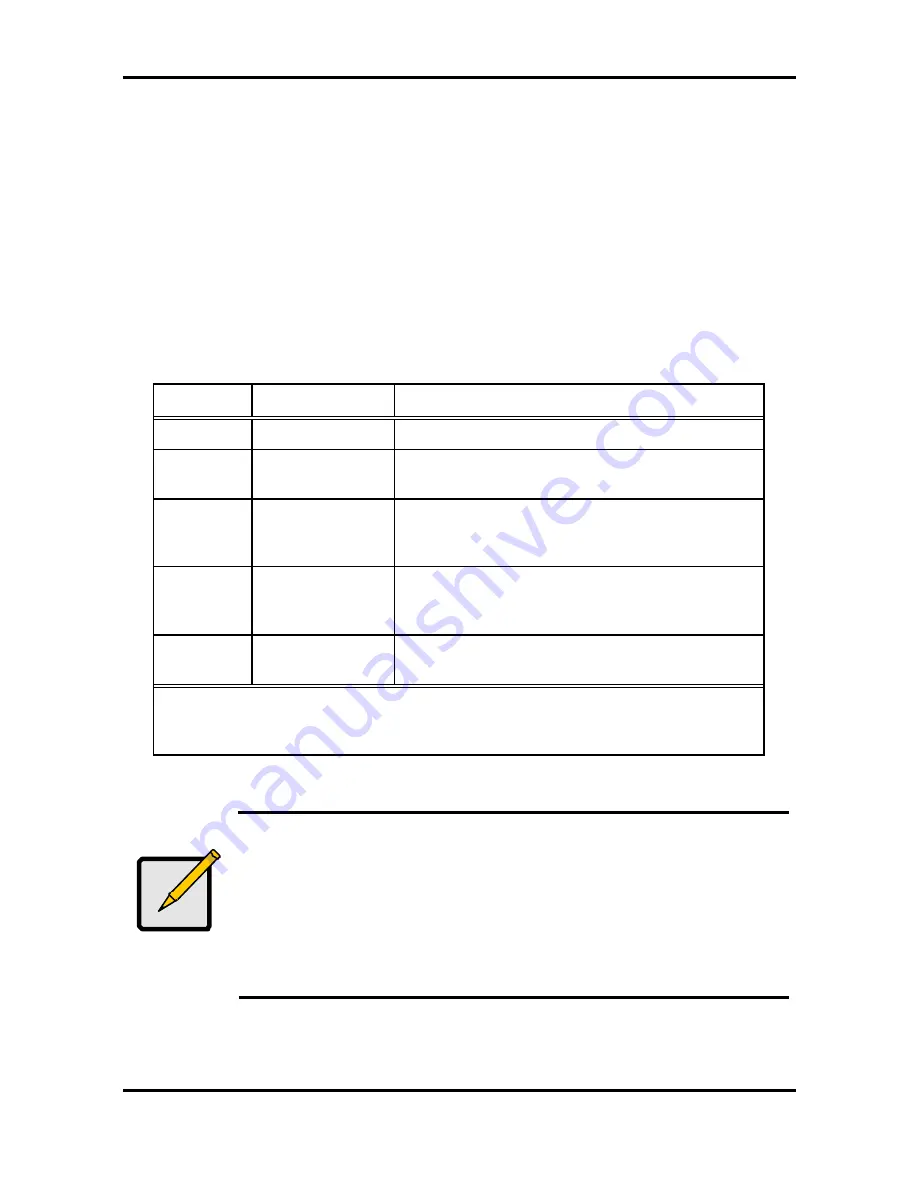
Create RAID via allows you to select between the different creation methods for RAID 0
and RAID 1. The following table gives examples of when each is appropriate.
RAID level Create RAID via
When appropriate
RAID 0
No Init
Creating a RAID 0 on new drives.
RAID 0
Migrate
*
Creating a RAID 0 from one new drive and one
drive with data you wish to preserve.
RAID 1
Build
*
Any time you wish to create a RAID 1, but
especially if you have data on one drive that you
wish to preserve.
RAID 1
Clear
Creating a RAID 1 on new drives, or when you
want to ensure that the array contains no data after
creation.
RAID 1
Quick Init
Fastest way to create a RAID 1. Appropriate when
using new drives.
*
If you select Migrate for RAID 0, or Build for RAID 1, you will be asked to select the
source drive. The contents of the source drive will be preserved. However, the data
on the new drive will be lost.
Note
Before adding a new drive to an array, back up any data contained on the
new drive. Otherwise, all data will be lost.
A RAID 1 created using the Quick Init option may return some data
miscompares if you later run a consistency check. This is normal and is not
a cause for concern.
The Adaptec RAID Configuration Utility allows you to use drives of different
sizes in a RAID 1. If you choose the smaller drive as the second drive, you
will be warned about the risk of data loss.


