


13
PROGRAM UPDATE – ETHERNET
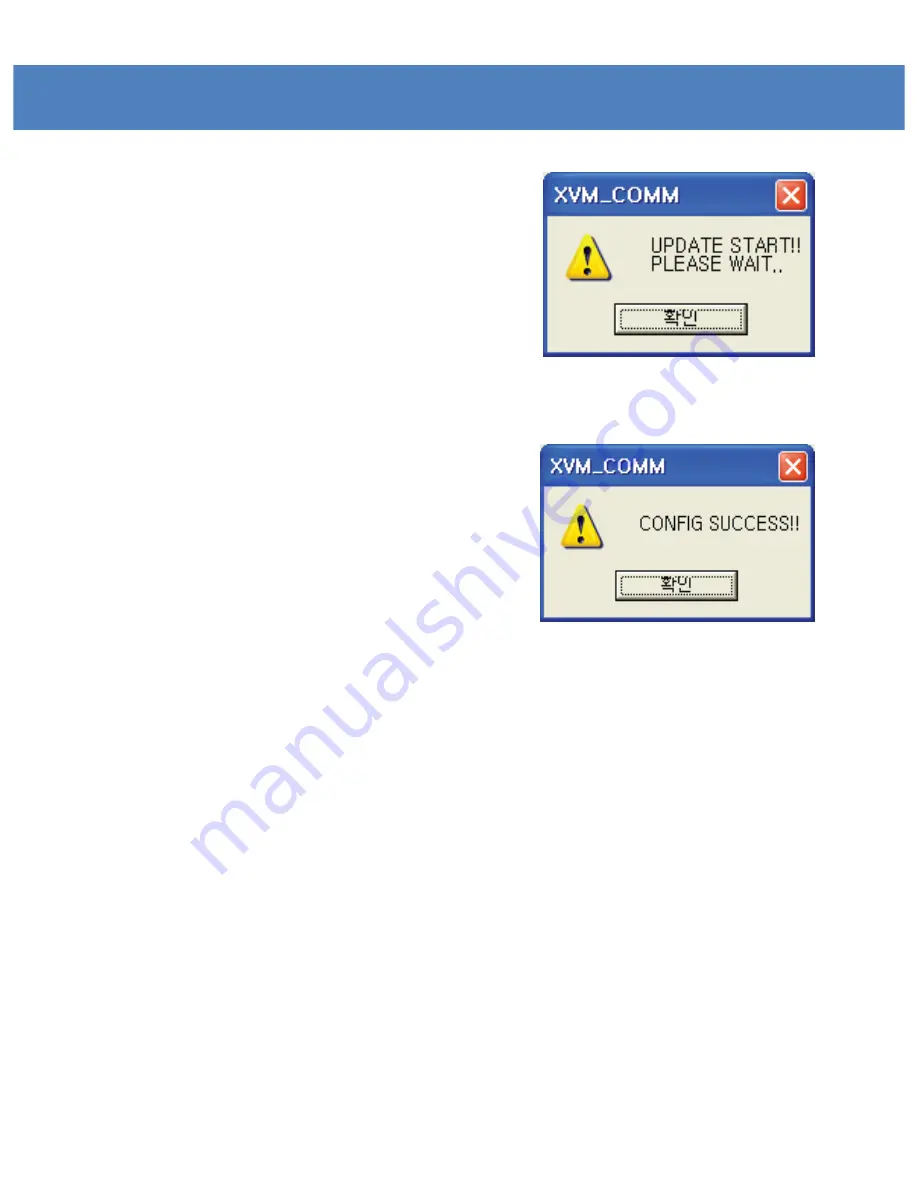
Picture 4 :
Update start message window
=>
* Press the “OK” button to start updating.
Picture 5 :
CONFIG SUCCESS message window
=>
* Select FPGA #2 for DEV in UPDATE PROCESS. Then, OPEN and
select the FPGA firmware file.
* Press the SEND button to start transferring the firmware file to
the Ethernet Board.
-
CPU
* Se lect ARM/GEN for DEV in UPDATE PROCESS. Then, press OPEN and
select the ARM/GEN firmware file.
* Press the SEND button to start transfer.
* Follow the above FPGA updating steps to finish the update.
- VXP
* Select VXP #1 for DEV in UPDATE PROCESS. Then, press OPEN and
select the VXP firmware file.
* Press the SEND button to start transfer.
* Follow the above FPGA updating steps to finish the update.
Содержание XVM-175W
Страница 1: ...17 Multi Format LCD Monitor XVM 175W Multi Format LCD MONITOR Service Manual 1 ...
Страница 3: ...Part Name Function 3 XVM 175W Front XVM 175W Rear ...
Страница 4: ...Drawing ...
Страница 5: ...Exploded View ...
Страница 8: ...PCB Block Diagram 8 ...
Страница 37: ...Circuit Diagram SB IC1 IC5 IC2 IC3 U3 IC6 ...
Страница 38: ...Circuit Diagram EB U5 U6 U1 U3 U2 U7 U8 IC12 CON6 CON2 ...
Страница 39: ...Oscilloscope BCJ_FPC02 SD_Y_A5 DATA_IN_B7 ...
Страница 40: ...Oscilloscope TXOUT DATA_OUT32 FRN0 ...
Страница 41: ...Oscilloscope EM_AUDIO_L I2S_SDI LEFT_0 ...
Страница 42: ...Oscilloscope V556_CLK CLK_A CLK_IN1 ...
Страница 43: ...Oscilloscope PHS PCLK_OUT DCLK1 ...
Страница 50: ...Packaging ...


