10
TP9KACX / TP9KSCX
Jan 2017
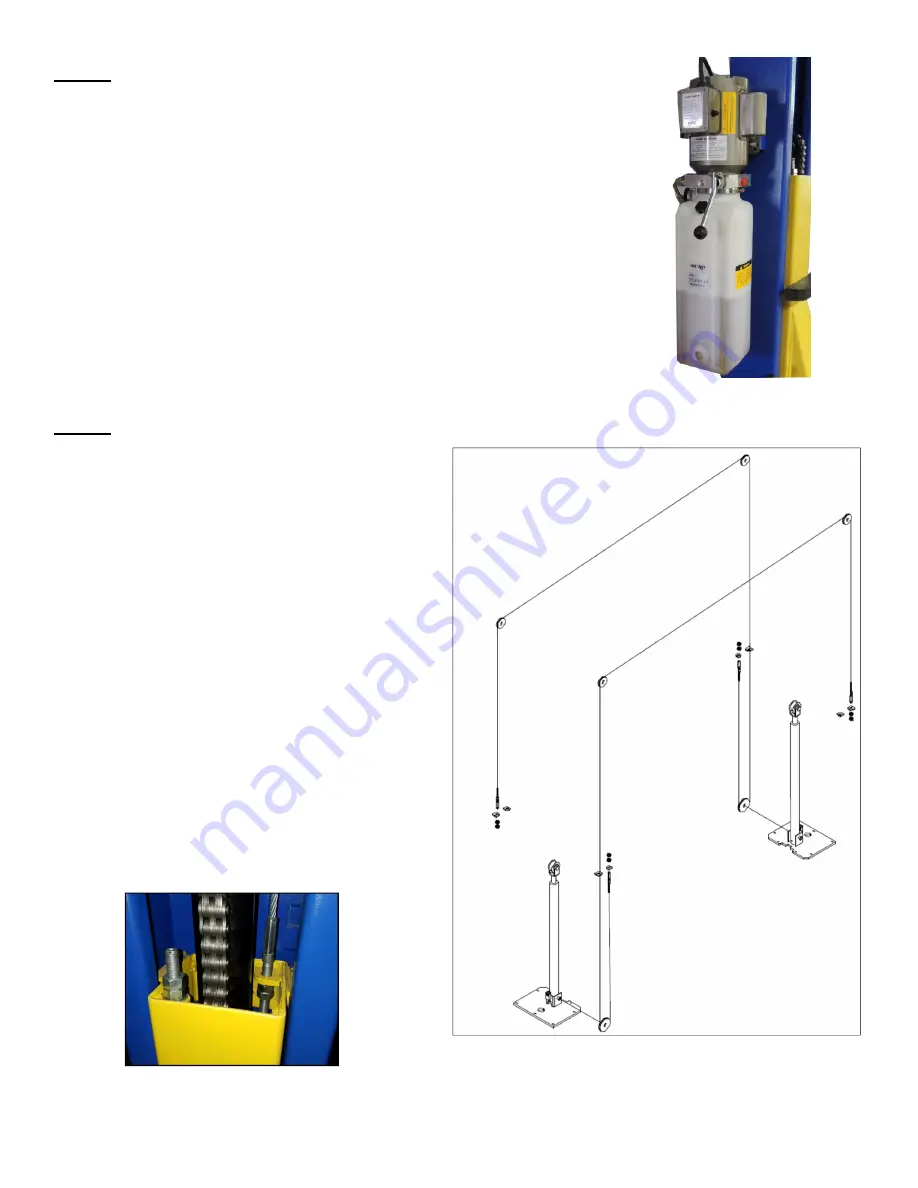
STEP 6: (Installing POWER UNIT)
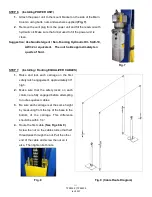
1. Attach the power unit to the mount bracket on the side of the Main
Column using bolts, nuts and washers supplied (Fig. 7).
2. Remove the vent plug from the power unit and fill the reservoir with
hydraulic oil. Make sure the funnel used to fill the power unit is
clean.
Suggestion: Use Non-Detergent / Non-Foaming Hydraulic Oil - SAE-10,
AW 32 or equivalent. The unit holds approximately ten
quarts of fluid.
Fig. 7
STEP 7: (Installing / Routing EQUALIZER CABLES)
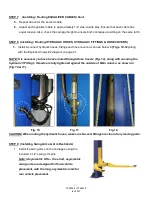
1. Raise and lock each carriage on the first
safety latch engagement, approximately 30”
high.
2. Make sure that the safety locks on each
column are fully engaged before attempting
to route equalizer cables.
3. Be sure each carriage is at the same height
by measuring from the top of the base to the
bottom of the carriage. This difference
should be within 1/4”.
4. Route the first cable. (See Figs 8 & 9)
Screw the nut on the cable stud so that half
thread pass through the nut. Pull the other
end of the cable and screw the nut on it
also. Then tighten both nuts.
Fig. 8 Fig. 9 (Cable Route Diagram)
Содержание TP9KACX
Страница 4: ...4 TP9KACX TP9KSCX Jan 2017 ...
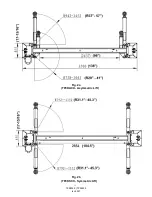
Страница 6: ...6 TP9KACX TP9KSCX Jan 2017 Fig 2a TP9KACX Asymmetric Lift Fig 2b TP9KSCX Symmetric Lift ...
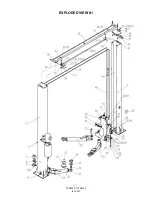
Страница 21: ...21 TP9KACX TP9KSCX Jan 2017 EXPLODED VIEW 1 ...
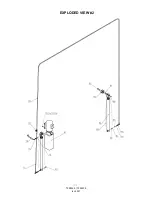
Страница 22: ...22 TP9KACX TP9KSCX Jan 2017 EXPLODED VIEW 2 ...
Страница 26: ...26 TP9KACX TP9KSCX Jan 2017 ...


