


-4-
1. To start up
• Remove internet radio amplifier(called Amplifier hereafter) from the package box.
• Install the Wi-Fi
/
Bluetooth external antenna (rotate clockwise to install into the thread of antenna
jack)
• Connect the speaker, and distinguish the positive and negative poles
• Plug in the DC adapter (Indicator LED Light
will be lit).
• Caution: Use only the adaptor supplied with the Amplifier . Connecting a power supply with a
different rating will cause permanent damage to the radio and may be hazardous.
The Amplifier is intended to connect with external speaker. Can connect your stereo line/aux out
through the RCA Jack Analogue output and connect your stereo line/aux in through the 3.5mm Jack
Analogue input or Digital input located on the rear panel of the Amplifier for listening.
2. Network setup using remote control
Internet connection can be setup via wireless LAN (WiFi).your amplifier requires a broadband Inter-
net connection through WiFi. The easiest way to connect is through a Wifi router.
Wireless LAN (Wi-Fi)
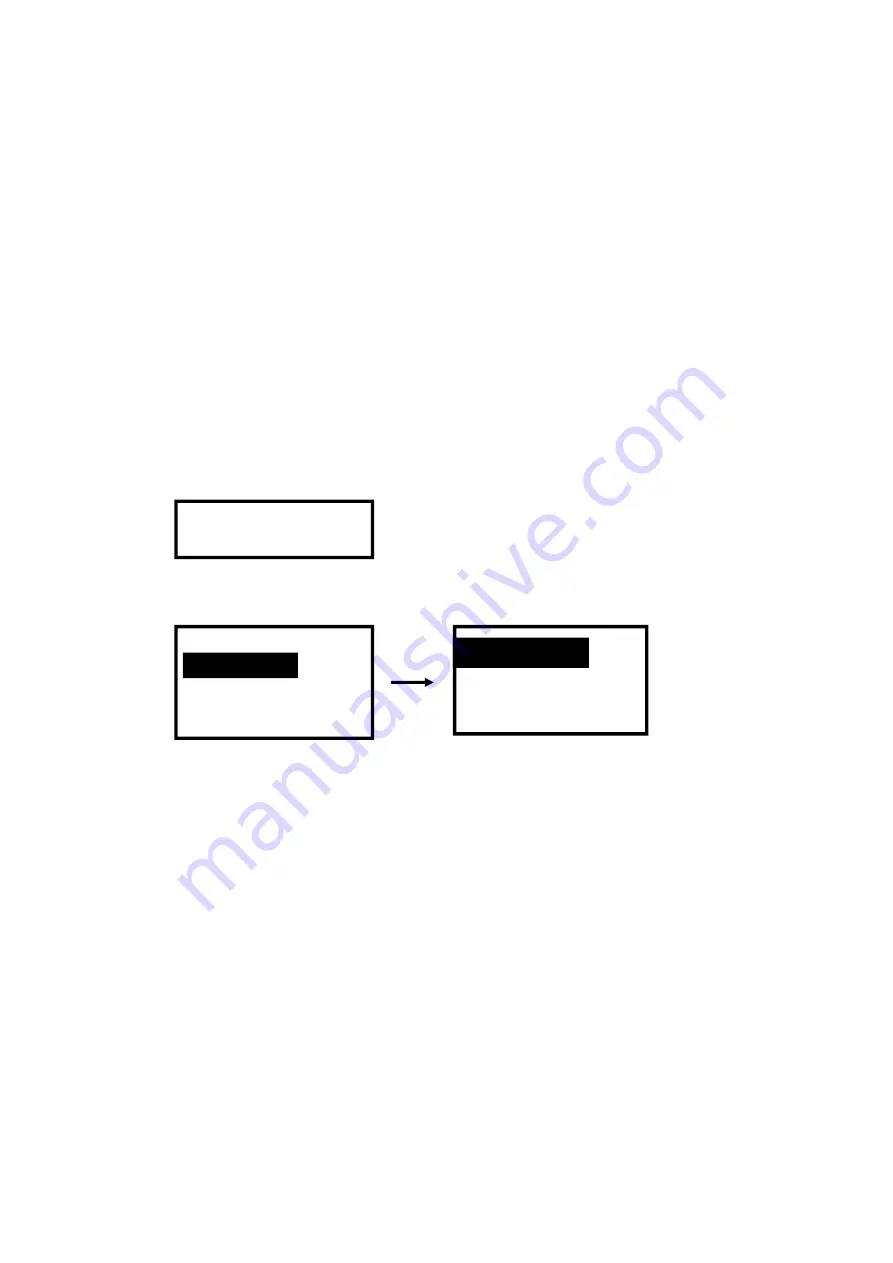
• If this is first time use, the Configure Network wizard will be displayed. Use knob on amplifier or left
and right right arrows on remote to Choose Yes to start configuring network. Press the
[Back/
◄]
button to highlight Yes and press
[OK]
on remote to confirm.
•
Select Add/Remove AP from the list, use the
[OK]
knob on amplifier or down and up arrows on
remote to scroll and press knob to confirm, then highlight Add AP (Scan) press
[OK]
to confirm
.
•
It will start scanning the available Wi-Fi routers around. Scroll to your network and press
[OK]
on
remote
to confirm.
•
If your wifi network has a security code protected, it will ask you to enter the passphrase/password.
How to input security code for your wireless network using remote control
On the alpha-numerical keypad, press each button repeatedly to cycle through the letters,
numbers and symbols as listed below.
To input a character, scroll to the correct one and when it is highlighted, press the ► button to
input the next character. When it comes to the last character of the password and it is highlighted,
press
[OK]
to confirm.
Button 1: 1 and different kind of symbols ! @ # $ % ^ & * ( ) _ + [ ] { } ; : ' ” \ | , . / < > ?
Button 2: 2 A B C a b c
Button 3: 3 D E F d e f
Button 4: 4 G H I g h i
Button 5: 5 J K L j k l
Button 6: 6 M N O m n o
Button 7: 7 P Q R S p q r s
Button 8: 8 T U V t u v
Button 9: 9 W X Y Z w x y z
Button 0: 0
Configure Network ?
<Yes> No
AP:[ ]
Add/Remove AP
Add A P( WPS button)
Add A P( Smart Confiig)
Add AP
(
Scan
)
Wi-Fi Channel
Содержание WS161
Страница 18: ... 16 Connection diagram ...


