Page
28
of
41
1.
From the
SVIP Main Menu
, navigate to
Stream Config.
2.
Push the rotary encoder to enter the
Stream Config
Menu
3.
Load the SVIP Preset that you wish to assign to a Hot Key
into the currently Active SFP
4.
With the SVIP Preset loaded into the currently Active SFP
you should now see your desired 2110 Sources or 2022-6
source on the front panel of the PAM1-IP-3G or PAM2-IP-
3G.
5.
Push and hold the front panel Hot Key that you wish to
assign the SVIP Preset to
.
6.
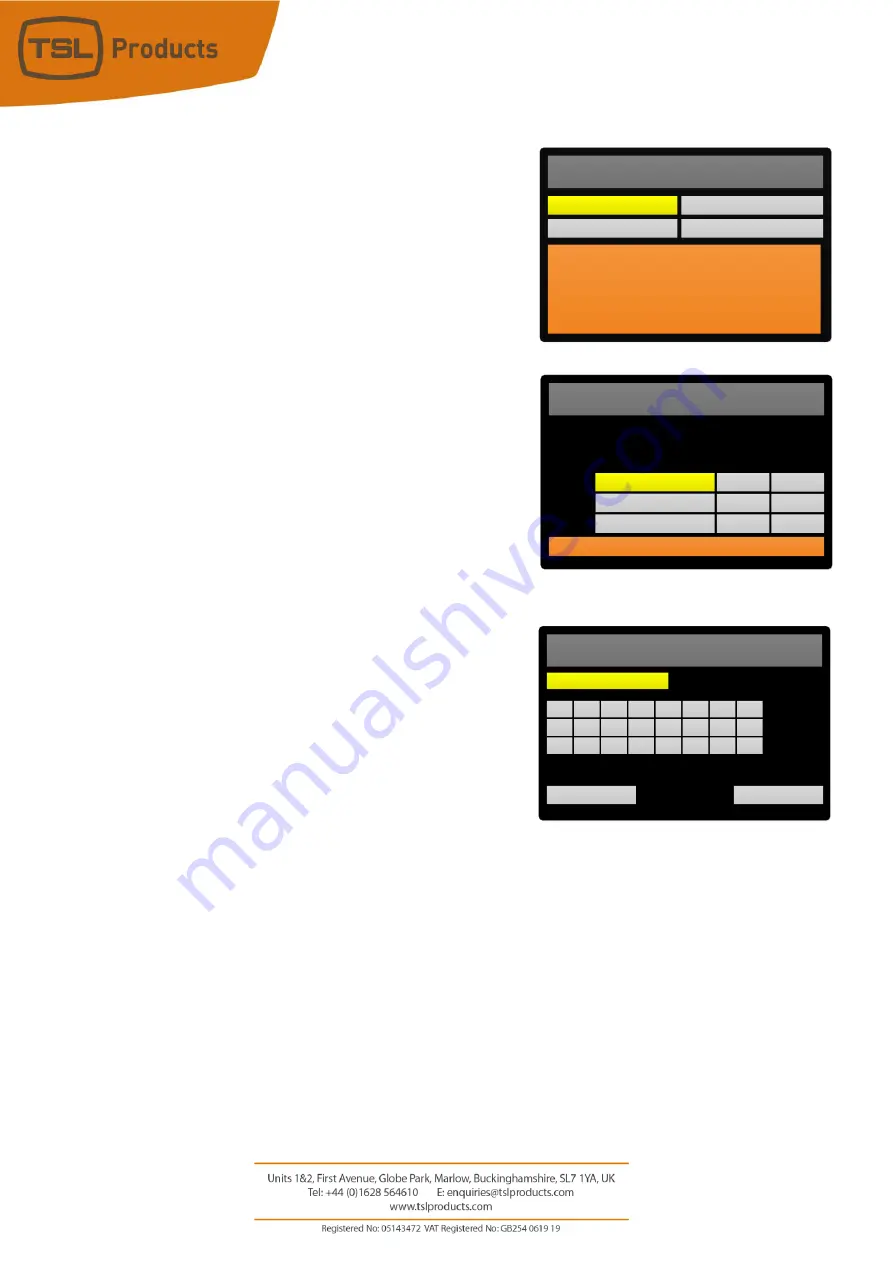
Using the rotary encoder, enter a label for the Hot Key (a
maximum of 10 Characters including spaces is allowed)
and Select Save to commit the SVIP Preset to your chosen
Hot Key.
7.
To exit the menu, press the red button as shown on
Page 8 of this Quick Start Guide.
Please note that when assigning an SVIP Preset to a Hot Key,
the Active SFP setting is also stored.
As an example, you could create two Hot Keys, both of which
make use of the same SVIP Preset but use different SFP
Modules.
This can prove useful if you wish to compare Main vs Backup sources or either ‘side’ of a redundant
network.
It is also worth noting that when assigning an SVIP Preset to a Hot Key, the current contents of the
right-hand screen on the PAM1-IP-3G or PAM2-IP-3G are also stored.
The contents of the right-hand screen are selectable from the front panel of the PAM1-IP-3G and
PAM2-IP-3G and are as follows:
•
Audio Level Meters (to allow 16 Audio Level Meters to be displayed across both front-panel
screens).
•
Loudness/DialNorm Data
•
Loudness Histogram
•
Video
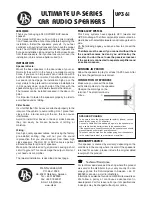
SVIP Main Menu
Stream Config
Preset Setup
SVIP is selected as the Input Source
SFP1 Signal OK
–
active SFP
No Module Detected in SFP2
Statistics
Module Setup
SVIP Input Selection
SFP1
Server 1
UNDO
System Idle
UNDO
UNDO
TAKE
TAKE
TAKE
Server 2
Active SFP:
SFP1 Preset:
SFP2 Preset:
SFP1 Module
SFP2 Module
2110d v2.2
pending...
User Save
CLEAR
User 01
DONE
a
i
n
M
S
R
V
1
Содержание PAM1-IP-3G
Страница 34: ...Page 34 of 41 PAGE INTENTIONALLY LEFT BLANK...