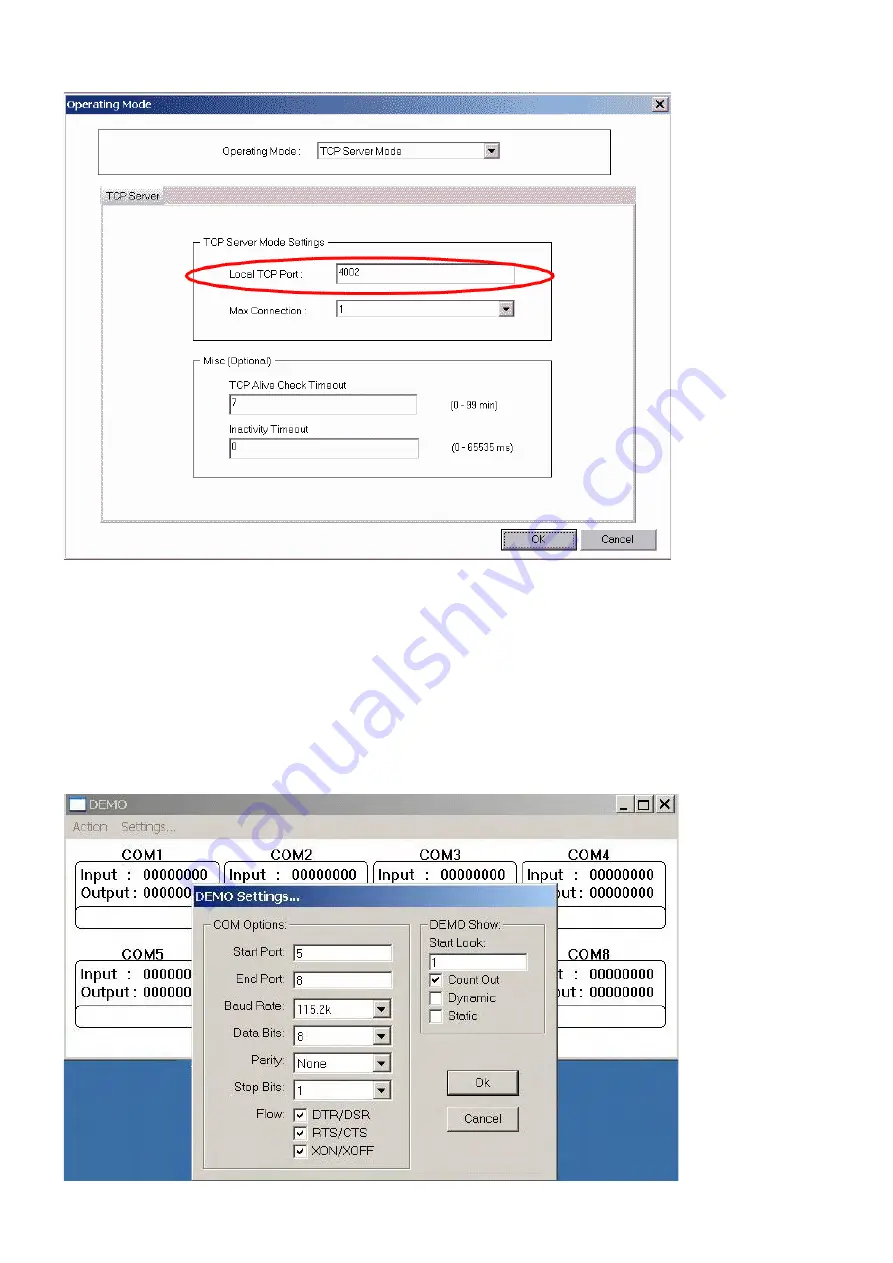
Step6: Keep the TRP-C34X Server in LAN. Also keep the Client PC in LAN.
Step7:
Power ON the TRP-C34X Server and wait till it completely boots PWR LED ON first.
Step8: Power ON the TRP-C34X Client and wait till it completely boots PWR LED ON.
Step9: Connect PC COM Port link TRP-C34X Client COMA~COMB by Cable.
Step10: Plug in TRP-C34X server COMA~COMB by loop back connector.
Step11: RUN “Demo.exe” and select correct baud-rate and data format.
Содержание TRP-C34X
Страница 6: ...IP setting...
Страница 9: ...b WEB Server c Telnet...
Страница 12: ...On Basic page check the Modify check Box to change any of the Configuration details IP Setting...
Страница 25: ...Step4 Select Port Mapping then right clicks Add Device Step5 The Port Mapping will show below...
Страница 26: ...Step7 Right Click select Apply Change...
Страница 33: ...a Port 1 Setting b Port 2 Setting...
Страница 35: ...Step9 Select Action then clicks Connect 6 TRP C34X Application Diagram...


