Trust PRECISION VIEWER EXCELLENCE SERIES Скачать руководство пользователя страница 7

Precision Viewer 17” -Excellence Series-

5

3. 

Plug the mains cord connection (B) to connection (A) on the monitor.

4. 

Plug the other end of the mains cord (C) to your computer's mains supply
connection (D).

5. 

Switch on the computer.

Note:

If your computer does not have a mains connection for a monitor, plug
the monitor directly into the wall socket. Ask your dealer for a mains cord.

4.  Installing the driver

4.1  Windows 95 / 98

This monitor complies with Microsoft Window's Plug and Play standard. The monitor
will be detected automatically when starting Windows 95 or 98.

1.  Switch on the monitor.

2.  Start Windows. New hardware will be found (Plug and Play monitor) and the

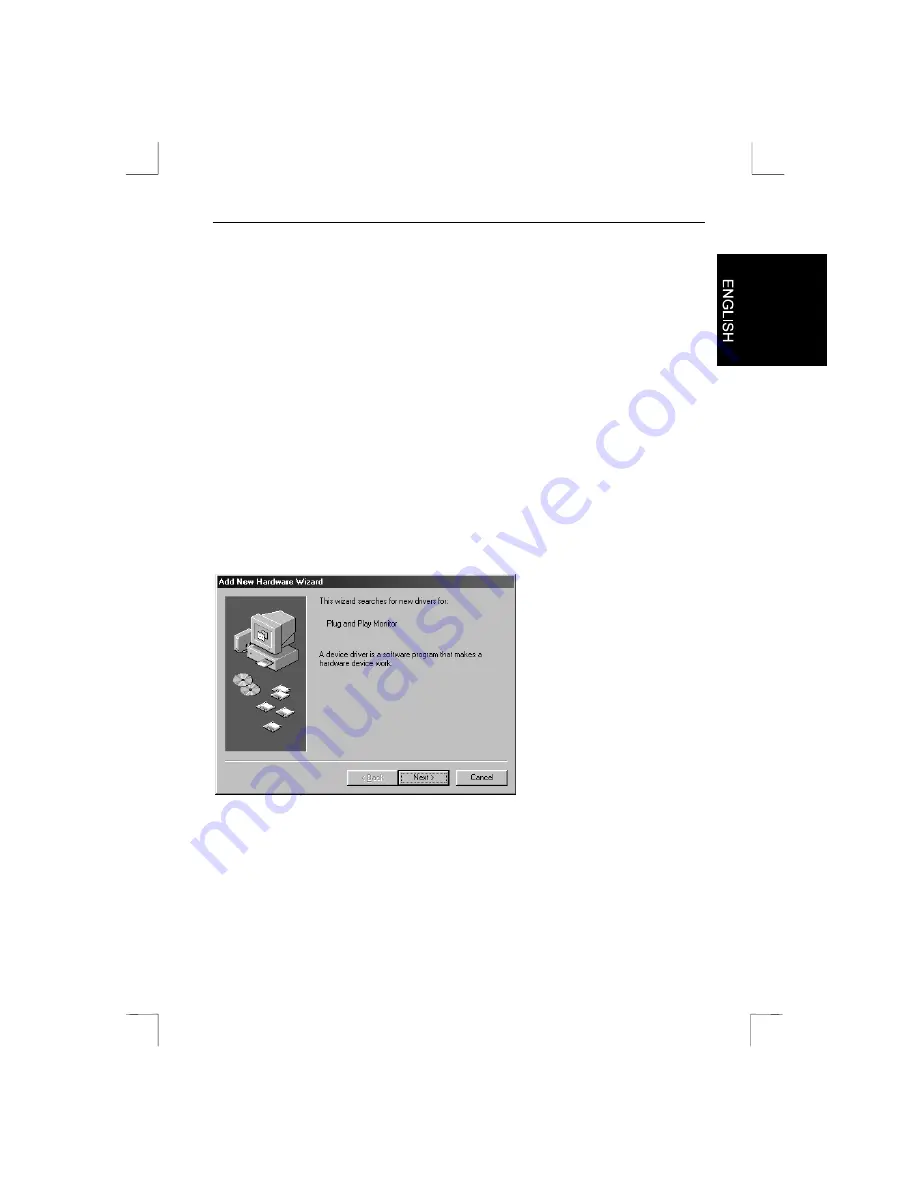
‘Add New Hardware Wizard’ will start up.

3.  Click on 'Next' to continue. See Figure 3.

Figure 3: Installing the driver

4.  Follow the on-screen instructions for installing the proper driver. Windows will

locate the driver for the Plug and Play monitor.

The computer does not need to be restarted following installation.

Содержание PRECISION VIEWER EXCELLENCE SERIES

Страница 1: ...Precision Viewer 17 Excellence Series PRECISION VIEWER 17 EXCELLENCE SERIES User s manual Version 1 0 ...

Страница 2: ...than the purchaser s personal use without the prior written permission of the manufacturer Disclaimer Statement The manufacturer specifically disclaims all warranties either express or implied including but not limited to implied warranties of merchantability and fitness for a particular purpose with respect to the software the product manual s and written materials and any other accompanying hard...

Страница 3: ... 3 3 Positioning the monitor 4 3 4 Connecting the monitor 4 4 Installing the driver 5 4 1 Windows 95 98 5 4 2 Other operating systems 6 4 3 Setting the refresh rate 6 5 Operation 7 5 1 Control buttons on the monitor 7 5 2 OSD menu 7 5 3 Power saving 9 6 Troubleshooting 11 7 Specifications 14 8 Warranty 15 8 1 Service 15 8 2 Conditions 15 8 3 Service Centres 16 ...

Страница 4: ...Do not leave the equipment out in the rain Minimum system requirements A computer with a standard VGA signal 2 Safety Read the following carefully before use 1 Do not use this equipment in humid environments like bathrooms damp cellars swimming pools etc 2 Never insert objects into the openings on the outside of the device as you can come into contact with live electrical components This can cause...

Страница 5: ... the box for future transportation 3 2 Fastening the swivel and tilt base Figure 1 Fastening the base Follow the instructions below to fasten the base 1 Place the base against the bottom of the monitor so that the base fasteners are aligned with the appropriate slots See Figure 1 2 Push the base towards the front of the monitor until the latch locks into position See Figure 1 The base is now bolte...

Страница 6: ...e around 45 to 60 cm 4 Position the monitor so that you will not experience any problems with reflecting etc 3 4 Connecting the monitor Figure 2 Connecting the monitor Note This monitor can also be connected to an Apple Macintosh computer Ask your dealer for a conversion cable Follow the instructions below for connecting the monitor to your computer See Figure 2 1 Switch off the computer 2 Insert ...

Страница 7: ...ng the driver 4 1 Windows 95 98 This monitor complies with Microsoft Window s Plug and Play standard The monitor will be detected automatically when starting Windows 95 or 98 1 Switch on the monitor 2 Start Windows New hardware will be found Plug and Play monitor and the Add New Hardware Wizard will start up 3 Click on Next to continue See Figure 3 Figure 3 Installing the driver 4 Follow the on sc...

Страница 8: ...etting the refresh rate Follow the instructions below to set your refresh rate in Windows 98 1 Go to the configuration window Start Settings Configuration window 2 Double click on the Display icon 3 Click on the Settings tab 4 Click on the Advanced button 5 Click on Adapter and select 85Hz from the list 6 Click on Apply to accept the selected value The installation is now complete See chapter 5 fo...

Страница 9: ... menu 2 Retrieving the default settings C ONE TOUCH OSD button Press this button to obtain the OSD main menu and to select a function D ADJUST button Rotate this button to scroll through the OSD menu and to change the selected function E Power LED Displays the status of the monitor when lit F Soft Power button Push button for switching the monitor on and off 5 2 OSD menu This monitor is equipped w...

Страница 10: ...ndow will appear for every function selected Press the ONE TOUCH OSD button in this window to select the function you wish to change Use the turn knob D to adjust the value of the selected function See the table below for descriptions of the various functions Icon Function Description Contrast Brightness For adjusting the contrast and brightness H position V position For adjusting the horizontal a...

Страница 11: ... 8 12 20 or 30 seconds OSD Adjust For setting the horizontal position vertical position and size of the OSD display DPMS Select For selecting the power saving mode VESA or NUTEK See section 5 3 5 3 Power saving This monitor complies with EPA Environmental Protection Agency and NUTEK standards The power saving feature is only effective if the monitor is connected to a computer that supports the VES...

Страница 12: ...Precision Viewer 17 Excellence Series 10 Signal Status H Sync V Sync Video Power Consumption Refresh time LED colour Off No pulse No pulse Black screen 5 Watt 15 sec Yellow ...

Страница 13: ...r press a key A so called screensaver has been activated Move the mouse or press a key The signal cable is not connected Connect the signal cable See section 3 4 Contrast and or brightness is set improperly Adjust the contrast and or brightness See section 5 2 Announcement on screen out of range The computer is sending a signal that the monitor does not support Lower the resolution or refresh rate...

Страница 14: ... break off very easily and do not fall under the guarantee Display image is not centred Position settings set improperly Adjust the horizontal position H Position and vertical position V Position See section 5 2 Display image is too small or too large Size settings set improperly Adjust the horizontal size H size and vertical size V Size See section 5 2 Display image is too dark or too light Contr...

Страница 15: ...ignal is detected the monitor will switch to the AUTO POWER OFF MODE An OSD announcement will appear and the monitor will switch off If the ONE TOUCH OSD button C is now pressed an RGB test pattern will appear on the screen There is nothing defective about the monitor if this screen appears Check the signal cable and your computer If the signal falls outside the range of the monitor the announceme...

Страница 16: ...on interlaced Horizontal synchronisation 30 to 70 KHz Vertical synchronisation 50 to 150 Hz Bandwidth 108 MHz Video mode recognition Automatic Plug and Play DDC 1 2B Display Data Channel Voltage 100 240 V AC 50 60 Hz Power consumption 90 Watt Dimensions HxWxD 416 x 416 x 447 mm Weight 16 Kg Operating temperature 0º C 40º C Compliance UL CSA DHHS N D FI S CE FCC B VESA DPMS NUTEK A EPA TÜV GS ISO 9...

Страница 17: ...d check the Troubleshooting chapter If possible check the FAQs on our website www trust com Read the warranty conditions Make sure you have the following information available when you contact our service centre Proof of purchase which includes the date of purchase this is also a proof of warranty so keep it in a safe place The product s article number 1xxxx the product name and type The serial nu...

Страница 18: ...e of no fault found mechanical damage like damaged housing PCB CRT cables connectors or controls mistreatment of the product and or opened repaired by an unauthorised service person You can also read the general conditions of the warranty on our website www trust com Contact your nearest service centre for the service conditions that apply for you 8 3 Service Centres Country Contact UK Eurographic...

Страница 19: ...Industria 44 46 08830 Sant Boi De Llobregat Barcelona Spain Fax 34 936 308104 Phone 34 936 529772 Sweden Ibas Laboratories Internet www ibas se E mail ibas ibas se Mail Bergkaellavaegen 32 191 30 Sollentuna Stockholm Sweden Fax 46 8 6267608 Phone 46 8 6267600 Norway Ibas Laboratories A S Internet www ibas no E mail leif arne melgaard ibas no Mail Industriveien 65 2200 Kongsvinger Norway Fax 47 628...

Отзывы: