Easy Scan 9600 Plus
14
Prescan setting: Activates and deactivates ‘Automatic area
detection’.
Auto scanning setting: Activates and deactivates scanning key
usage. See Chapter 5.3.
Destination default setting: Defines the location where the files must
be stored or sent to.
Monitor Calibration button: Sets the gamma value of the display
screen to that of the scanner.
5.3 Using the scan key
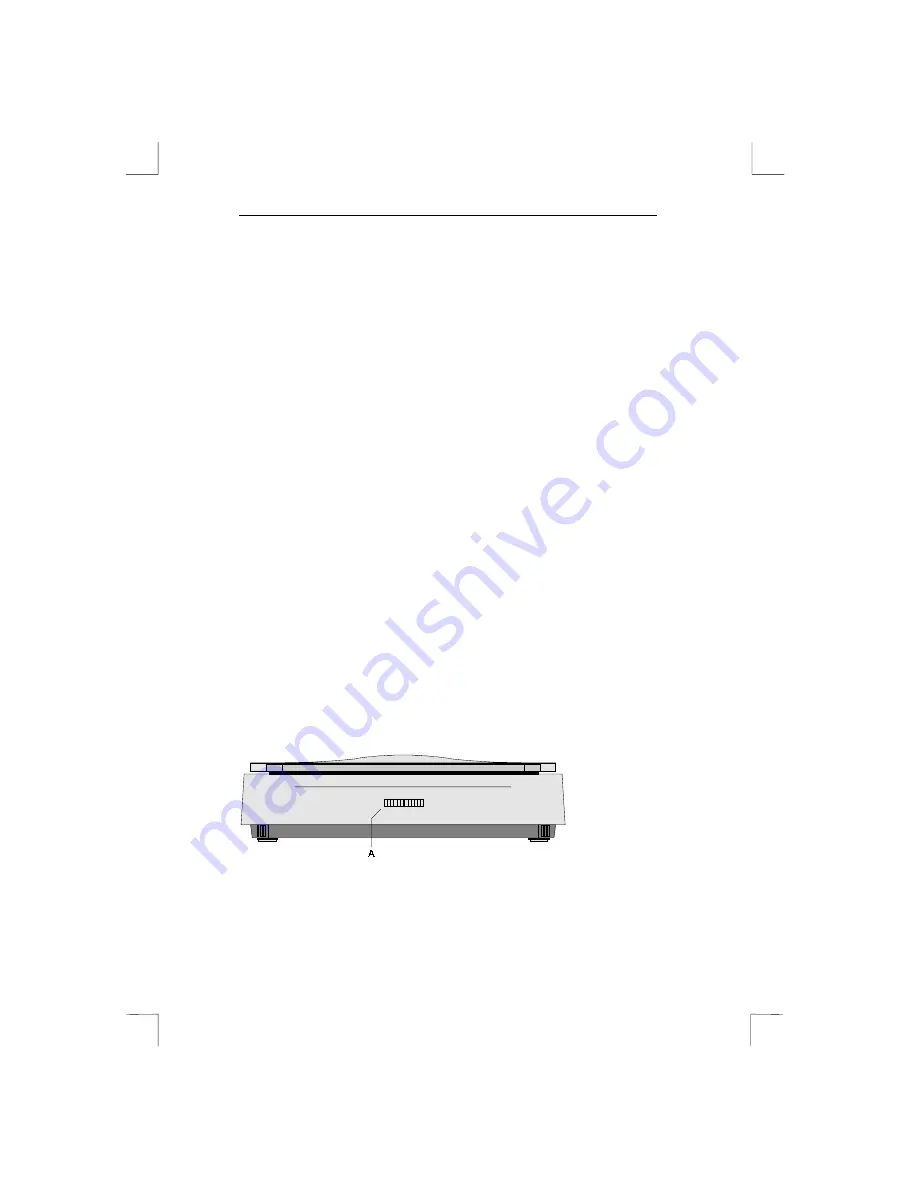
The scan key is located on the front of the scanner (see Figure 9).
Follow the instructions below to scan with the scan key:
1.
Start the program ‘Trust Easy Scan 9600 Plus’. See Chapter
5.1.1.
2.
Find the auto-scan key on the front of the scanner (Figure 9, Key
A).
3.
Press button (A). The scanner now starts the scanning process.
4.
A prescan is carried out if you have activated the option
‘Prescan’. The result is displayed in the preview window.
5.
The scanner carries out area detection for the area to be
scanned. This area is used for the scan.
6.
The scanning process starts and the result is transported to the
destination you selected: file, application, e-mail, fax, printer or
clipboard. This works only if you have activated the option ‘Scan
and Send to destination’.
The program Trust Easy Scan 9600 Plus is then closed.
Figure 9:
Location of scan key


