Trust Easy Connect 19200 Plus
7
GB
2.
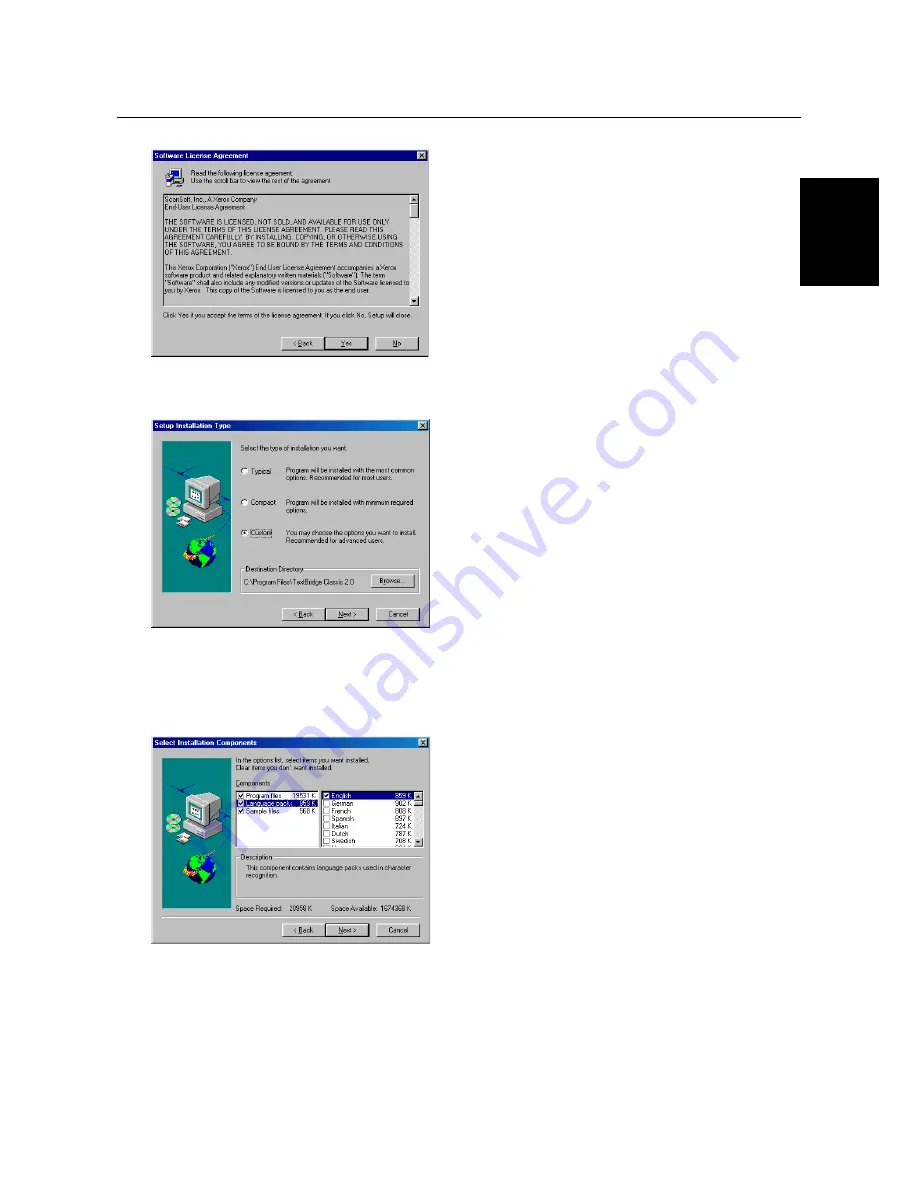
Click on 'Next'. Figure 7 will appear.
Figure 7: Licence agreement
3.
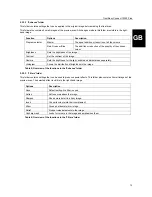
Click on 'Yes' to accept the license agreement and continue with the installation. Figure 8 will appear.
Figure 8: Selecting the type of installation
4.
Select 'Custom' (Figure 8), so that a bullet appears in the box.
5.
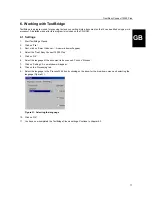
Click on 'Next' to continue with the installation. Figure 9 will appear.
6.
Click on 'Language packs' to select the languages to use (Figure 9).
Figure 9: Selecting the languages
Note
:
You will only be able to recognize text in the languages you select. Once the installation has been
completed, you will be able to add other languages for OCR at a later time.
7.
Click on 'Next' to continue with the installation of TextBridge Classic. A new window about the registration of
TextBridge will appear.
8.
Click on 'Next'. A window about product registration will appear.


