Trust Easy Connect 19200 Plus
19
GB
17. Click on 'Save' to save the file. This completes the OCR.
18. Close TextBridge Classic.
You need a word processing program in order to edit the scanned text you have just saved to disk. Start the program
and load the file you just saved in point 14.
TextBridge includes a number of advanced options. See the on-line help functions and the documentation on the CD-
ROM for more information.
7. Working with Ulead PhotoExpress
Ulead PhotoExpress 2.0 is a drawing and editing program that offers a large number of options. This program can be
used to edit photographed images.
Follow the instructions below to set and use PhotoExpress 2.0.
Note
:
The instruction manual is included on the CD-ROM. The program also contains a comprehensive Help
function.
1.
Connect the scanner to the computer (see chapter 4).
2.
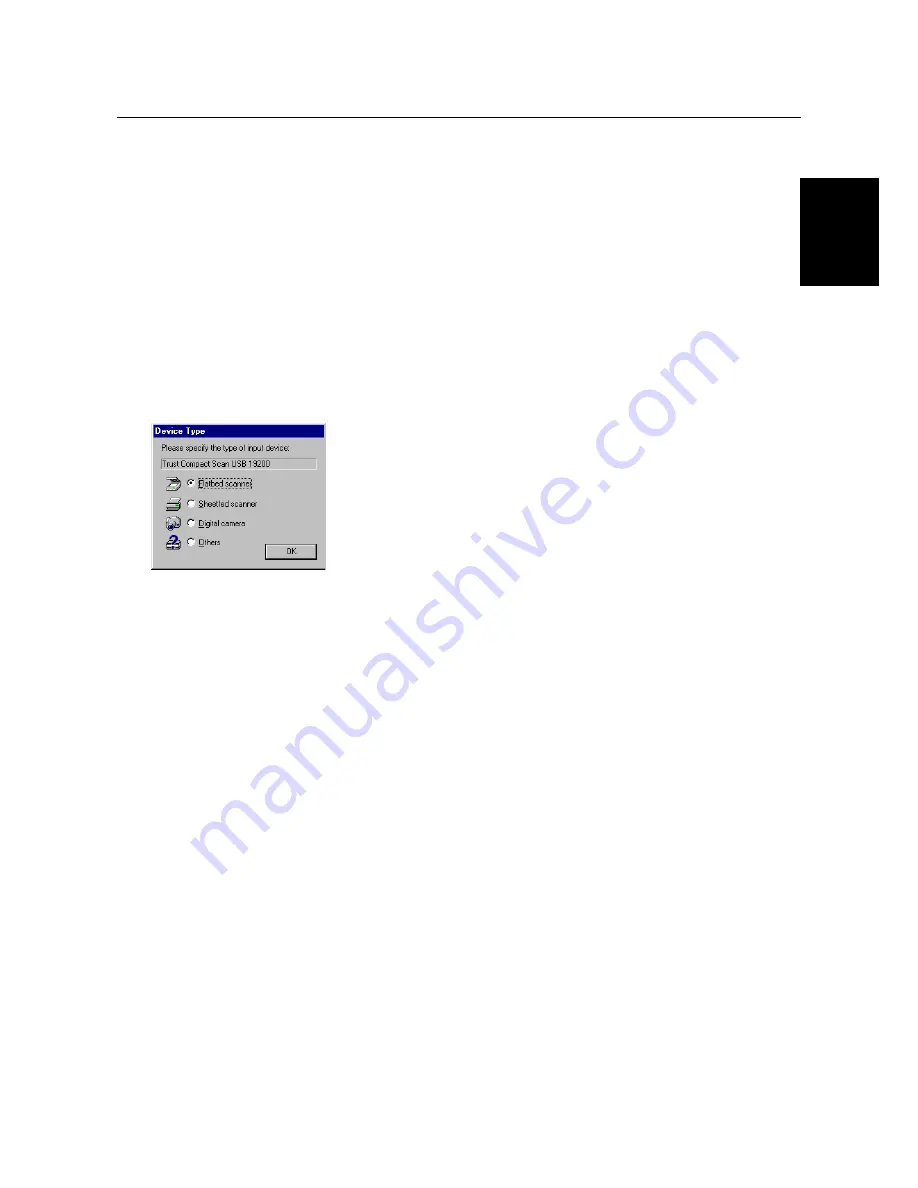
Start PhotoExpress 2.0 by double clicking on its icon on the desktop. The program will start. Figure 24 will appear.
Figure 24: TWAIN settings
3.
Select ‘Flatbed scanner’ for the ‘Trust Easy Connect 19200 Plus’ device.
4.
Click on 'OK' to continue. If you have installed or use several devices that use the TWAIN interface, you will also
need to select the appropriate device for these.
Your scanner has now been set to use this application.
7.1 Scanning with PhotoExpress 2.0
Follow the instructions below to make a scan using PhotoExpress 2.0.
1.
Click on 'Get' (number 1, Figure 25).
2.
Click on 'Scanner' (number 2, Figure 25).
3.
In the ‘Select Data Source list’, select the ‘Trust Easy Connect 19200 Plus Scanner’ (number 3, Figure 25).
4.
Select ‘Apply Post Processing’. After the scan has been made, the following can be altered on the image:
'Straighten & Rotate', 'Crop', 'Brightness & Contrast' and 'Colour Balance' (number 4, Figure 25).
5.
Select 'Open to workspace' to transfer the scanned image to the application or select 'Save to Album' to add the
scanned image to a photograph album (number 5, Figure 25).
6.
Enter a file name and select the correct file type (number 6, Figure 25).
7.
Click on 'Acquire' to scan the image (number 7, Figure 25). The TWAIN window will appear (Figure 25).


